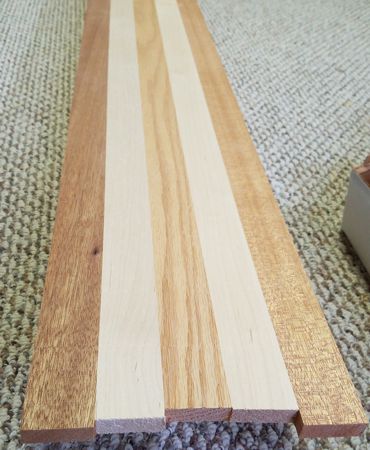
I have been working on a number of a woodworking projects, including my new nightstand, starting with a bunch of scrap wood from previous projects.
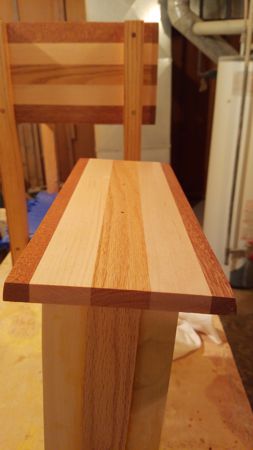
Then a few more dowel rods and some longer lighter pieces to make the top the size I need it to be.
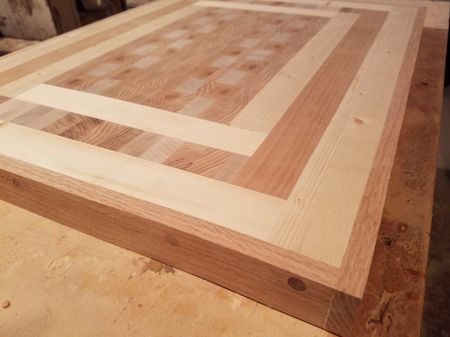
And finally a nice oak wrap around the edges to finish out the design. After a little sanding to even it out it is really starting to come together.
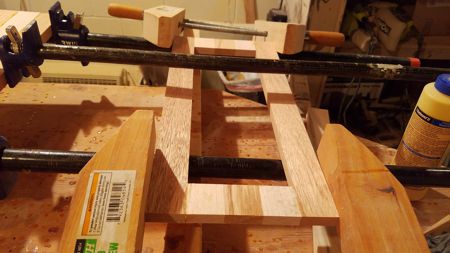
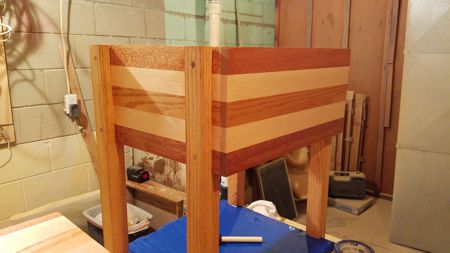
Next a bringing a few slats together and a little planning to shape the sides of the drawer enclosure.

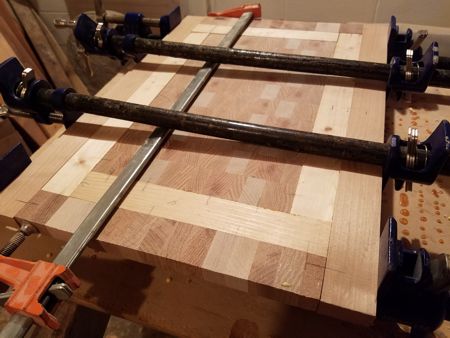
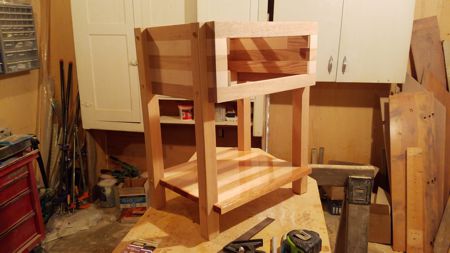
Then a few quick cuts on the table saw and an overnight in the framing clamps and bar clamps the enclosure is starting to take shape.

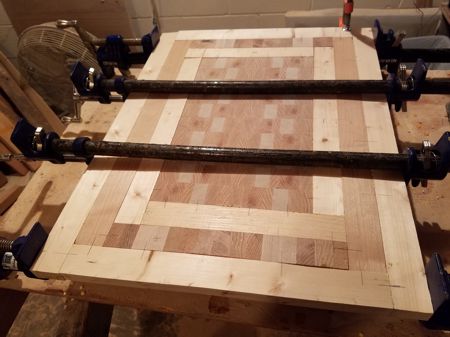
Then a quick few glue-ups matching the other patterns and the bottom shelf is pretty much ready to go… all I need to do is square it up and sand the glue off.
Next on the front of the enclosure and drawer opening to match the wood and pattern of the sides.
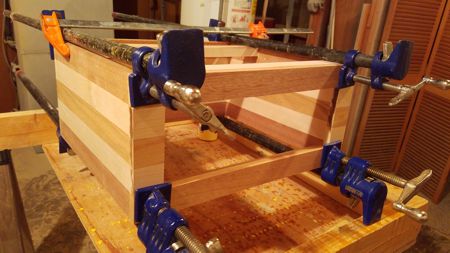
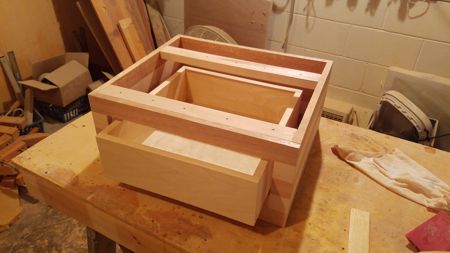
Then it was time to bring the pieces of the enclosure together, and after drying it will be time for some rough sanding.
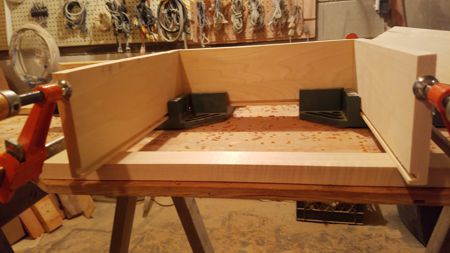
Then it was time to start making the drawer for the nightstand including a simple dado cut for the drawer bottom.
After a quick test fit, it was time to size up the runners and glides for the drawer tracks, and a few additional supports for stability, and to hold the nightstand top on.
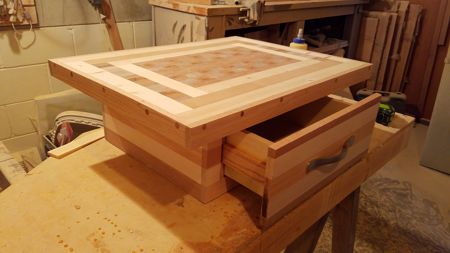
After that it was time to test fit everything to make sure the drawer, and drawer face to fit together with the table top.
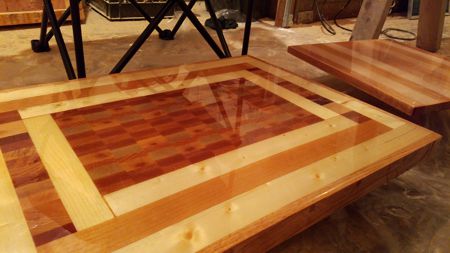
Then it was time to start the finishing process by applying a couple layers of glaze coat on the table top and the shelf to add durability.
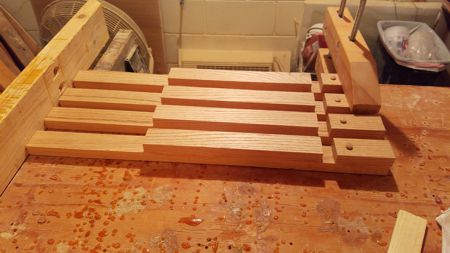
While the glaze coat cures on the top and the shelf unit it was time to move the design of the legs forward.
Then it was time to move forward on the final assembly of the nightstand. Including incorporating the glaze coated shelf and drawer enclosure.
After that, it was a few light coats of semi-gloss finish on the base and legs, of course after fully masking off the glaze coated shelf so there will not be any spillage or splatter to ruin the finish on it.
And of course making sure not to forget the drawer front when it comes to applying the finish so it would match the rest of the nightstand.
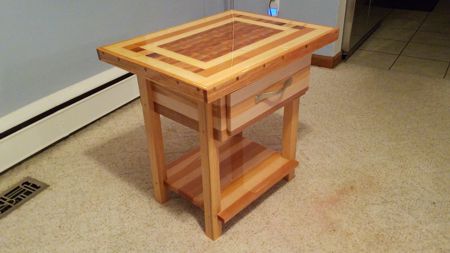
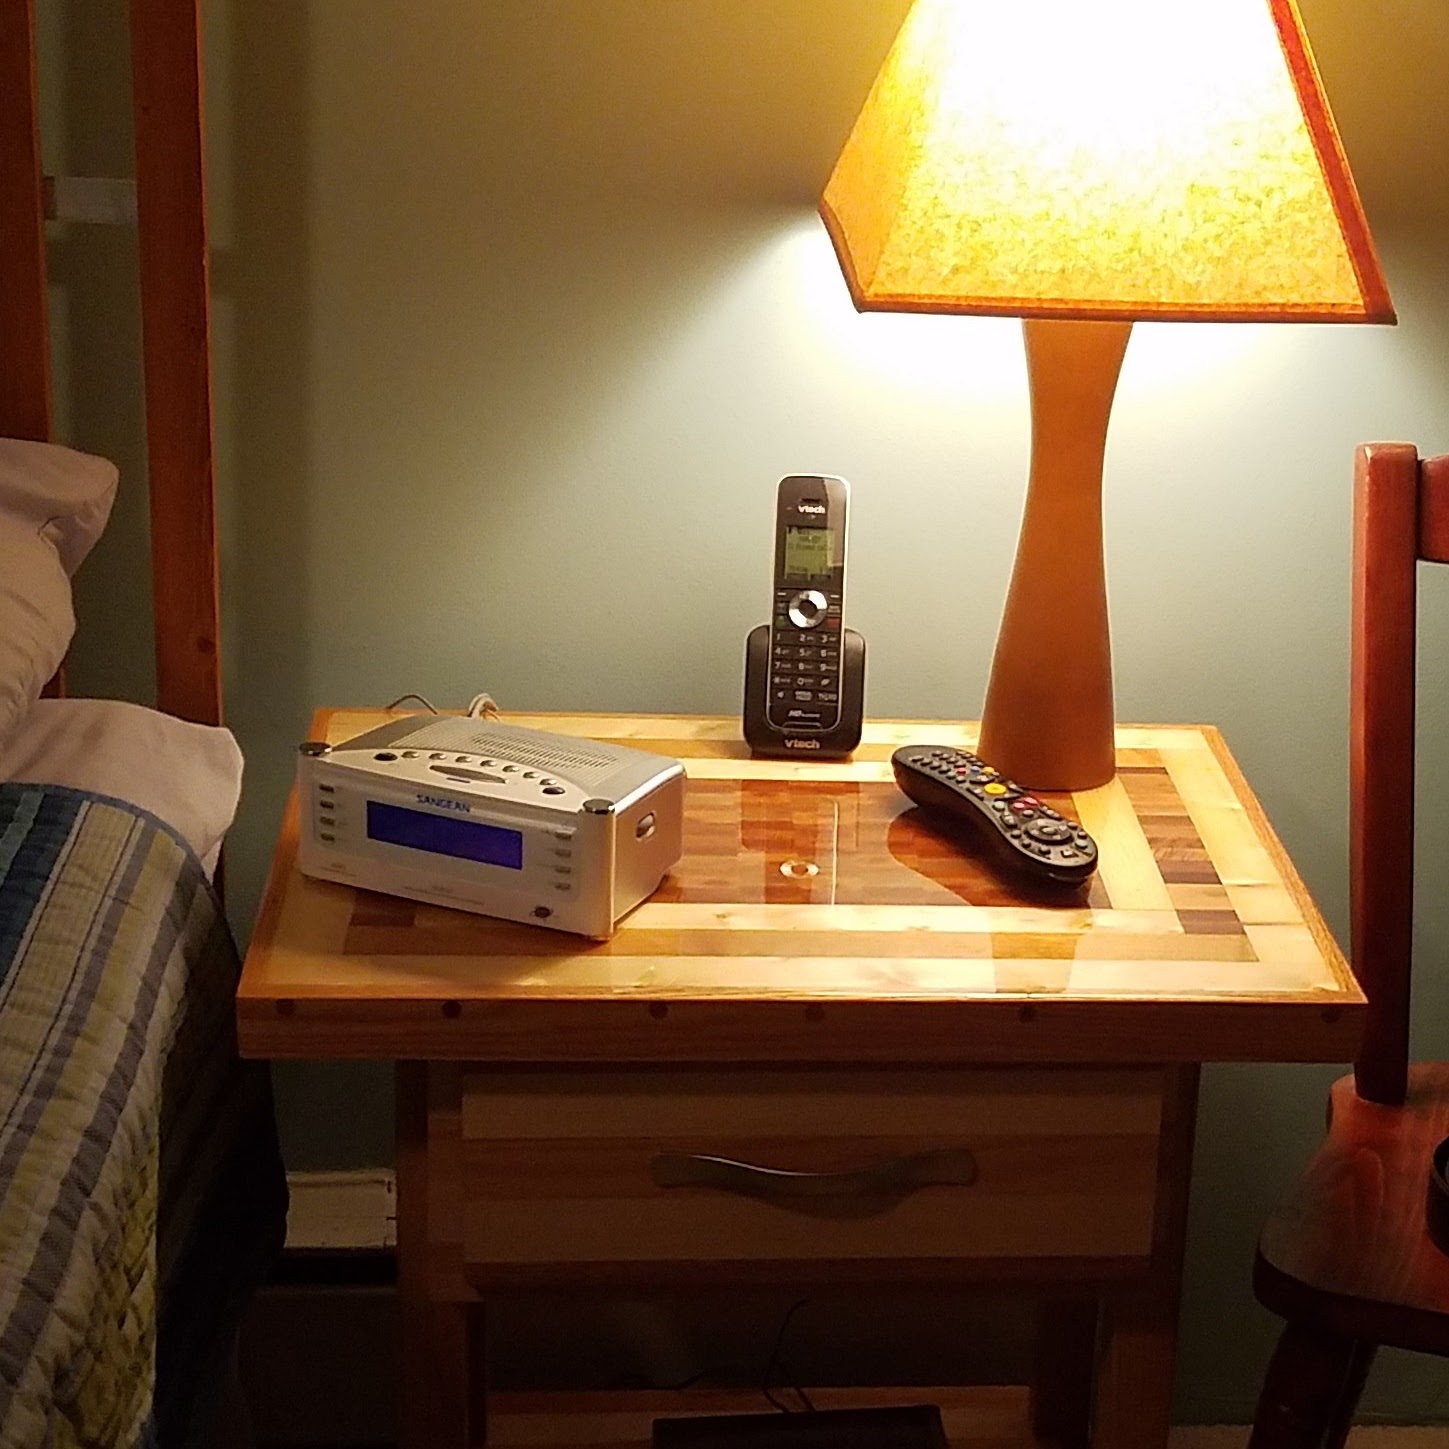
Once everything dried, it was time for final assemble of the the top, base and drawer and the project was completed.
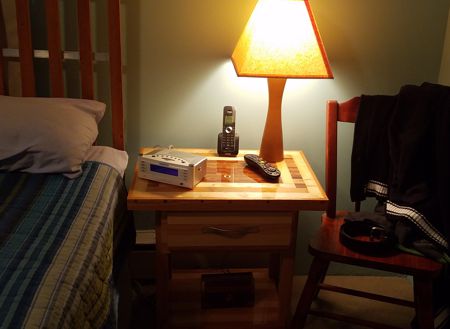
That is except for the final placement of the night stand in its final home and use.