This year I decided that I wanted to be a little creative in how I wrapped my Christmas presents that I give to my family. Instead of cardboard and wrapping paper, I decided to create individual gift boxes out of wood, and I would put their individual gifts inside of them.
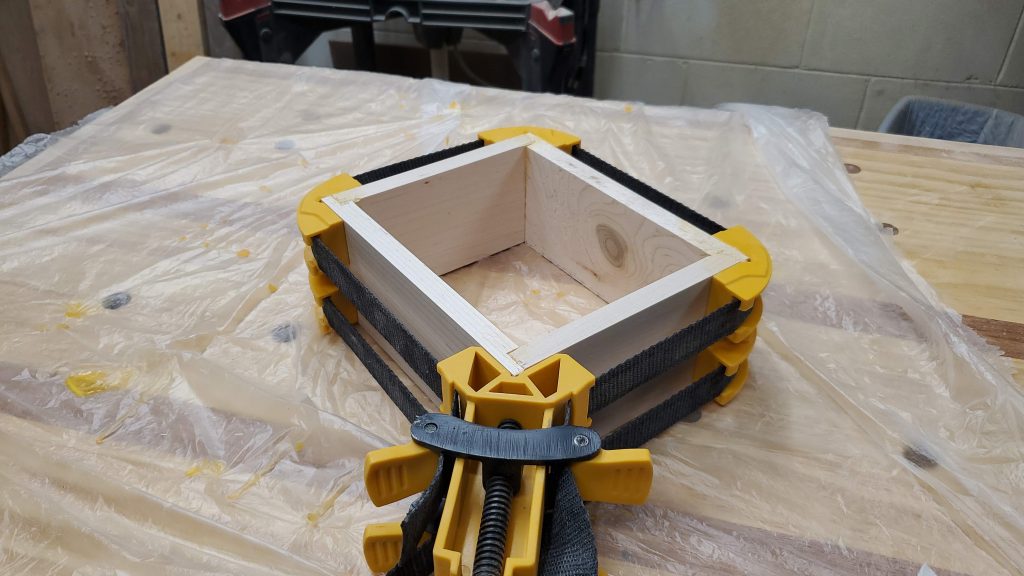
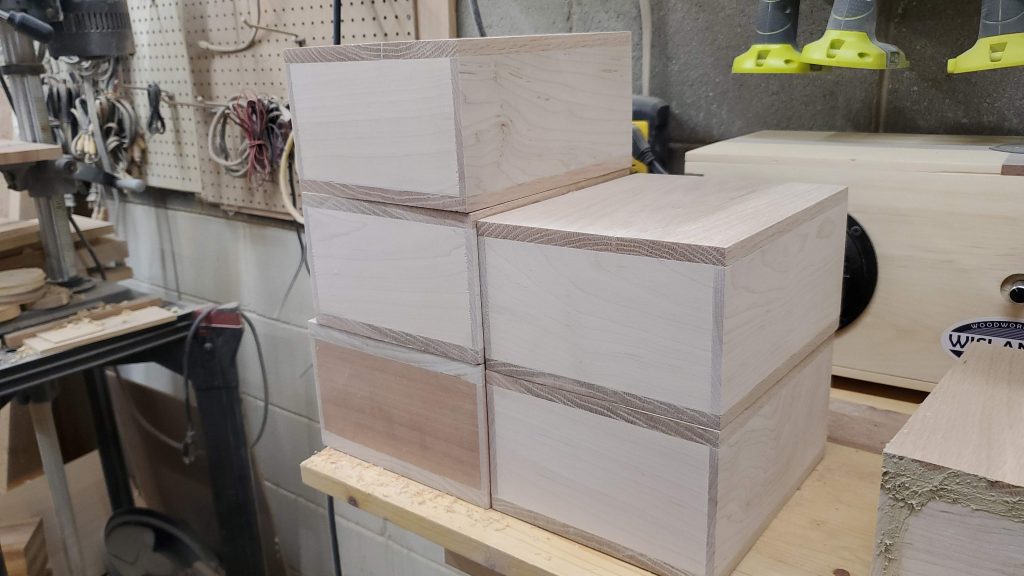
To start the process I estimated a good size, and created a box template just a little bigger than that. They ended up being about 8″ x 9″ on the outside. To make them sturdy, and easier to form I added rabbit joints on the front and back pieces. I decided to use maple because I like working with it, and it tends to hold up really well.
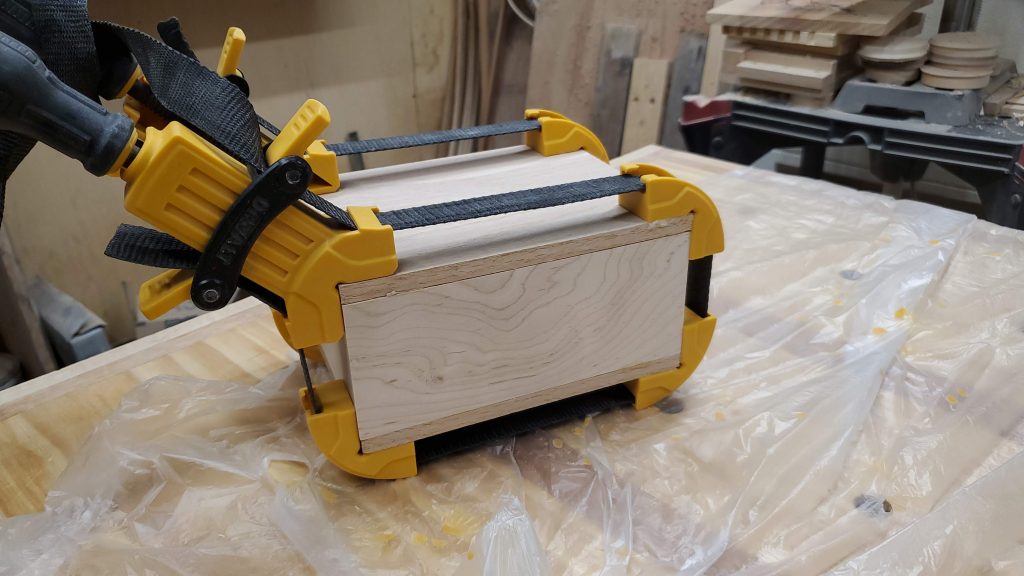
The process was fairly smooth, but I have decided that I need more than two band clamps if I ever try a project like this again.
Once all the sides were done, it was time to make the tops. For each box I needed two pieces exactly the same size, and I decided to use oak to add some contrast between the top and bottoms and the sides. For each top there is a rabbit joint, dado cut all the way around to inset it and to give it a very solid feel when it was glued into place.
After glue the top and bottom into place and a little wood filler to close up any gaps, it was time to rough sand and square the corners and joints up. If you notice one of the boxes is not the same, it’s because I used mahogany and poplar the one I made for my lady.
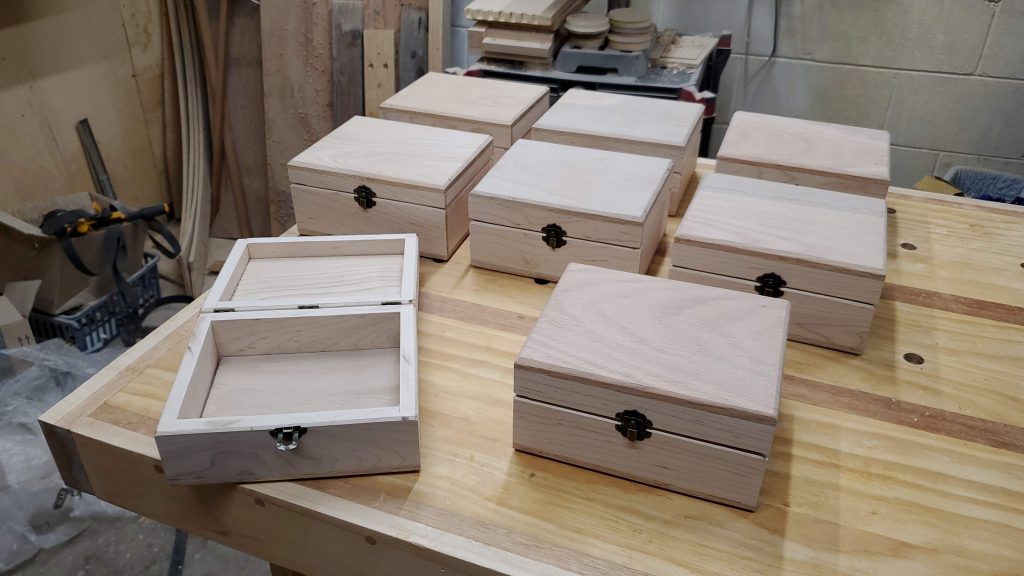
After that it was time to separate the tops from the bottoms and add the hardware. I decided to use antique bronze clasps and three small hinges for each box with the same metal style. I also added a camfer around the edges of the top and bottom of the box, and a very, very slight camfer to edges where the lid and base come together. I always like how that looks, even though I do not see many boxes made that way.
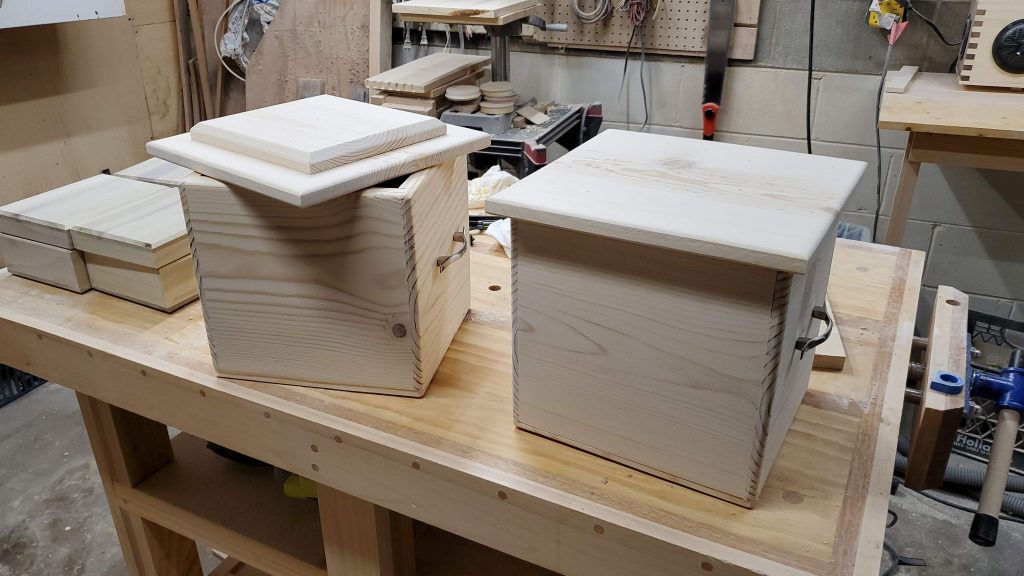
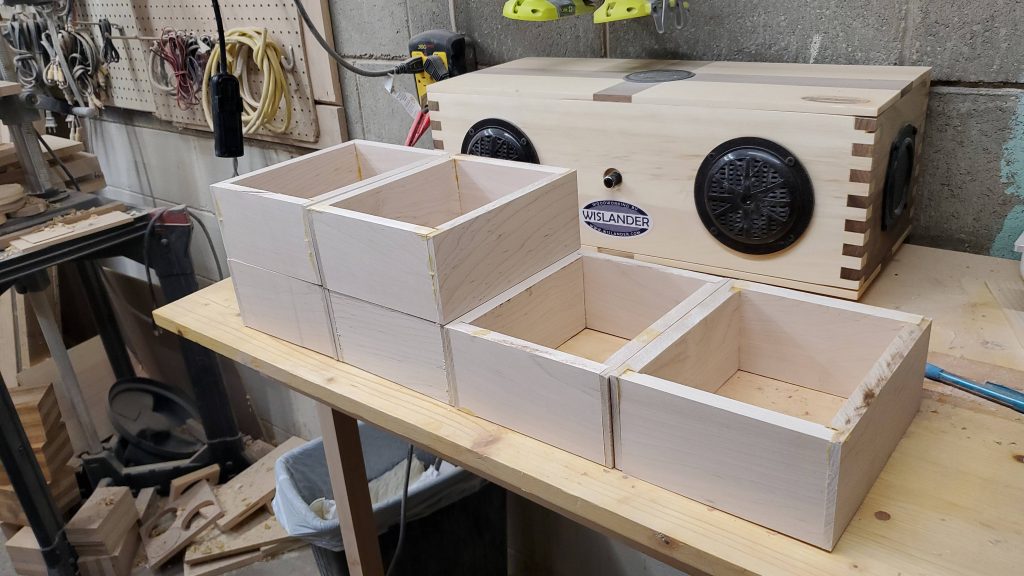
After making the smaller boxes for the adults, I decided to make larger boxes for the small kids, with the idea they could be used for storage down the road. The design is different, and they also have handles and a self centering lid. All of the edges on these boxes were rounded to make them “safer” for kids. I used pine on these boxes to decrease the weight a bot.
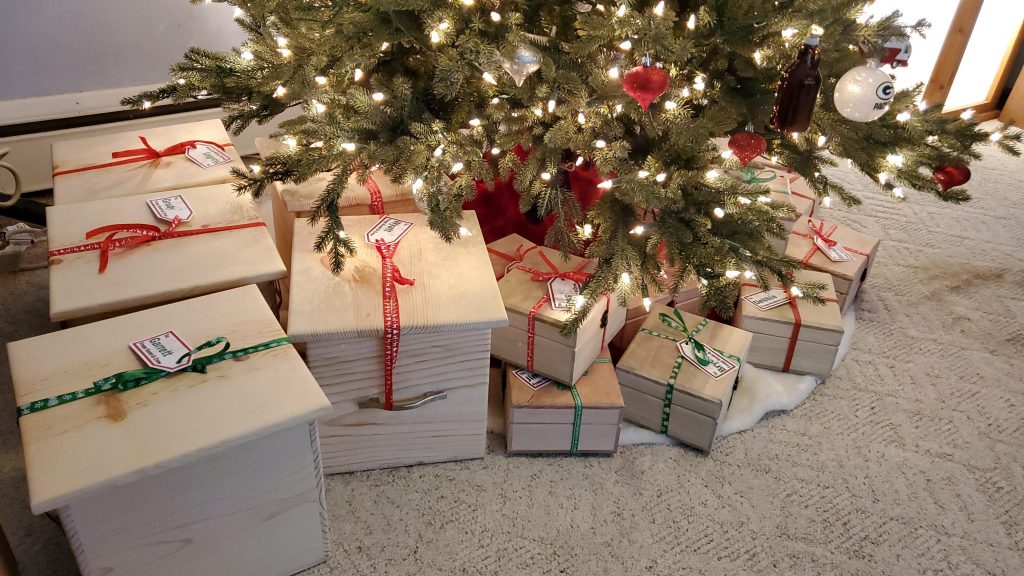
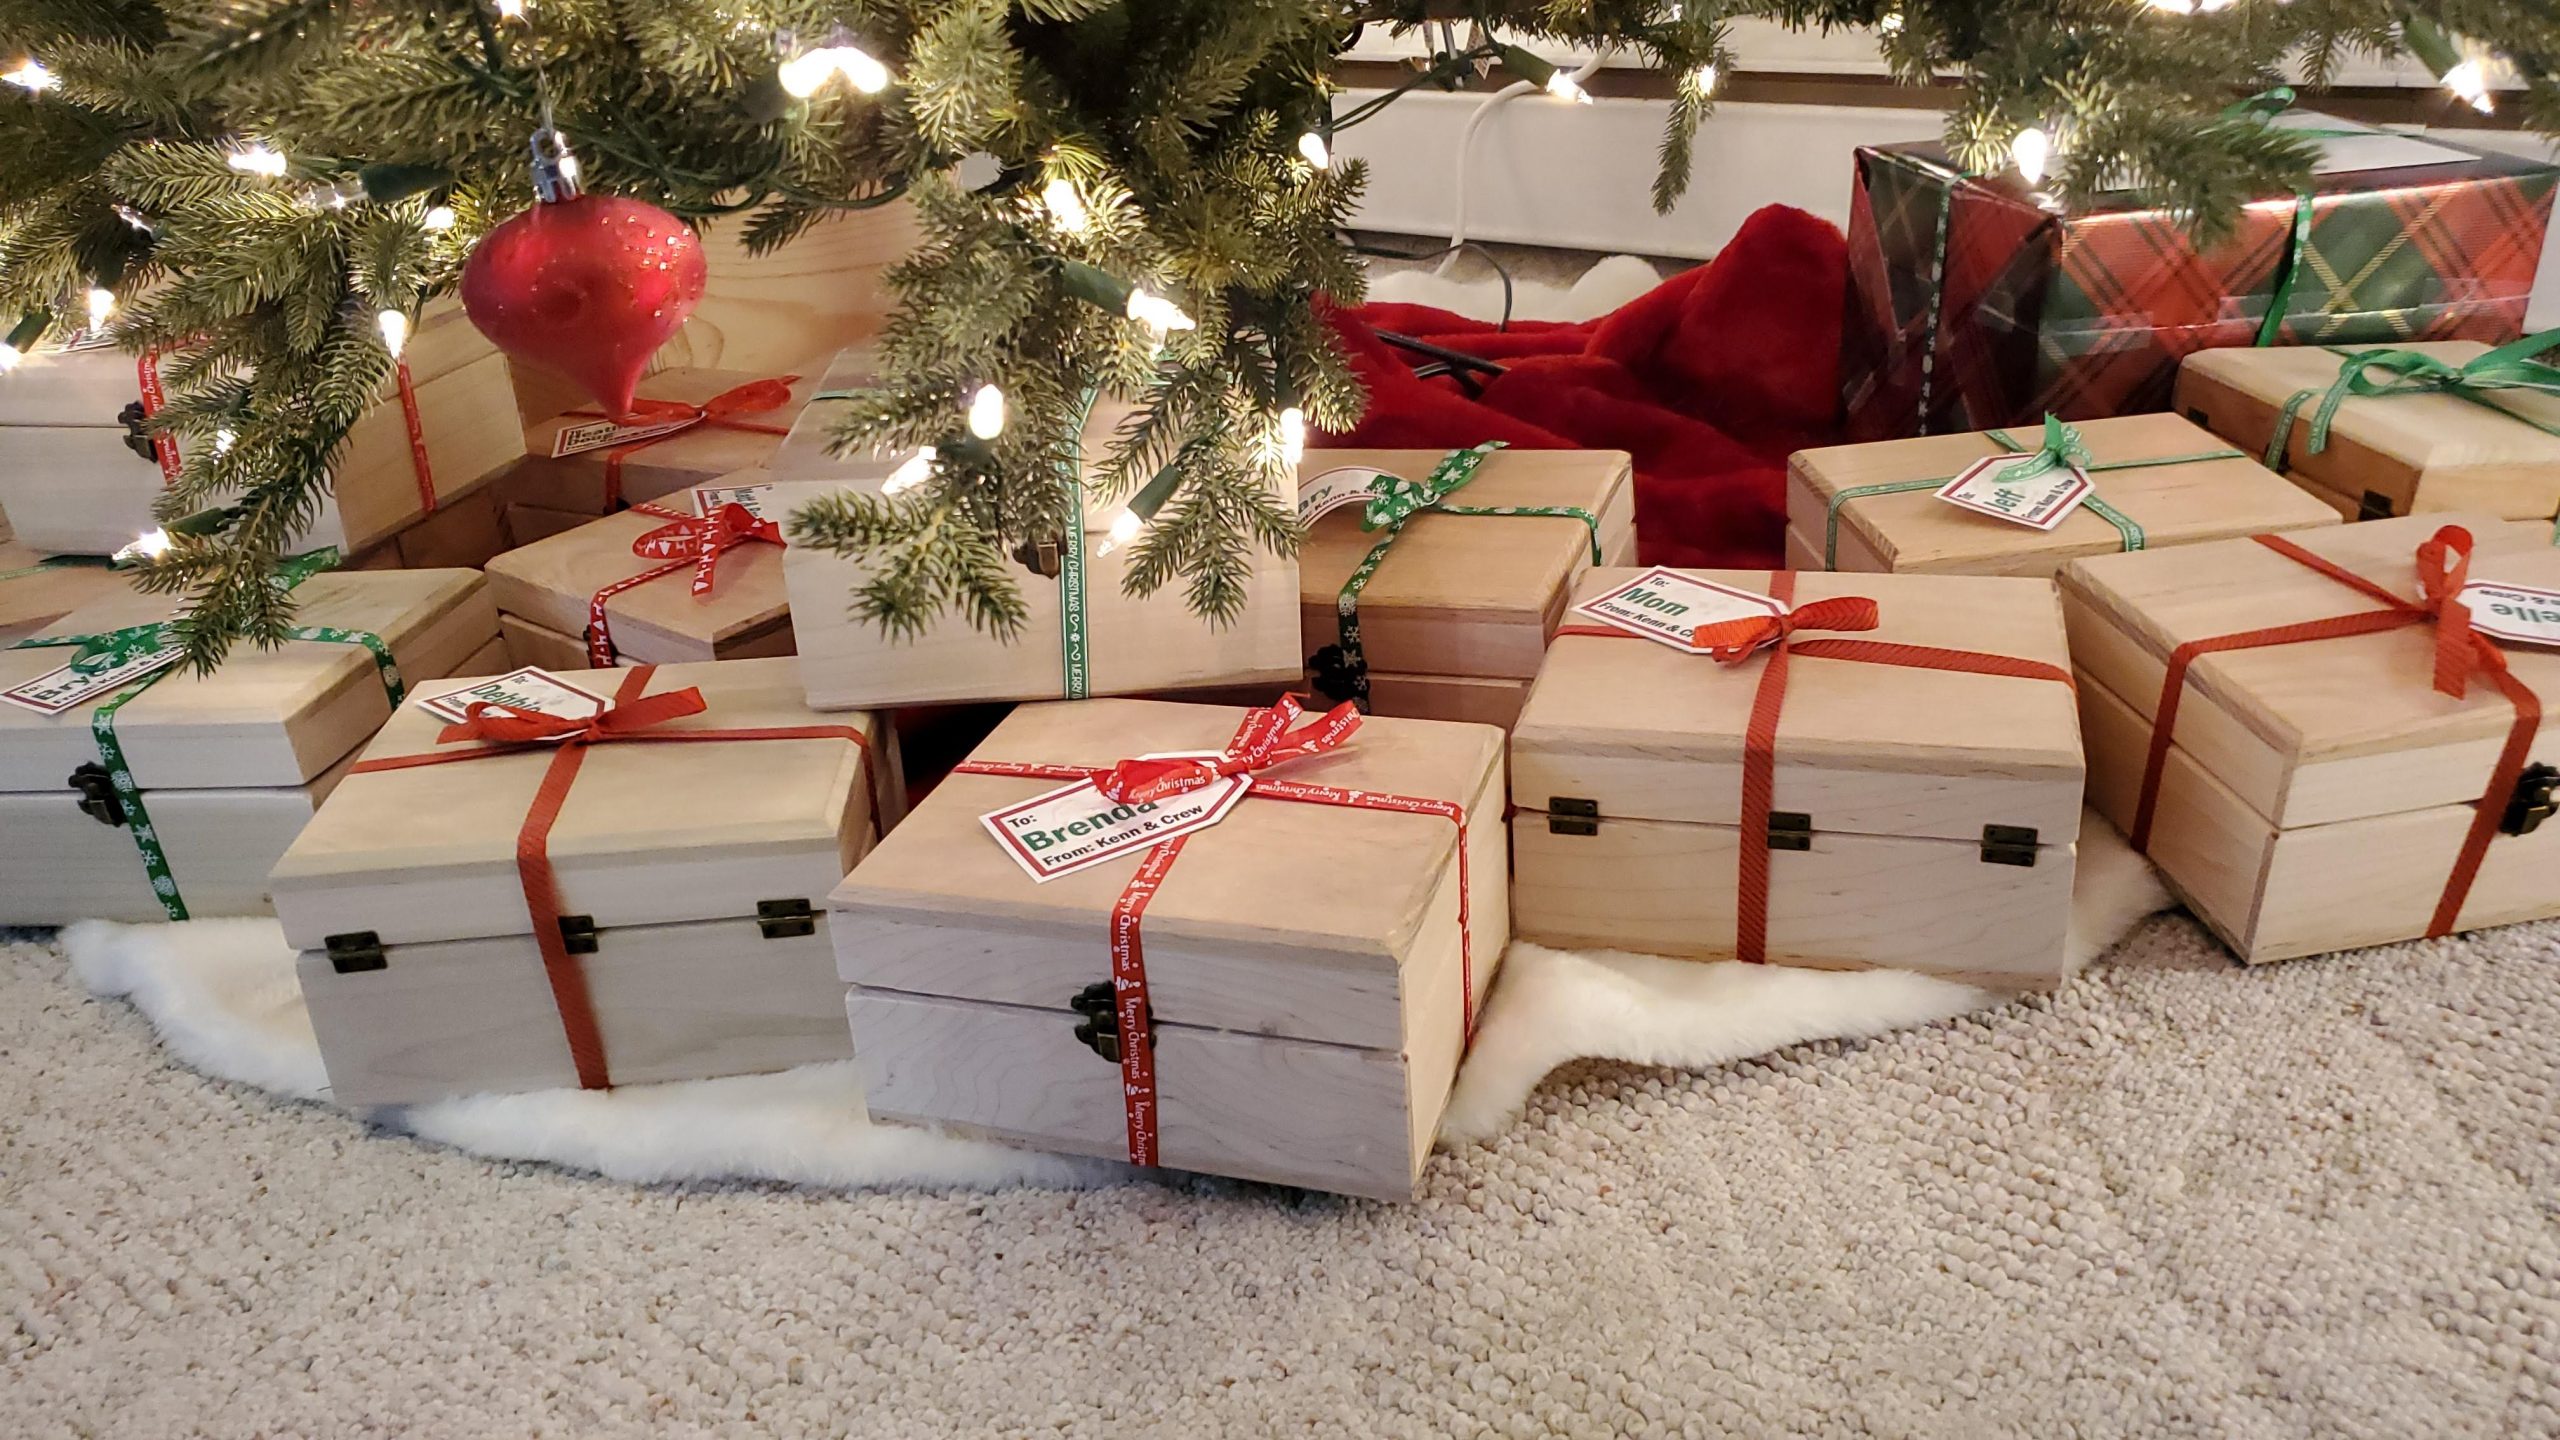
I also created custom tags for the presents and added ribbons to finish out the design. Here is a final image to show how they looked under my tree. Shortly after this photo was taken I loaded them up and played Santa and delivered them to each family’s house to surprise everyone.