As a surprise for my Lady I decided to make her a new lamp, and I also decided to use my technical background to build a hidden computer in the base to make it a multi-fuctional device; and not a boring usual looking computer. The final item is a very early anniversary gift.
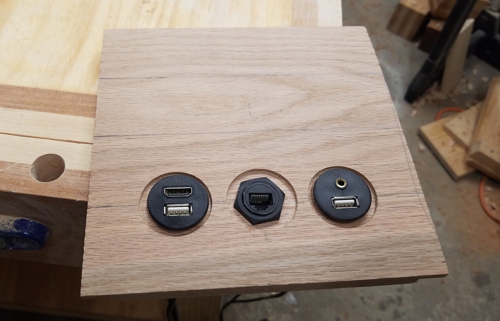
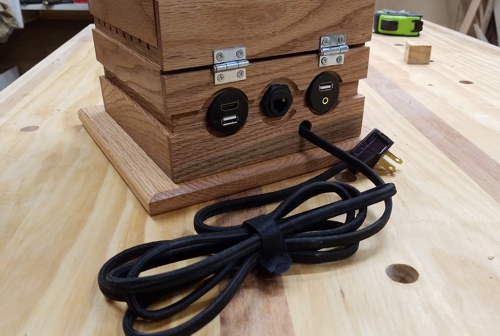
To add a more finished look to the item I went on-line to Amazon and purchased a few motorcycle and cabinet pass through adapters. I also wanted to make sure that they were all about the same size, and could be easily mounted in a box. After that I also ordered a ultra small form factor motherboard with integrated Intel processor and video card, 4 Gig of RAM, a 2 TB Hard Drive, and a fanless power supply. All small enough to fit into the box.
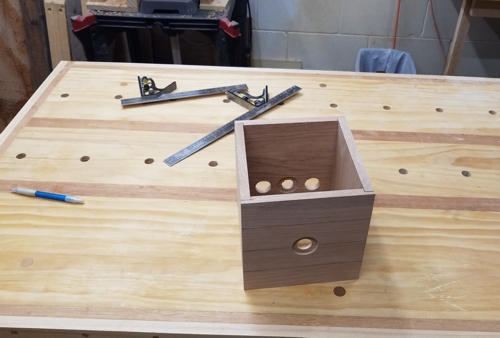
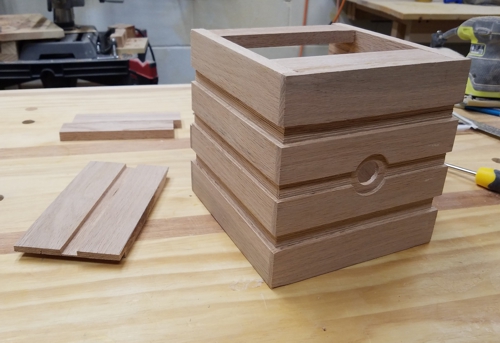
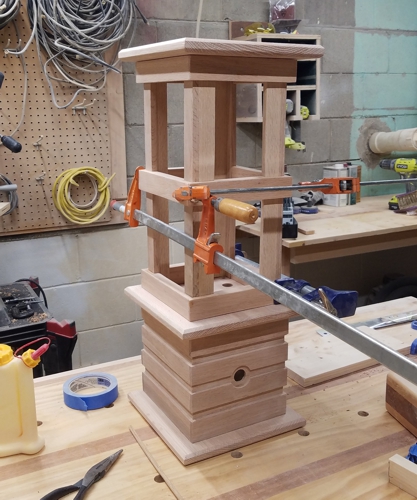
Then it was time miter in the box, and create the opening for the power switch for the lamp in the front of box. The test fit was successful. In the end it will be a 7.5″ x 7.5″ x 7.5″ box that will serve as the base, and it will have a lot of power packed into it.
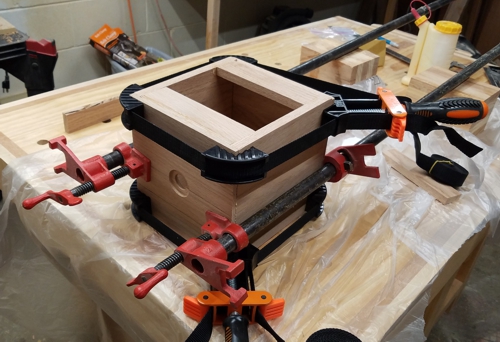
Then it was time to glue it all together and a few supports to be used to mount the multiple layers together and add some stability. I’m also testing out a few band clamps.
After the glue dried I added a few design elements so that it was not just a simple and boring cube shape. Or at least it made it more interesting for me.

I also needed to make sure that there was a access to add the computer hardware, and perform maintenance on the computer if necessary down the road.
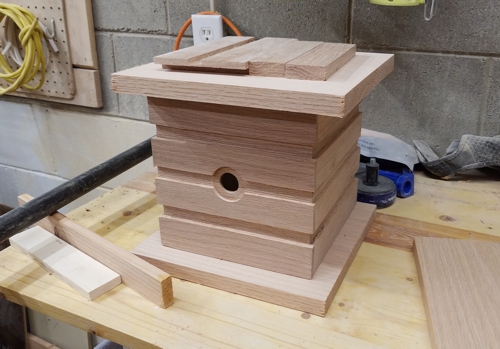
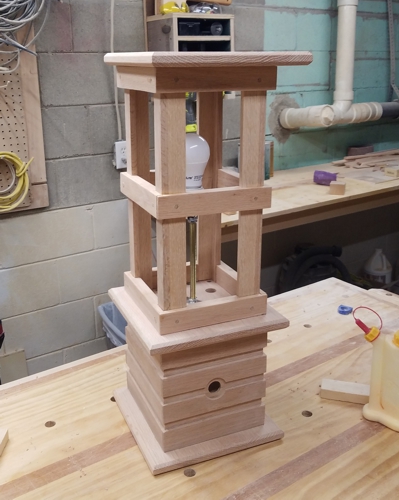
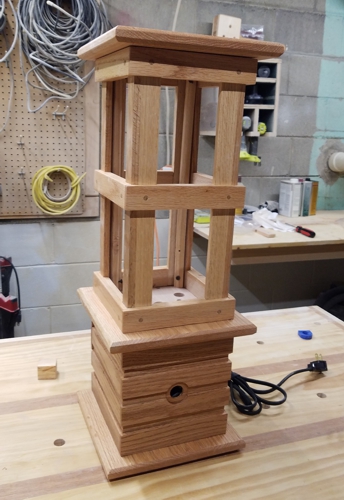
The basic shape is starting to come together. At this point the easy part is done, from here it was time to start building the lamp portion.
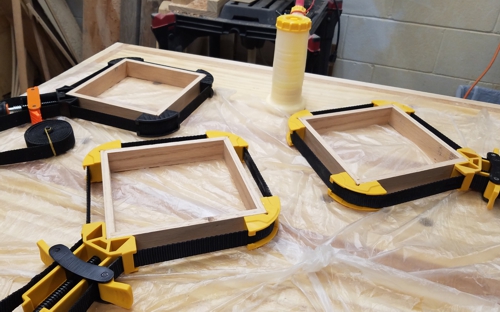
I will say that I have decided that band clamps for projects and gluing boxes and frames have become my new favorite tool for gluing up. Or at least one of my favorite.
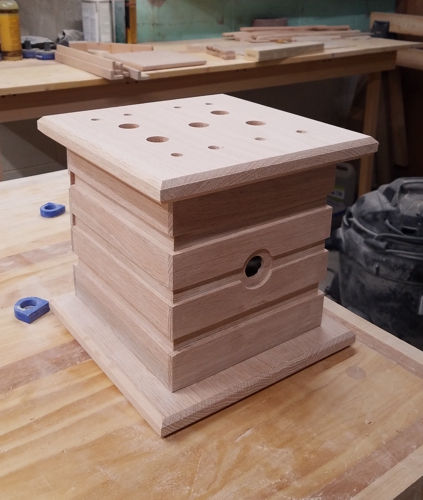
The base is now glued together, the top is set up to mount the light socket and allow for the heat from the computing space to vent up and away from the system so it can stay on all of the time.
With a bit of glue, a wooden mallet, and few camps the framework for the lamp is now secured into place and added to the base.
Then to was time to test fit the light socket hardware to make sure everything lines up okay. The top was not glued into place because I will add hinges later to to give access inside the lamp to change the light bulb if necessary.
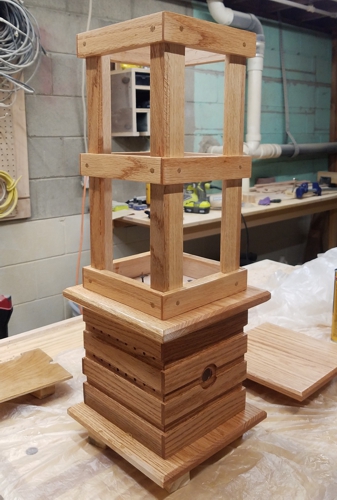
After that it was time to start applying the polyurethane finish to the project and all of the various pieces. In background I have already cut the lamp plexiglass panels and the supports that will hold them in place.
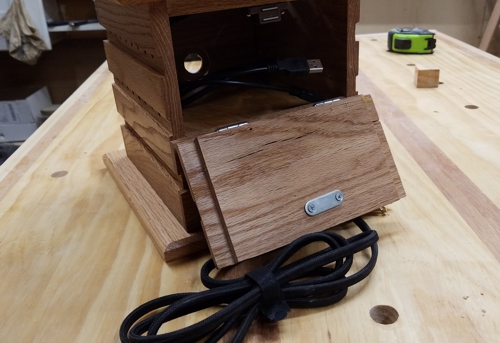
Once the finish was dry it was time to start adding the hinges and the computer hardware to start finishing out the design.
Then it was time to start mounting the panels and the light socket and test everything out. And hope that all of my solder joints are solid.
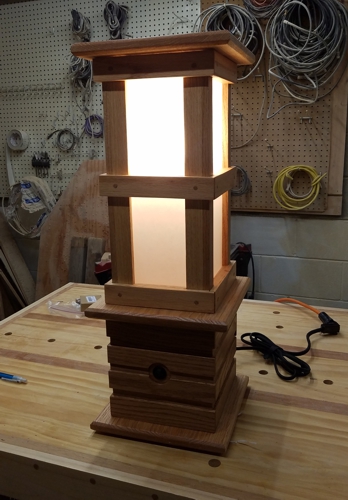
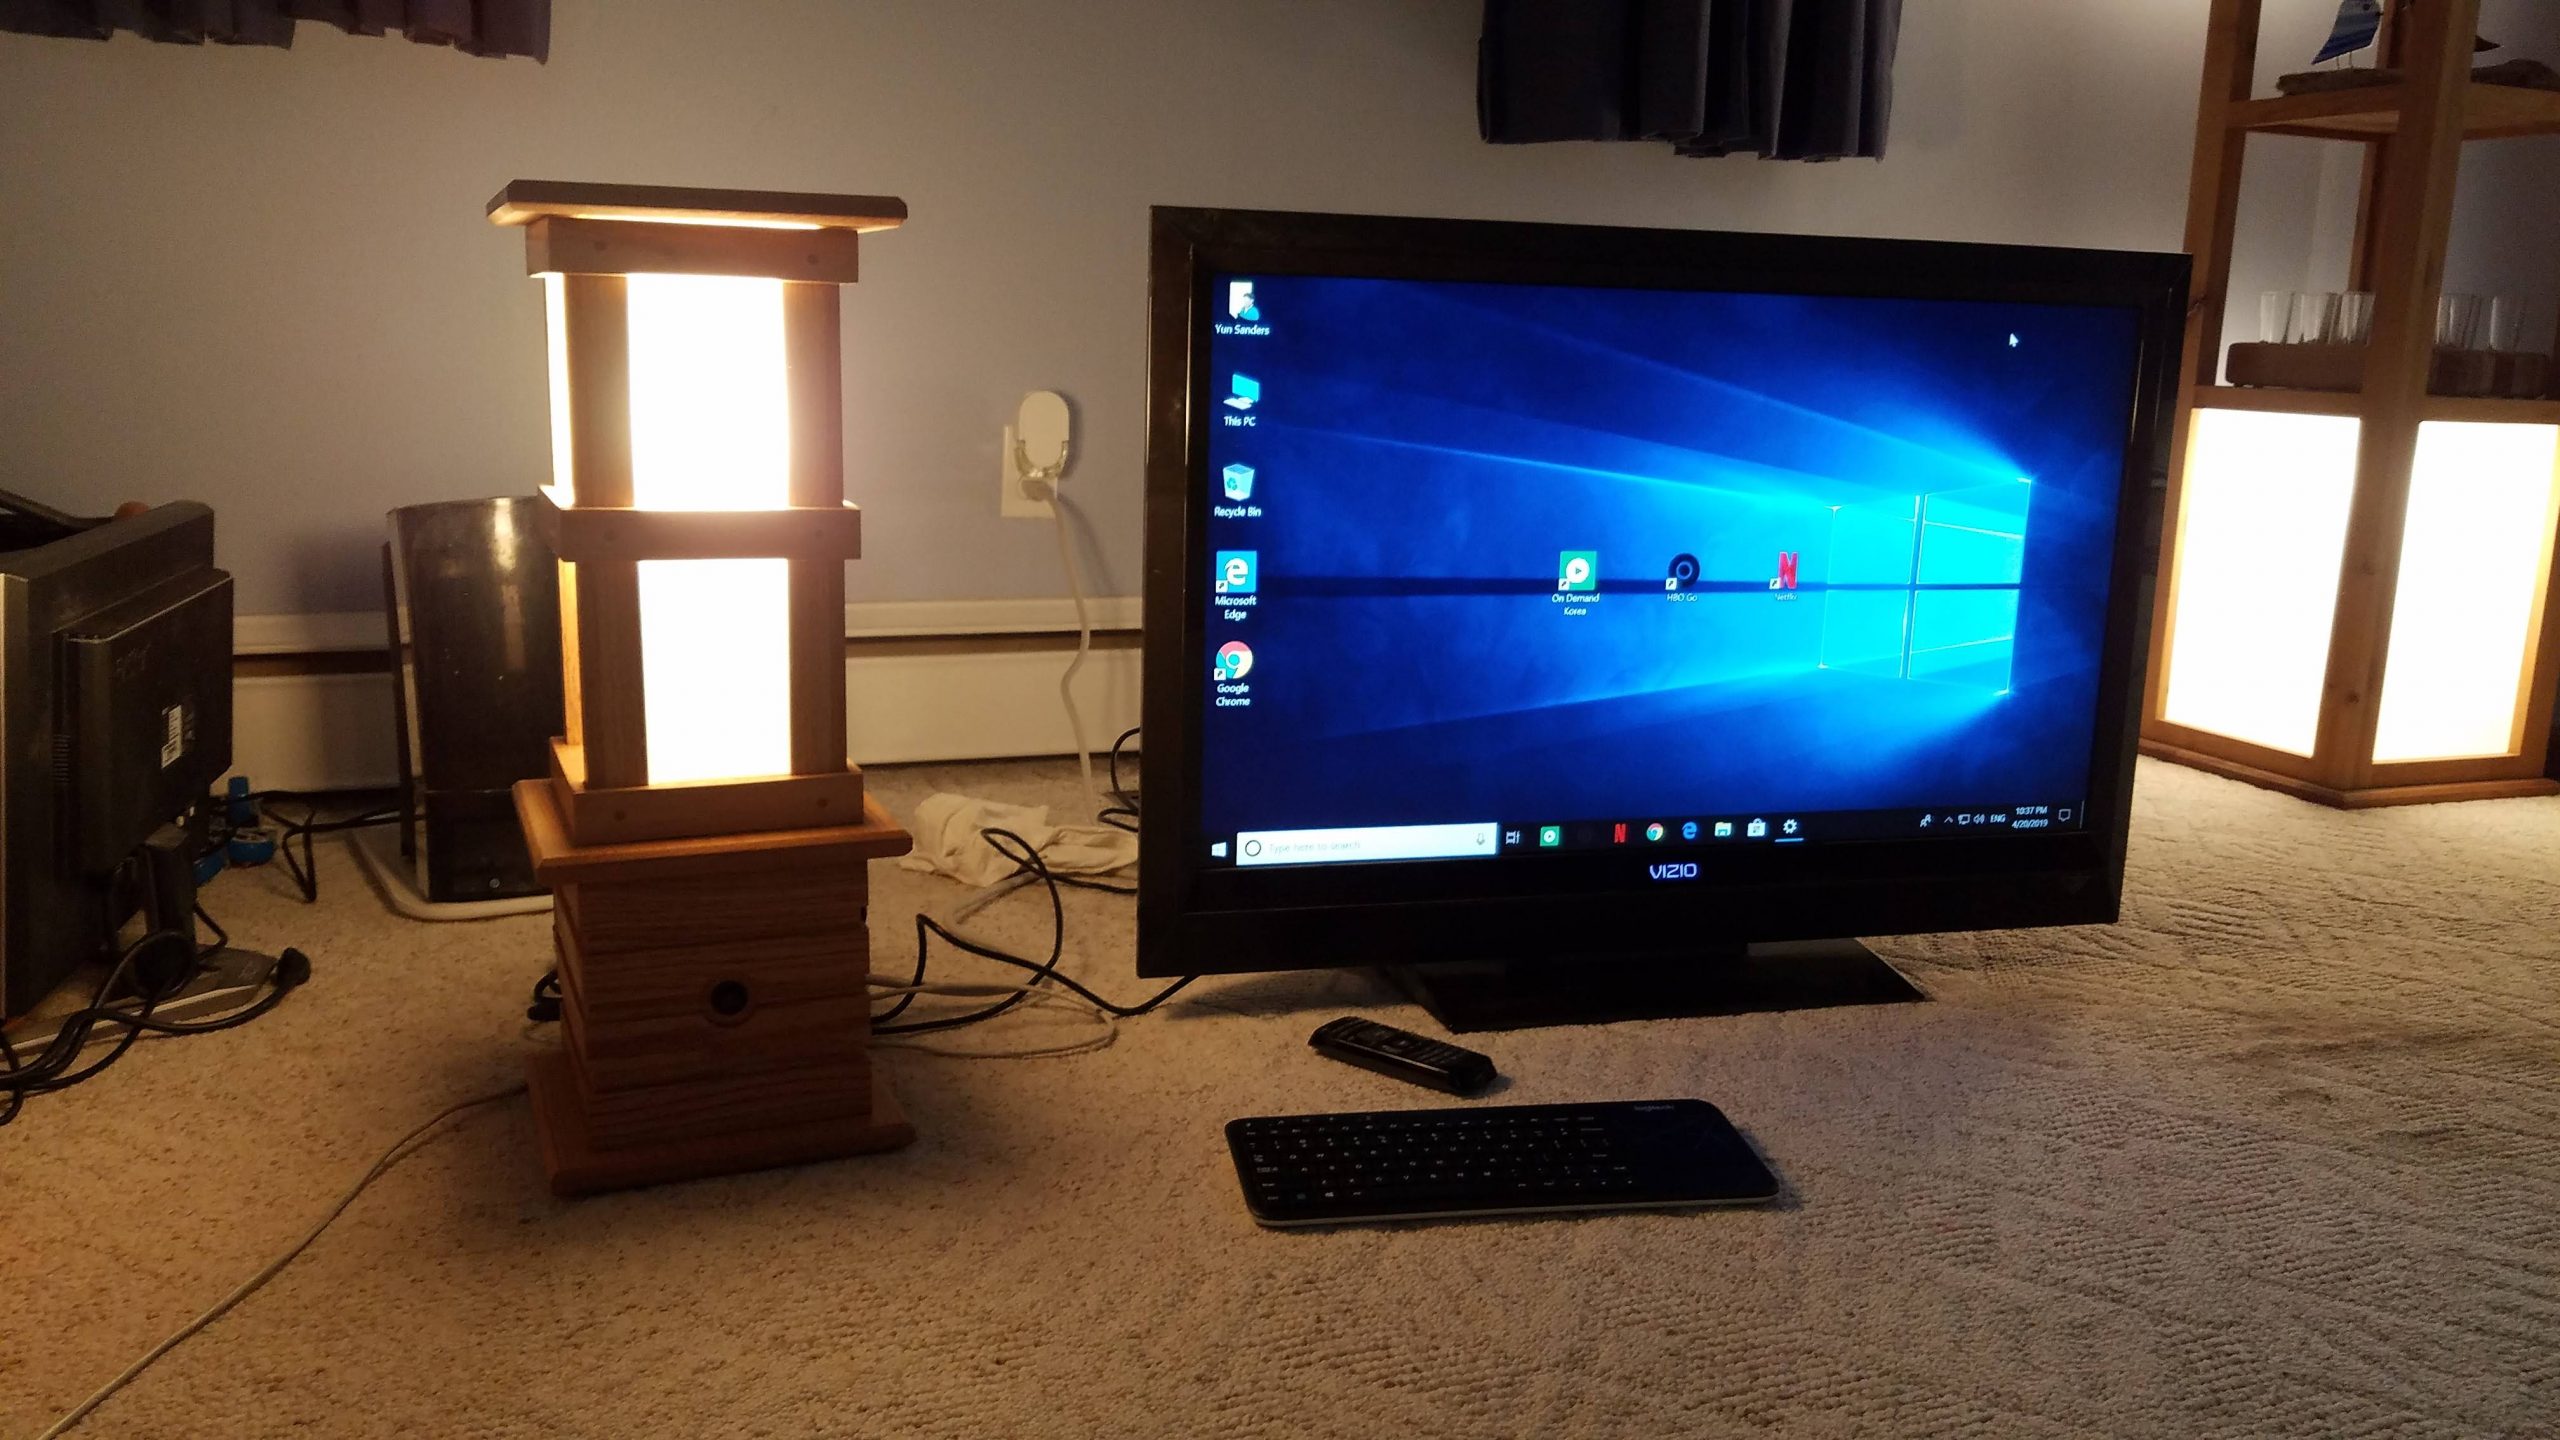
Then all that was left was to fire the computer up and make sure everything worked as I expected it too. My lady loved the final design, which served as both an early anniversary present, and to give her a pretty lamp, and to a better a way for her to watch Korean TV shows and movies, instead sitting at a table watching them on her laptop. Overall the project took three weeks, when you include the time to research and set up the computer, and to build the lamp to a size that could hide it.