
Sometimes you have an idea that you need to roll forward with just because you have some extra wood, and you wanted to make something nice for your lady. That is the case with this wooden box project.
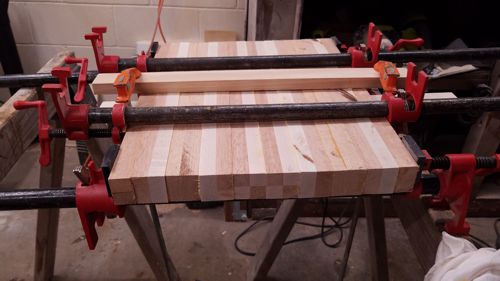
So the gluing begins. All of the wood used in this project are from remnants of the workbench that I built for my wood shop, better known as my basement and utility room. But I digress.
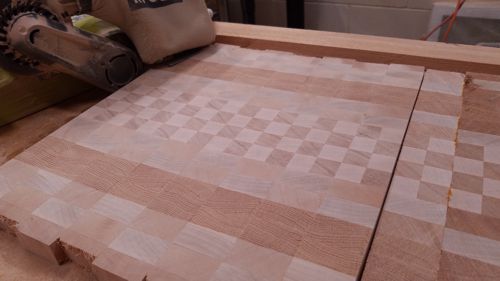
A lot of gluing, sawing and sanding later we have a really good start on the top and bottom panels for the box project. I still need to square them up and make sure they are both exactly the same size.
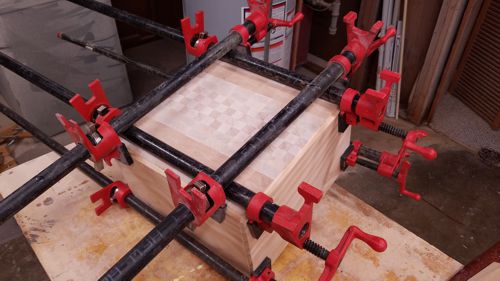
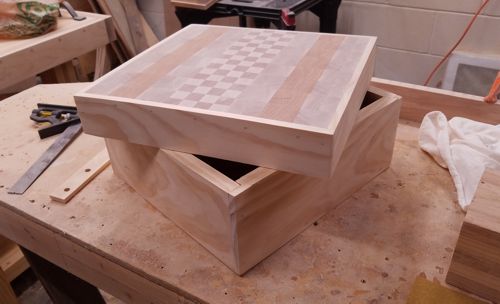
Once the top and bottom panels were the right size it was time to start forming the box itself. A few dado cuts, a bit of glue, and six wood clamps later and we have the basic shape of the box ready to go.
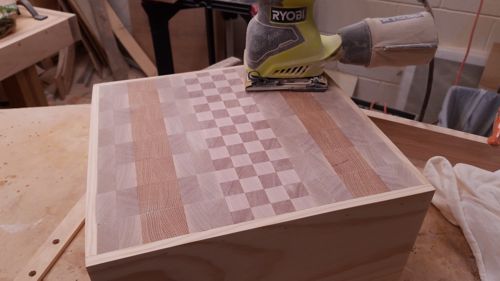
Next it was time to do some finish sanding. Okay, more than just “some” finish sanding, more accurate a lot of finish sanding to make sure it was perfectly smooth and ready to move onto the next stage.
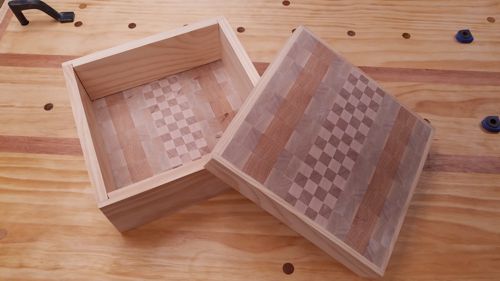
The next step of course is turning the solid box into a top and a bottom. Simple and easy after four passes through the table saw, and like magic we have two pieces. Okay, not really magic, but definitely physics.
Then it was time for some more sanding and a bit of shaping. Of course also pre-drilling the holes for the handles and the hinges for the final box design. And of course start looking at what kind of finish to put on it. And of course to get some input from the person who the box was being made for.
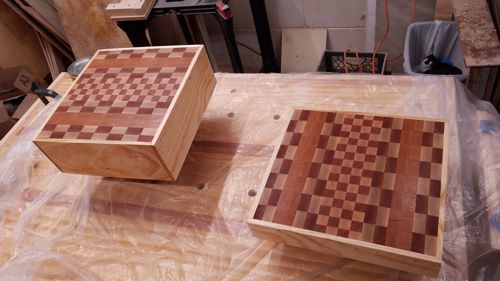
In this case the choice was to use a hand rubbed oil finish. Once it was set and buffed all that was needed was to put the thing together. When a little paste wax and additional buffing and the final box was ready to go.