Sometimes after you create one project you find yourself finding a need to build a similar project for yourself, and you feel it’s not right to take ownership of an item that you were purposefully building for someone else. *laughter* So I decided that I should just make another one instead.
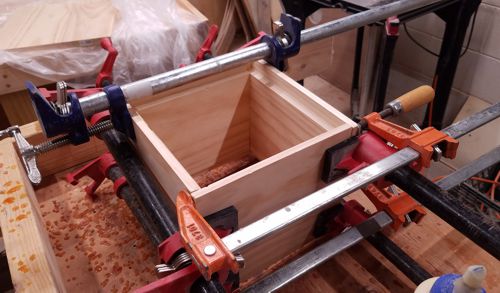
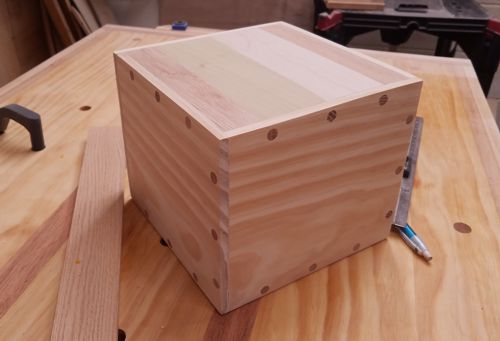
This time I took a different approach and created the box shape first with the plan to drop in the top and bottom of the box later. Of course I have to say neither approach really works better than the other. I also changed the design up a little, with all four sides are exactly the same.
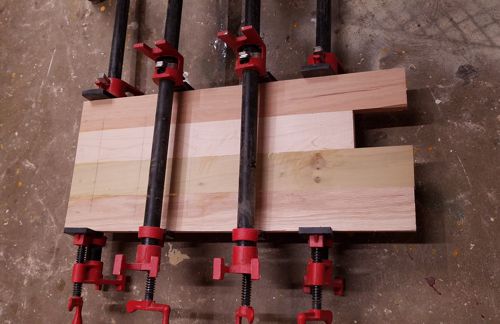
For top and bottom I went all out, and by that I mean I brought together all the wood scraps I had laying around and found four pieces that were long enough for what I needed size-wise, So that means a bit of hickory, poplar, maple, and aspen.
Then it was time to cut the panels to size, glue everything together and add some reinforcements and stabilizing screw a wood plugs for decoration. So basically I am saying I brought the last pieces together and let the wood dry for a bit.
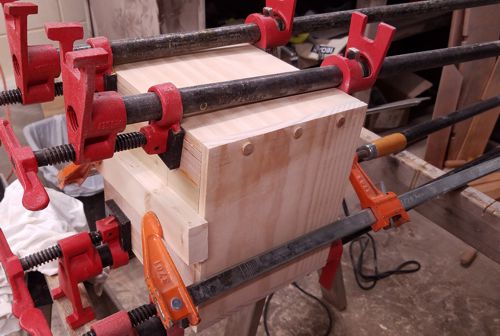
After the glue dried, then the sanding and shaping begins. Not too bad for a quick item I threw together. Once the sanding is done the next obvious step is to separate the top and the bottom to make the box functional.
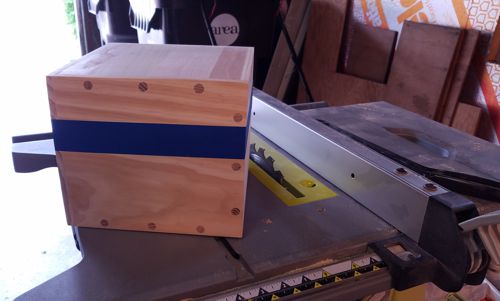
When you run a box like this through the table saw, to lesson the possibility of tear out I use masking tape along the path the blade will pass through. Also make sure you hold the box down against the table firmly and against the fence of the table saw.
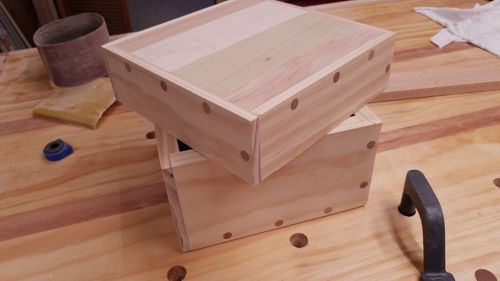
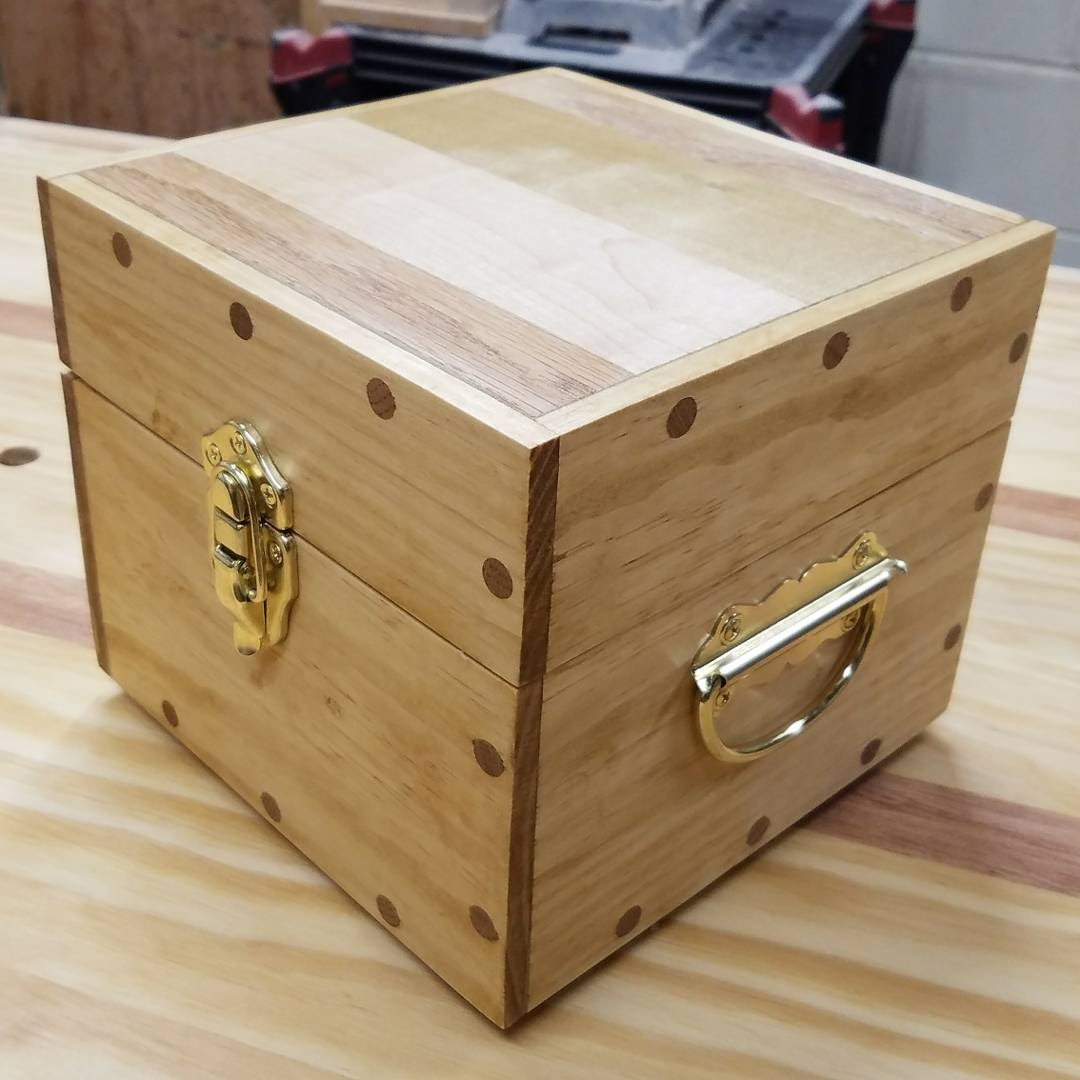
Once the box and the lid and base are separated all that is left is a bit of sanding, and of course drilling the holes for the hinges, the handles and the latch for the box. And of course figuring out what I want to use for the finish.
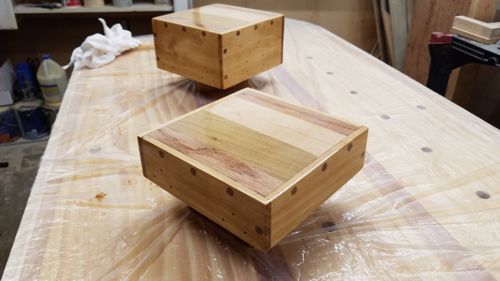
After that all we need is a few coats of polyurethane to finish out the box. Once the finish dries, all that was left to do was to assemble the final box and we are done.