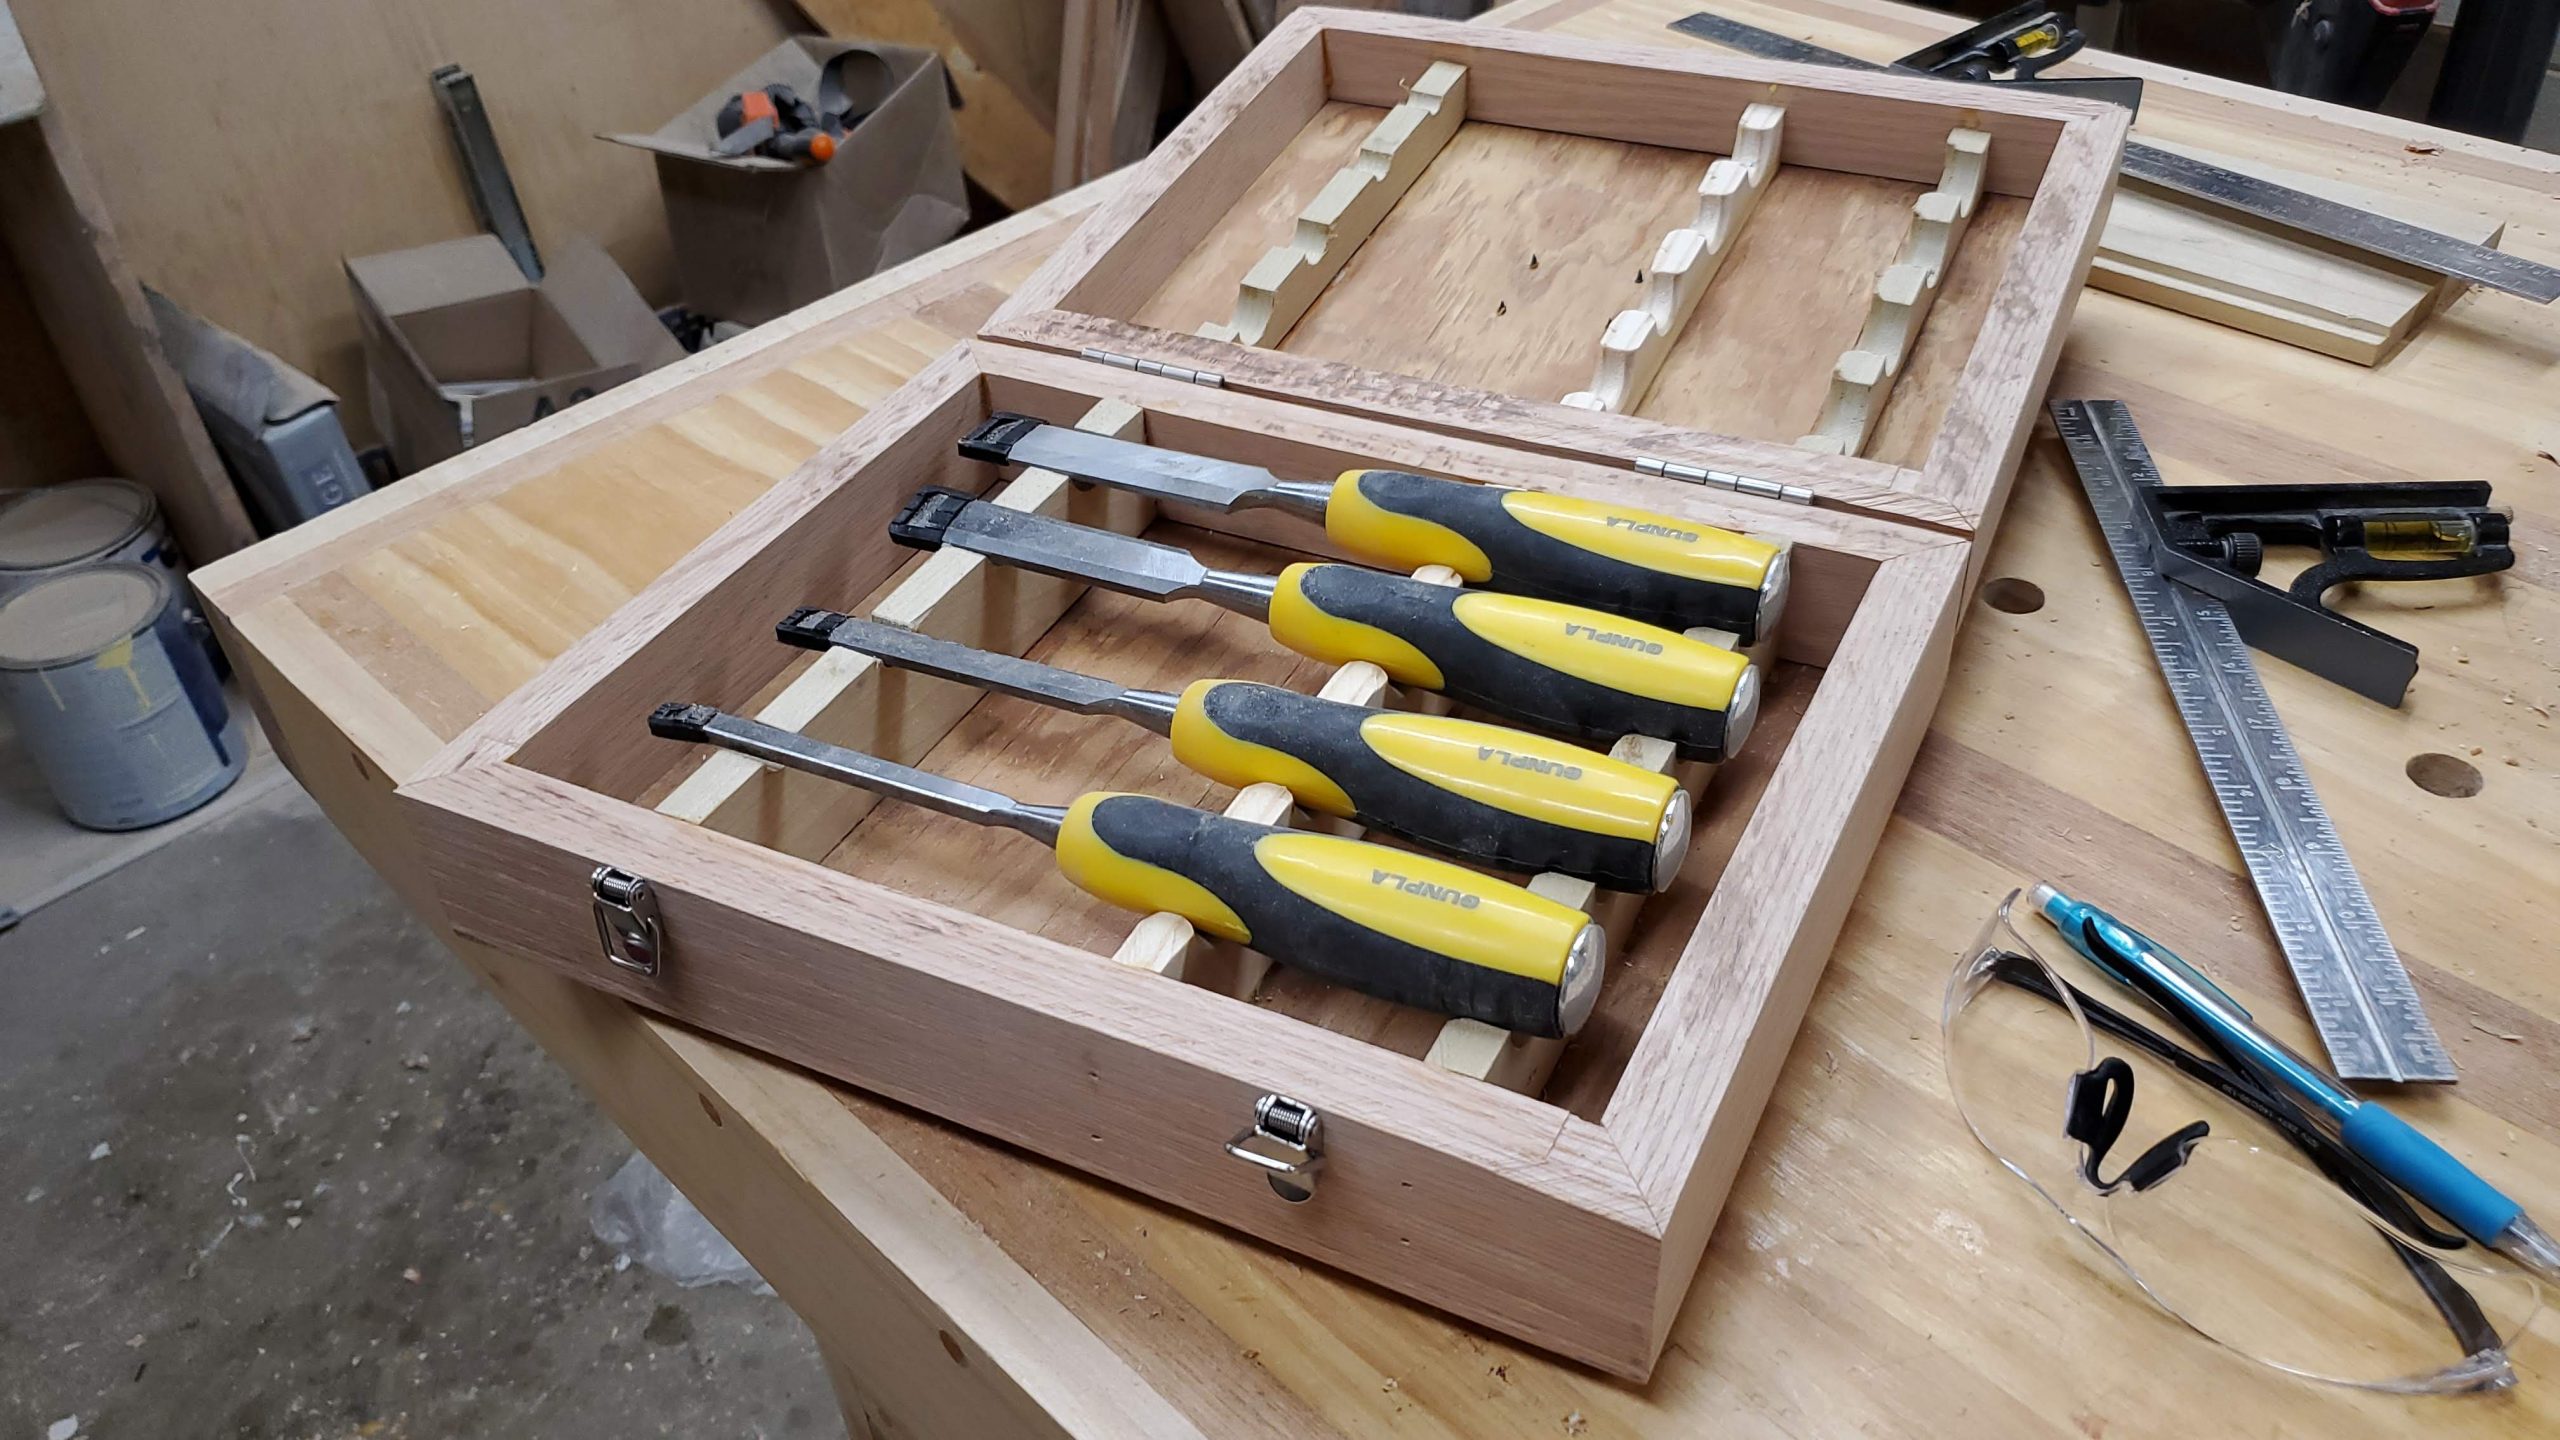
Sometimes I take a moment to build something practical to me, that doesn’t need to be perfect. But that doesn’t mean it’s not worth my time to add a bit of flair to it. In this case I needed a way to store my chisels instead of just letting them roll around in the toolbox.
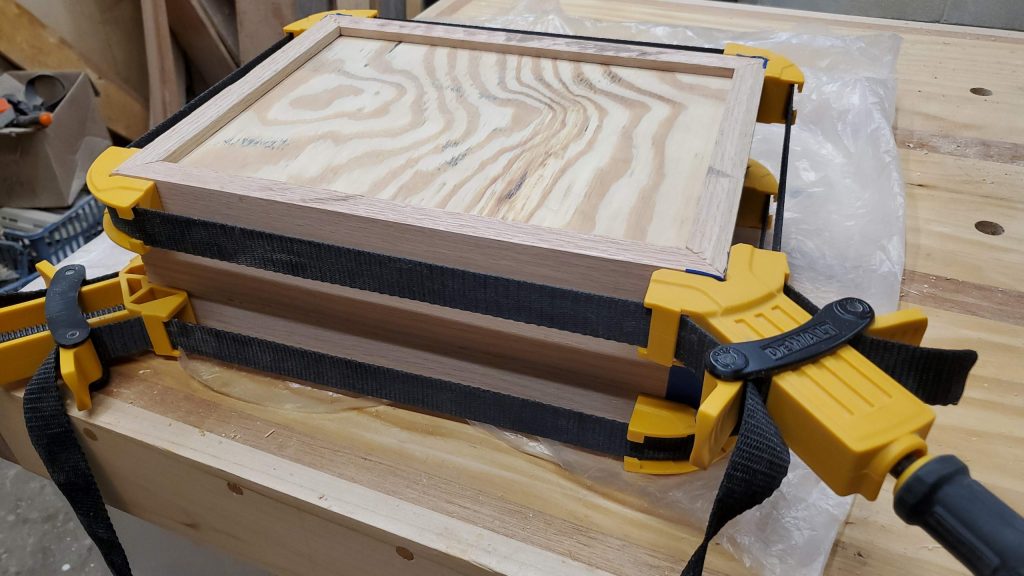
I started with some scrap plywood and a few oak cutoffs from past projects. A few dado cuts and couple of bevel cuts and I was ready to start gluing it together.
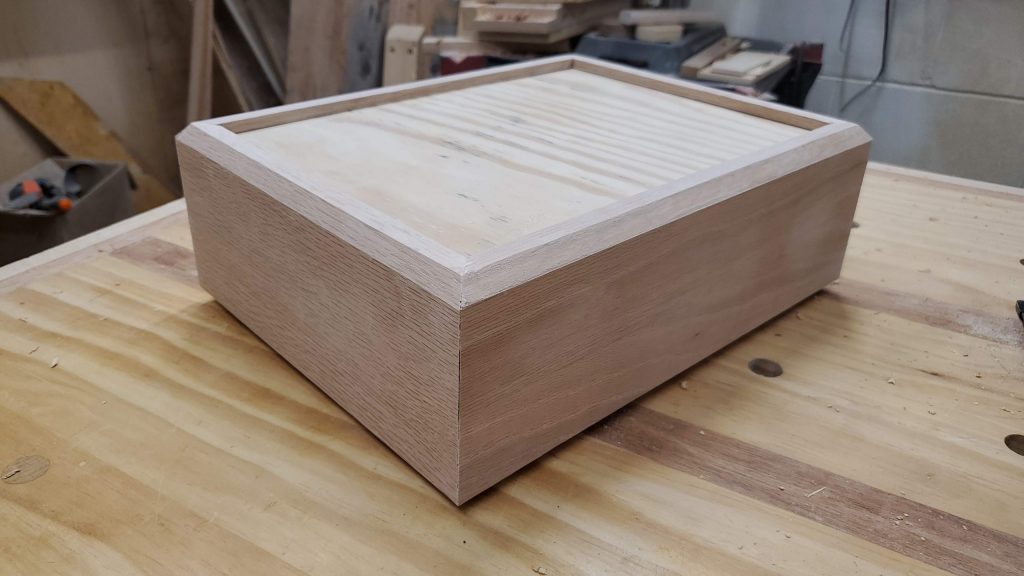
After the glue was dry, I spent a little time sanding the box and decided to add a decorative chamfer edge to give it a little more finished look.

Instead of creating the top and bottom separate I always prefer to build boxes like this all at once, and separate the top and bottom later. It has worked out well for me in the past.

After that it was just adding the inserts lining things up and adding the hardware. Of course adding the brand.