Sometimes you need to build something useful and decorative just to see where you can take it. In this case I decided to make a stylized decorative tray for my own personal use. Normally I make trays for others so this time I took a few chances because I knew the end user well.
I started thus out the same way that I start out many of my cutting baord projects, by gluing a few runs of wood together so I can create some end grain pieces. To start all I used were cut-offs of other projects and scrap pieces.
Then to add some contrast I added some additional types of wood, and in a wrap around pattern to keep it all together and add some interesting aesthetics to the design.
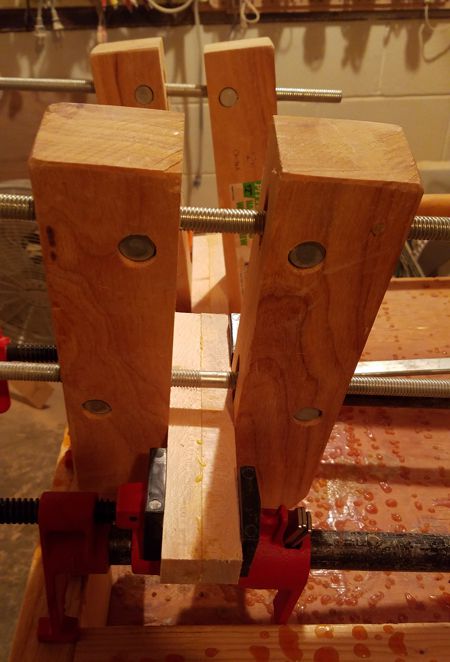
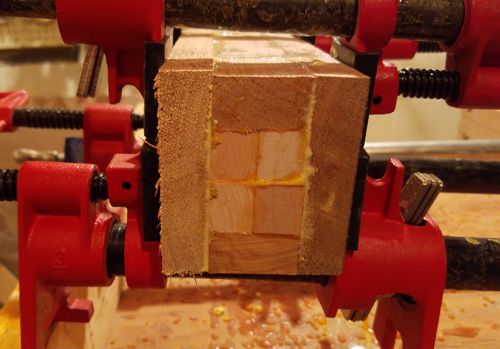
After it dried, I cut the stock into 1 1/2″ thick pieces and started to bring them together with dowel rods and a lot of glue and more clamp time. As I take them into the finishing stage the dark and light woods will have a greater impact.
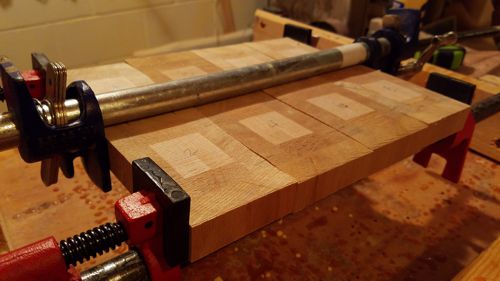
The it comes time to start bringing all of the sections together to form the base of the tray with a lot of glue, and a lot of dowel rods. Makes me wonder sometimes what weighs more, the wood or the glue and dowel rods.

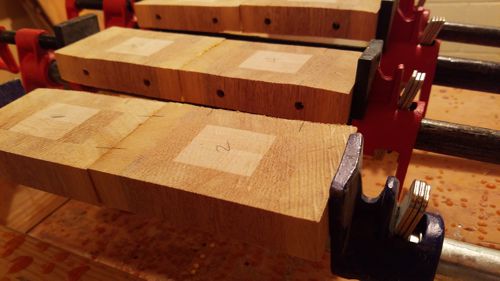
After the basic gluing and a few trips through the planer to level it off and bring it down to the thickness I need, then it was time to run few passes through the table saw to square things up. Not too bad even in the rough state.
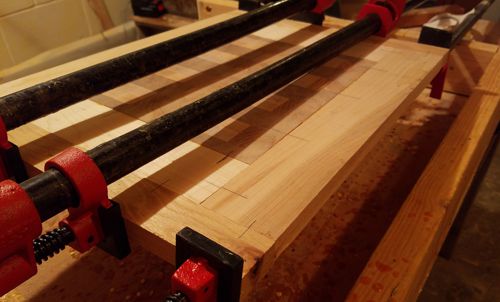
Then a few more strips of wood to finish out the basic shape and design of the tray base. Seems like a lot of work, but you will not see anything like this in a retail store anytime soon.
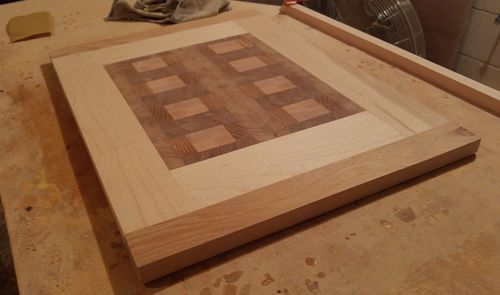
After the glue dries, one more time through the table saw to square things up, and a lot of sanding to bring out the grain and design. This is the last stage before I start the first stage of the finishing process.
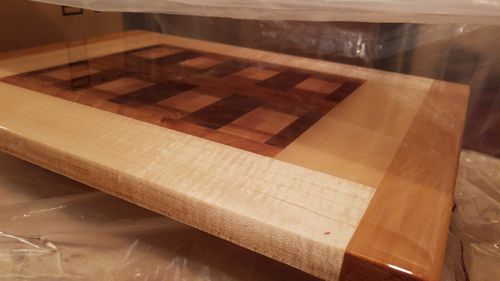
Decided to give the tray base a super tough and shiny finish using glaze coat, partially for the aesthetic, and partially for the durability.
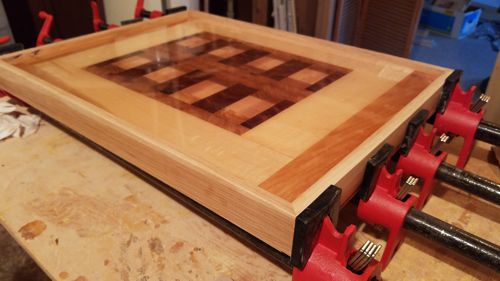
After the glaze coat dried, I squared the top up one more time, and then added a nice and solid hickory frame to hold it in and support it as the next stage of the design.
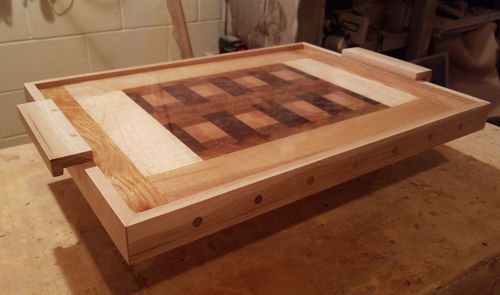
Then it was time to add some handles The handles are actually the same material and left over pieces of the frame, trimmed to size and rotated to a 45 degree angle held into place with dowel rods.
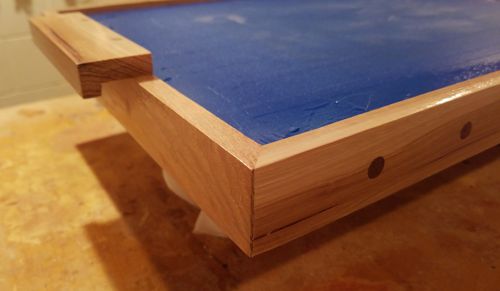
Then it was time to add some polyurethane to seal and finish out the frame. To protect the glaze coat on the tray base I used a bunch of masking tape. One the frame dried it was fully ready to go.