
Recently someone reached out to me asking me to build them a small table that had very specific opening size.
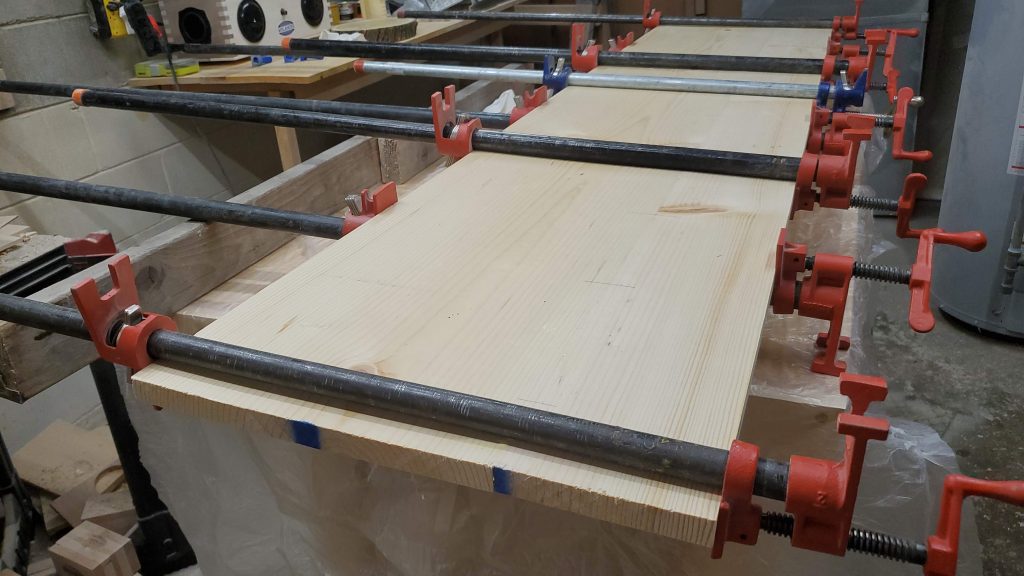
Of course to do this we once again start with some wood and glue in a bunch of wood clamps.
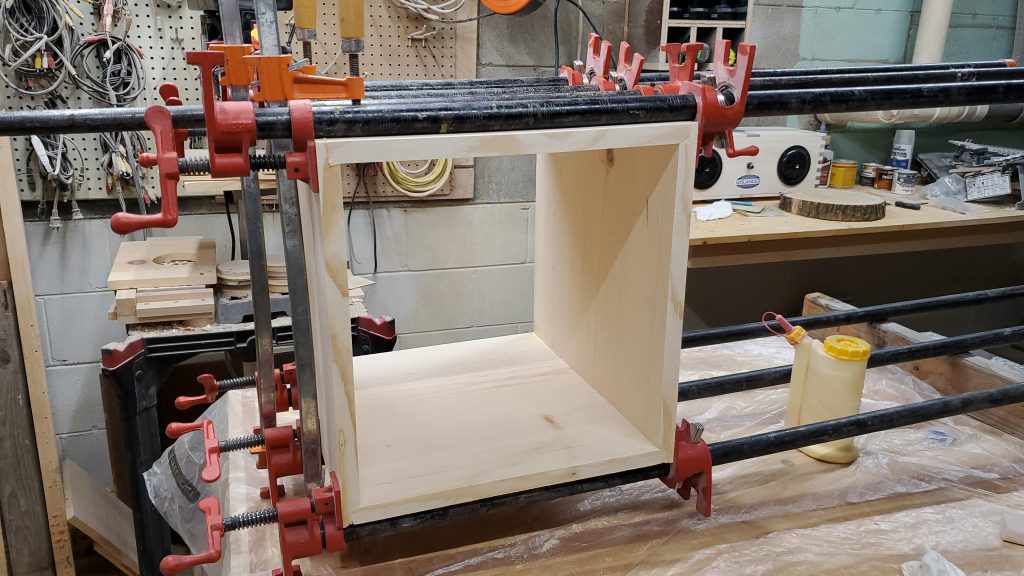
Next with was cutting the boards to size, and and adding a few dado cuts to create rabbits joints to add strength and stability.
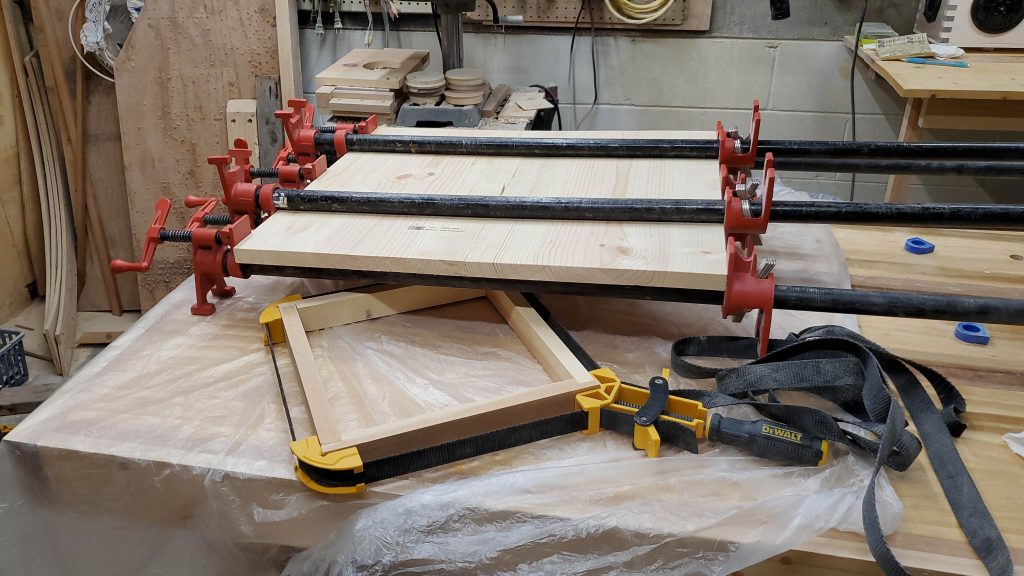
While that dried, I them moved on to making a table top, and a small little pedestal to have the table sit on.
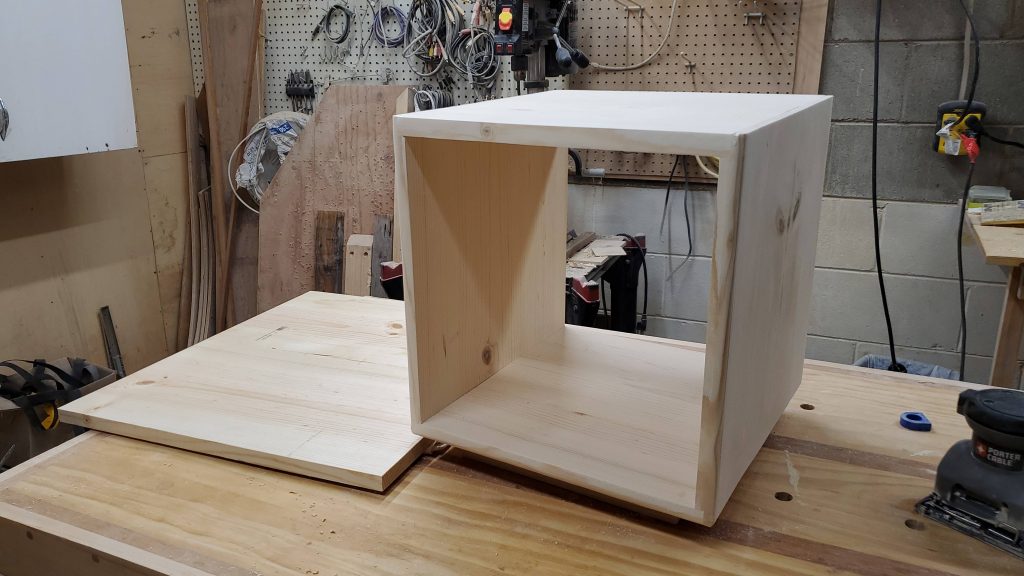
Then once everything was ready it was time to take the my little edge router and round over the edges and then it was time to sand, sand, and more sanding.
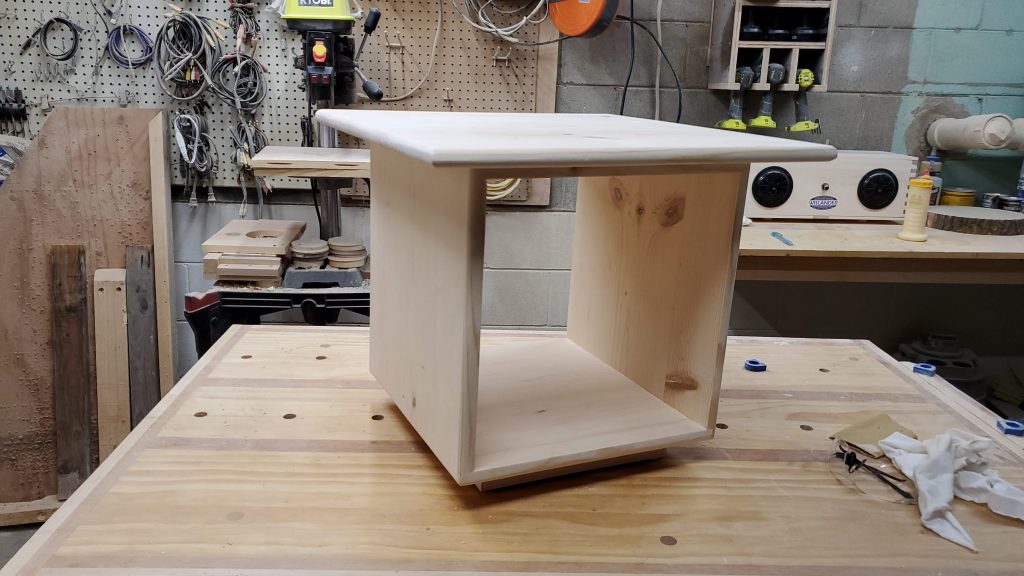
After that, it was time to mount the table top and the pedestal, and this little guy was done. The person I made this for plans to paint it and mount a Duplo mat on top of it for a little girl to use in their playroom.