After creating the laundry room door I figured that it was a project that turned out pretty good, maybe I should replace another door in my house that has always looked like it survived a war, and that would be my basement door.
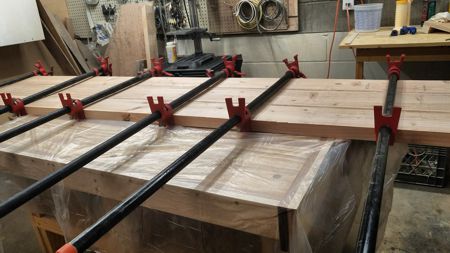
Step one ripping to width and gluing. This time I decided to use mahogany again as a design element, but instead of pine like last time I am using Douglas Fir. And instead of buying fully processed and rendered boards, I decided it would be a fun project to convert some rafters into a door. Although a little more work, it gives me more wood shop time, and who could complain about that?
After the glue dried, and a few passes through the planer to even things up, and getting the stock to correct thickness it was time to cut the pieces to right length to create a door to exact dimensions for my basement stairway doorway.
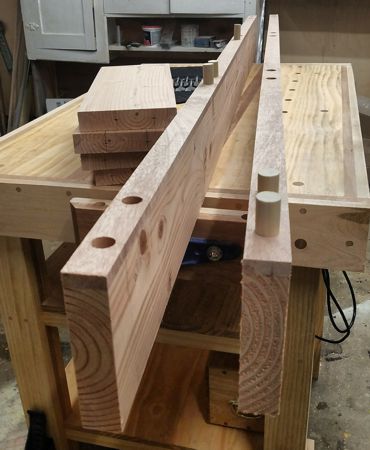
Then it was time for some “boring work” or more literally, it was time to bore the 3/4″ holes to bring the door together. This is where things can easily go wrong, if the holes are off, or out of alignment, it will throw the whole door off and make it not fit the opening.
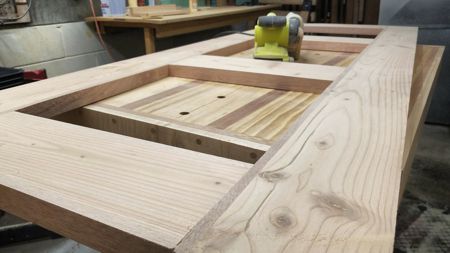
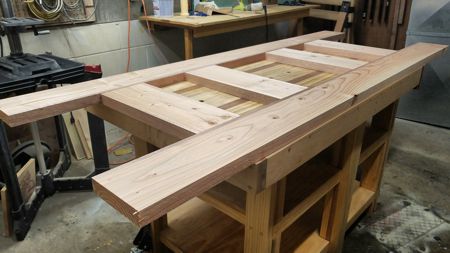
Once the door is glued up, and a little rough sanding, I took a quick moment to test fit the door.It also made me realize just how much heavier the solid wood door is than the hollow core door that it will be replacing. Especially when you are trying to balance it at the top of a stairway.
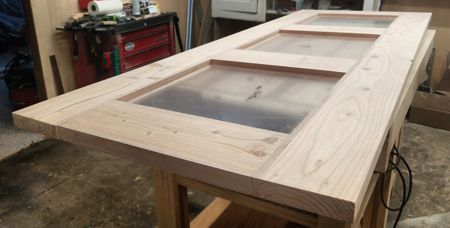
With the test fit was completed it was time to put the molding into place and cut the plexiglass panels to size. Since I was trying to keep consistent wood throughout the door, and since I didn’t have access to any quarter round molding made out of Douglas Fir, I created all of the molding pieces in my shop out of edges I cut off of the rafters when I was first sizing the boards.
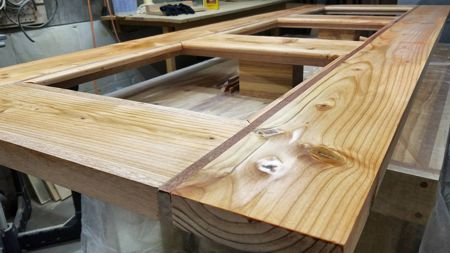
At this point it was time to start applying the finish. As with the last door I created I used a combination of tung oil, orange oil, bees wax. The Douglas Fir took the finish beautifully and really brought a nice reddish antique glow to door and really brought the whole thing together.
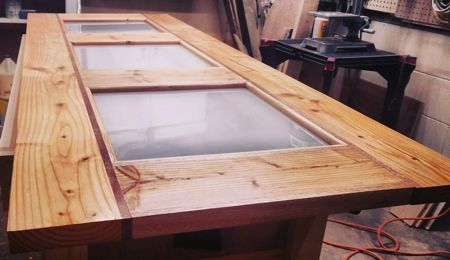
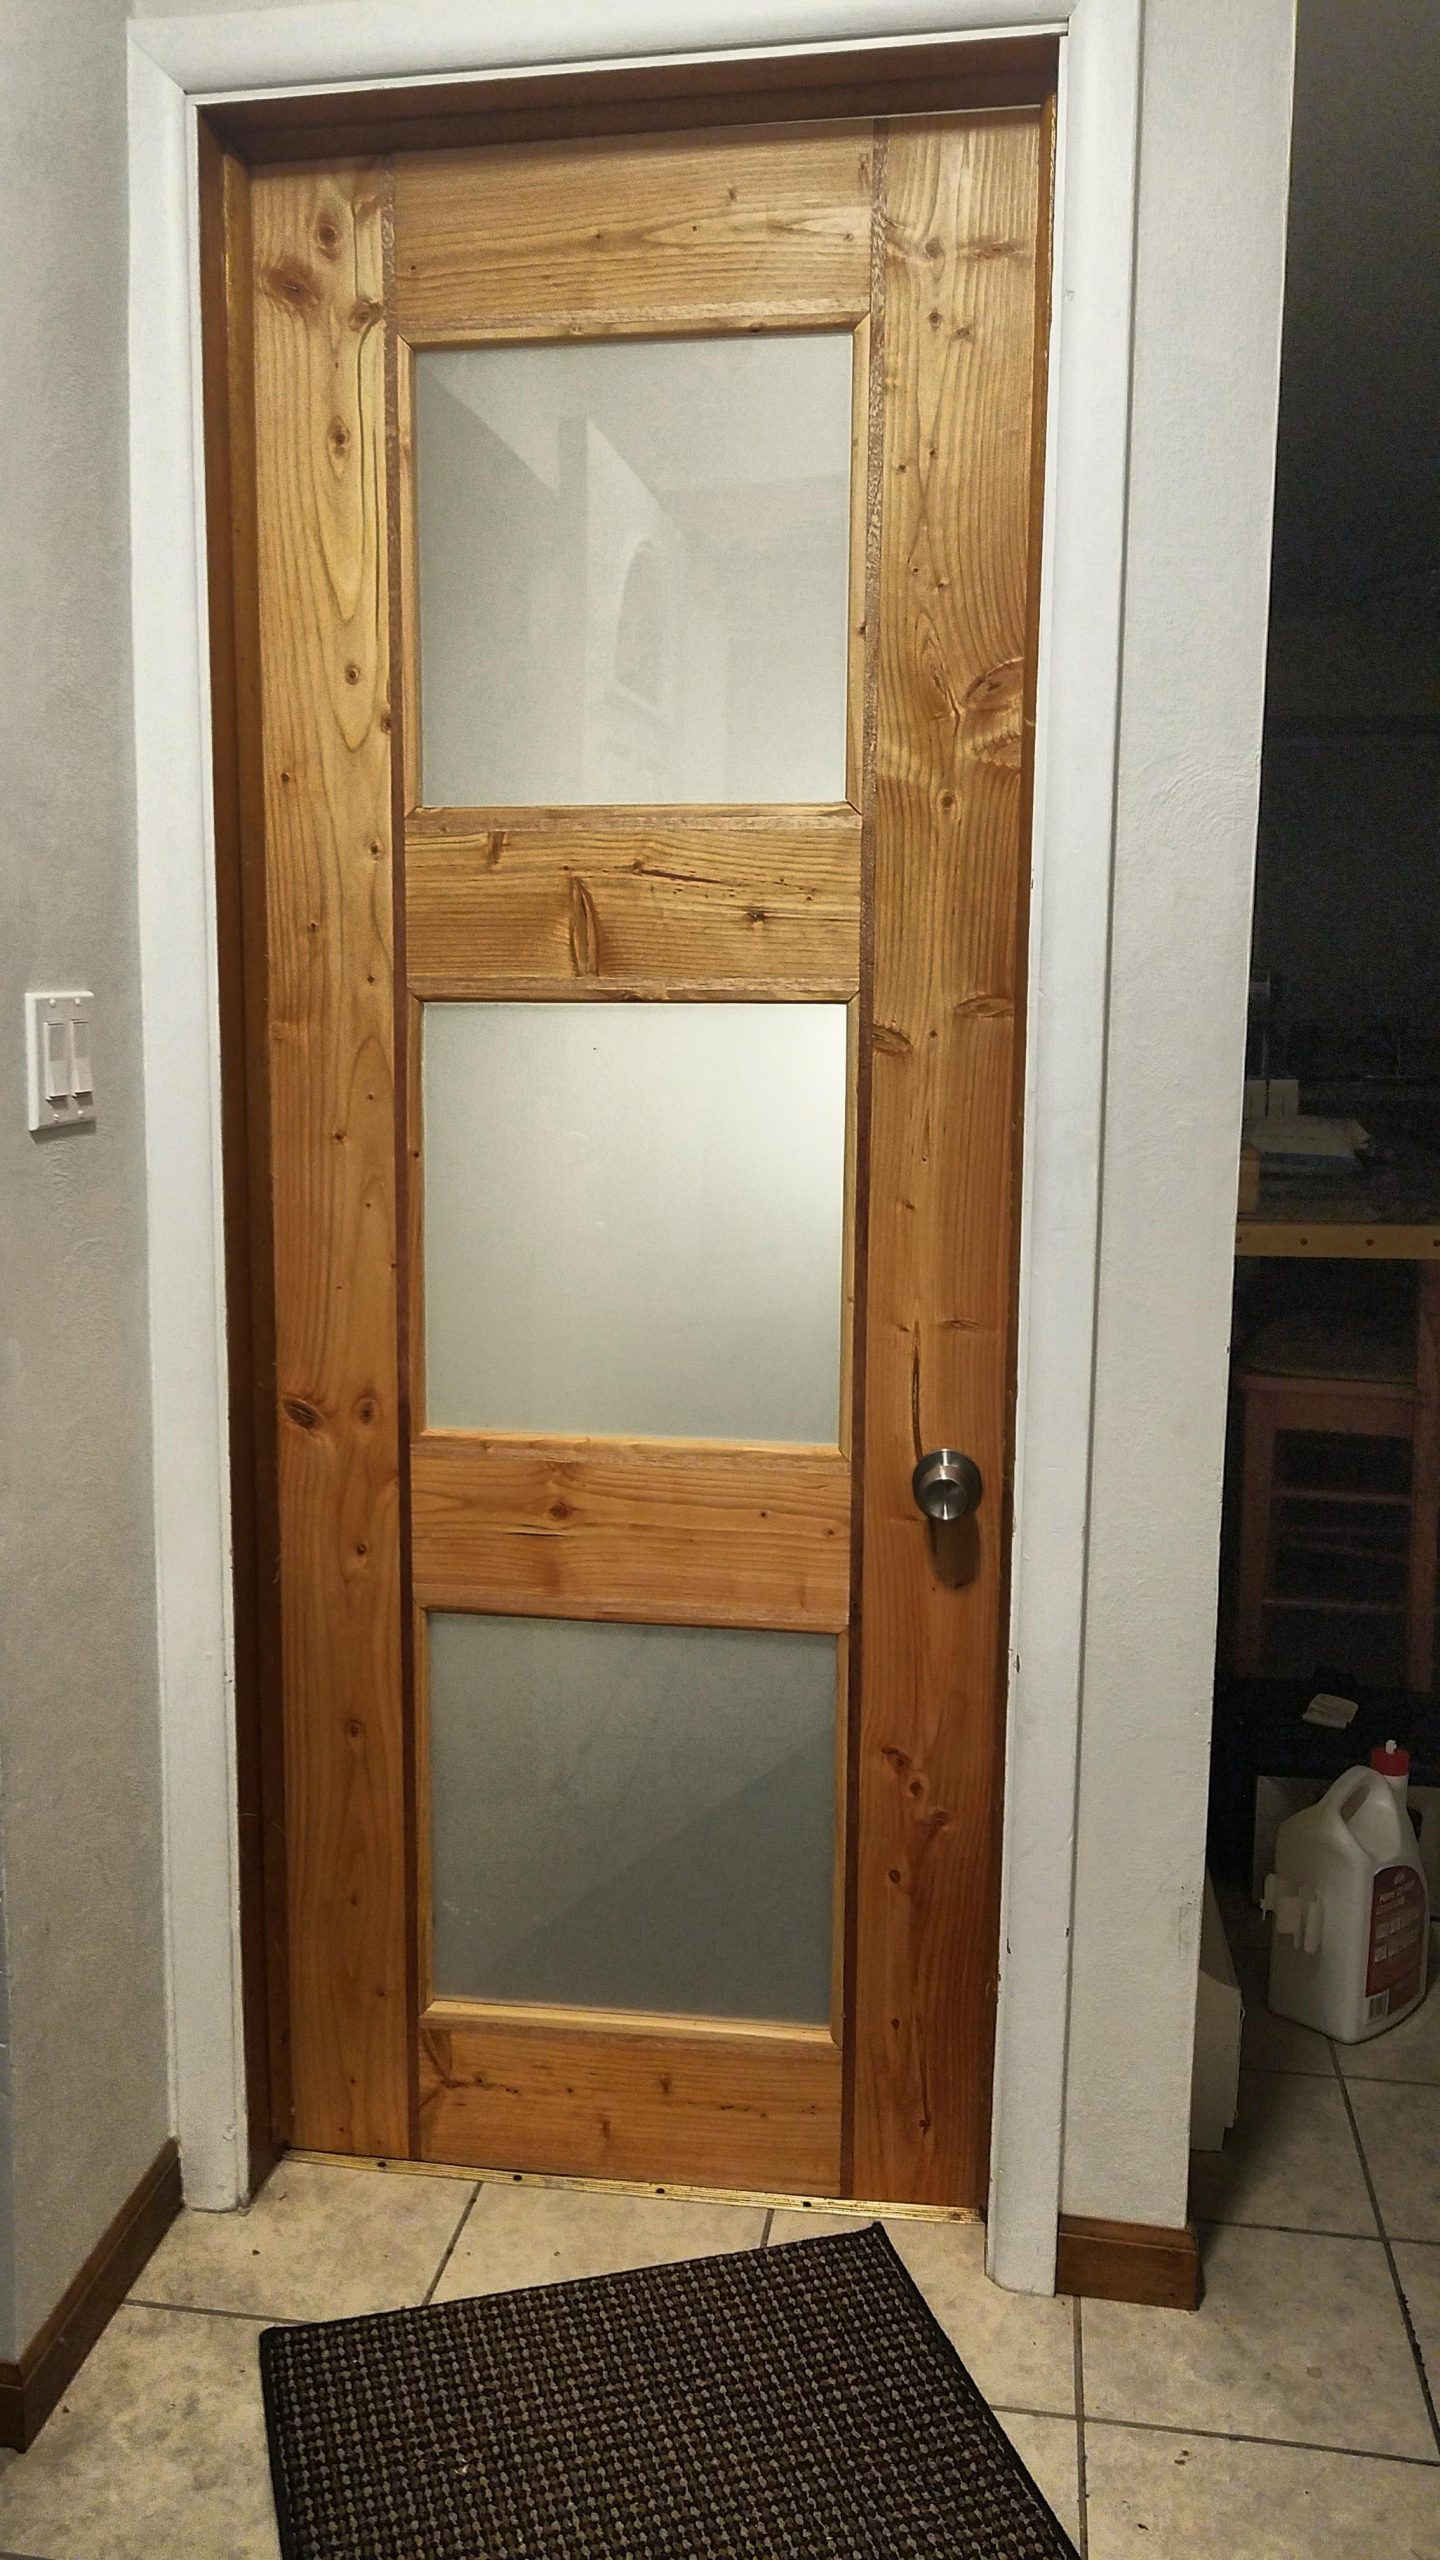
Once the finish dried it was time to insert the opaque plexiglass panels in the door, and the final molding to lock them into place. After that it was time to balance the door at the top of the steps and hang it and then bore the doorknob holes. I waited until the door was hung to bore these holes to make sure the doorknob lined up exactly where the old doorknob lined up. The upgrade was definitely worth it.