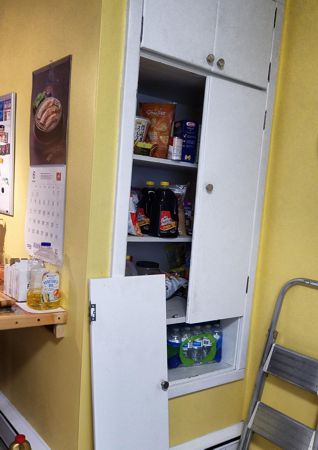
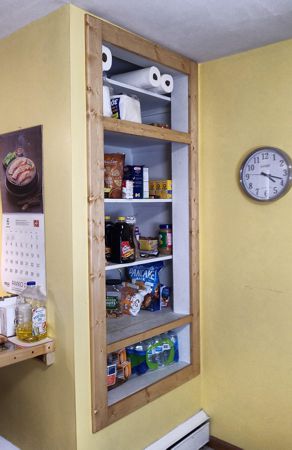
Since I lived in my house, there was one thing in my kitchen that I didn’t really like, and I took way too long to do something about it. The problem area was the pantry doors. What I’m assuming is that when the house was built, they created this little pantry nook, and most likely they hung a simple set of curtains in front of it like was common in a lot of houses built in the 1950s. Then at some point someone built a not so good set of doors out of cheap plywood. They may have worked and looked okay for awhile, but over time they started to warp, and then they never really closed right again. When I moved in I added some magnet catches to keep them closed; but I finally reached the point where I had enough.
Step one in the project was the tear out the old doors and frame. Then I spent a little bit of time leveling and squaring up the pantry inset. This included adding some spacers to even up the front of the shelves and the wall.
The next step was to create a new frame, and adjust the layout a bit for the new doors, and to make sure that it fully covers the space where the old frame was. At the same time I also rounded the edges over, and made the frame a little more decorative than just a square edge..
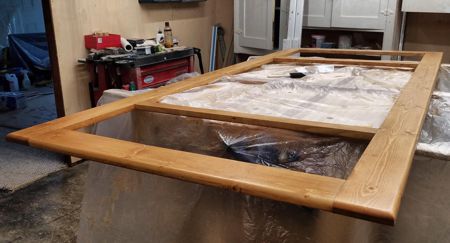
Then it was to stain and finish the door new frame. I decided to make it a light antique stain to make it close to the rest of the cabinets in the kitchen and much of the other woodwork in my house.
After it dried all that was left was to mount it to the wall and make sure it was securely in place, and that everything lined up perfectly the way that I planned. I also went a little overboard securing it to the wall since the new doors will be bigger and heavier and wanted to make sure it was able to handle them okay.
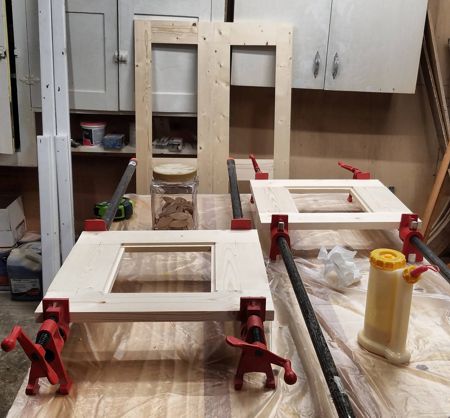
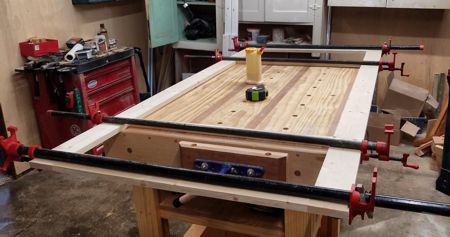
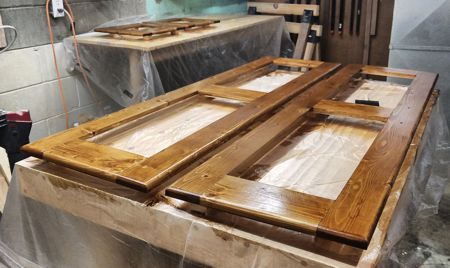
Then it was time to start making and assembling the new doors. so that of course means a lot of gluing and time in the clamps. You can see the large doors waiting the background while the small upper doors are drying in the clamps.
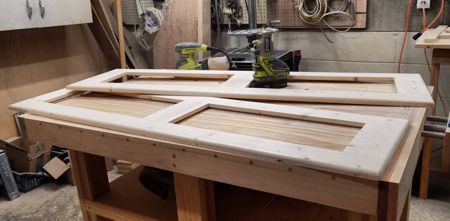
I also rounded over the door edges to match the frame, and all of the other doors in my kitchen. Although the design of the new door is not exactly the same as the other cabinet doors, I feel they should have some similar elements.
After fine sanding of the doors, I installed the hardware and did a test fit of the new doors. After making sure that everything worked perfectly then it was time to move on to staining and finishing them.
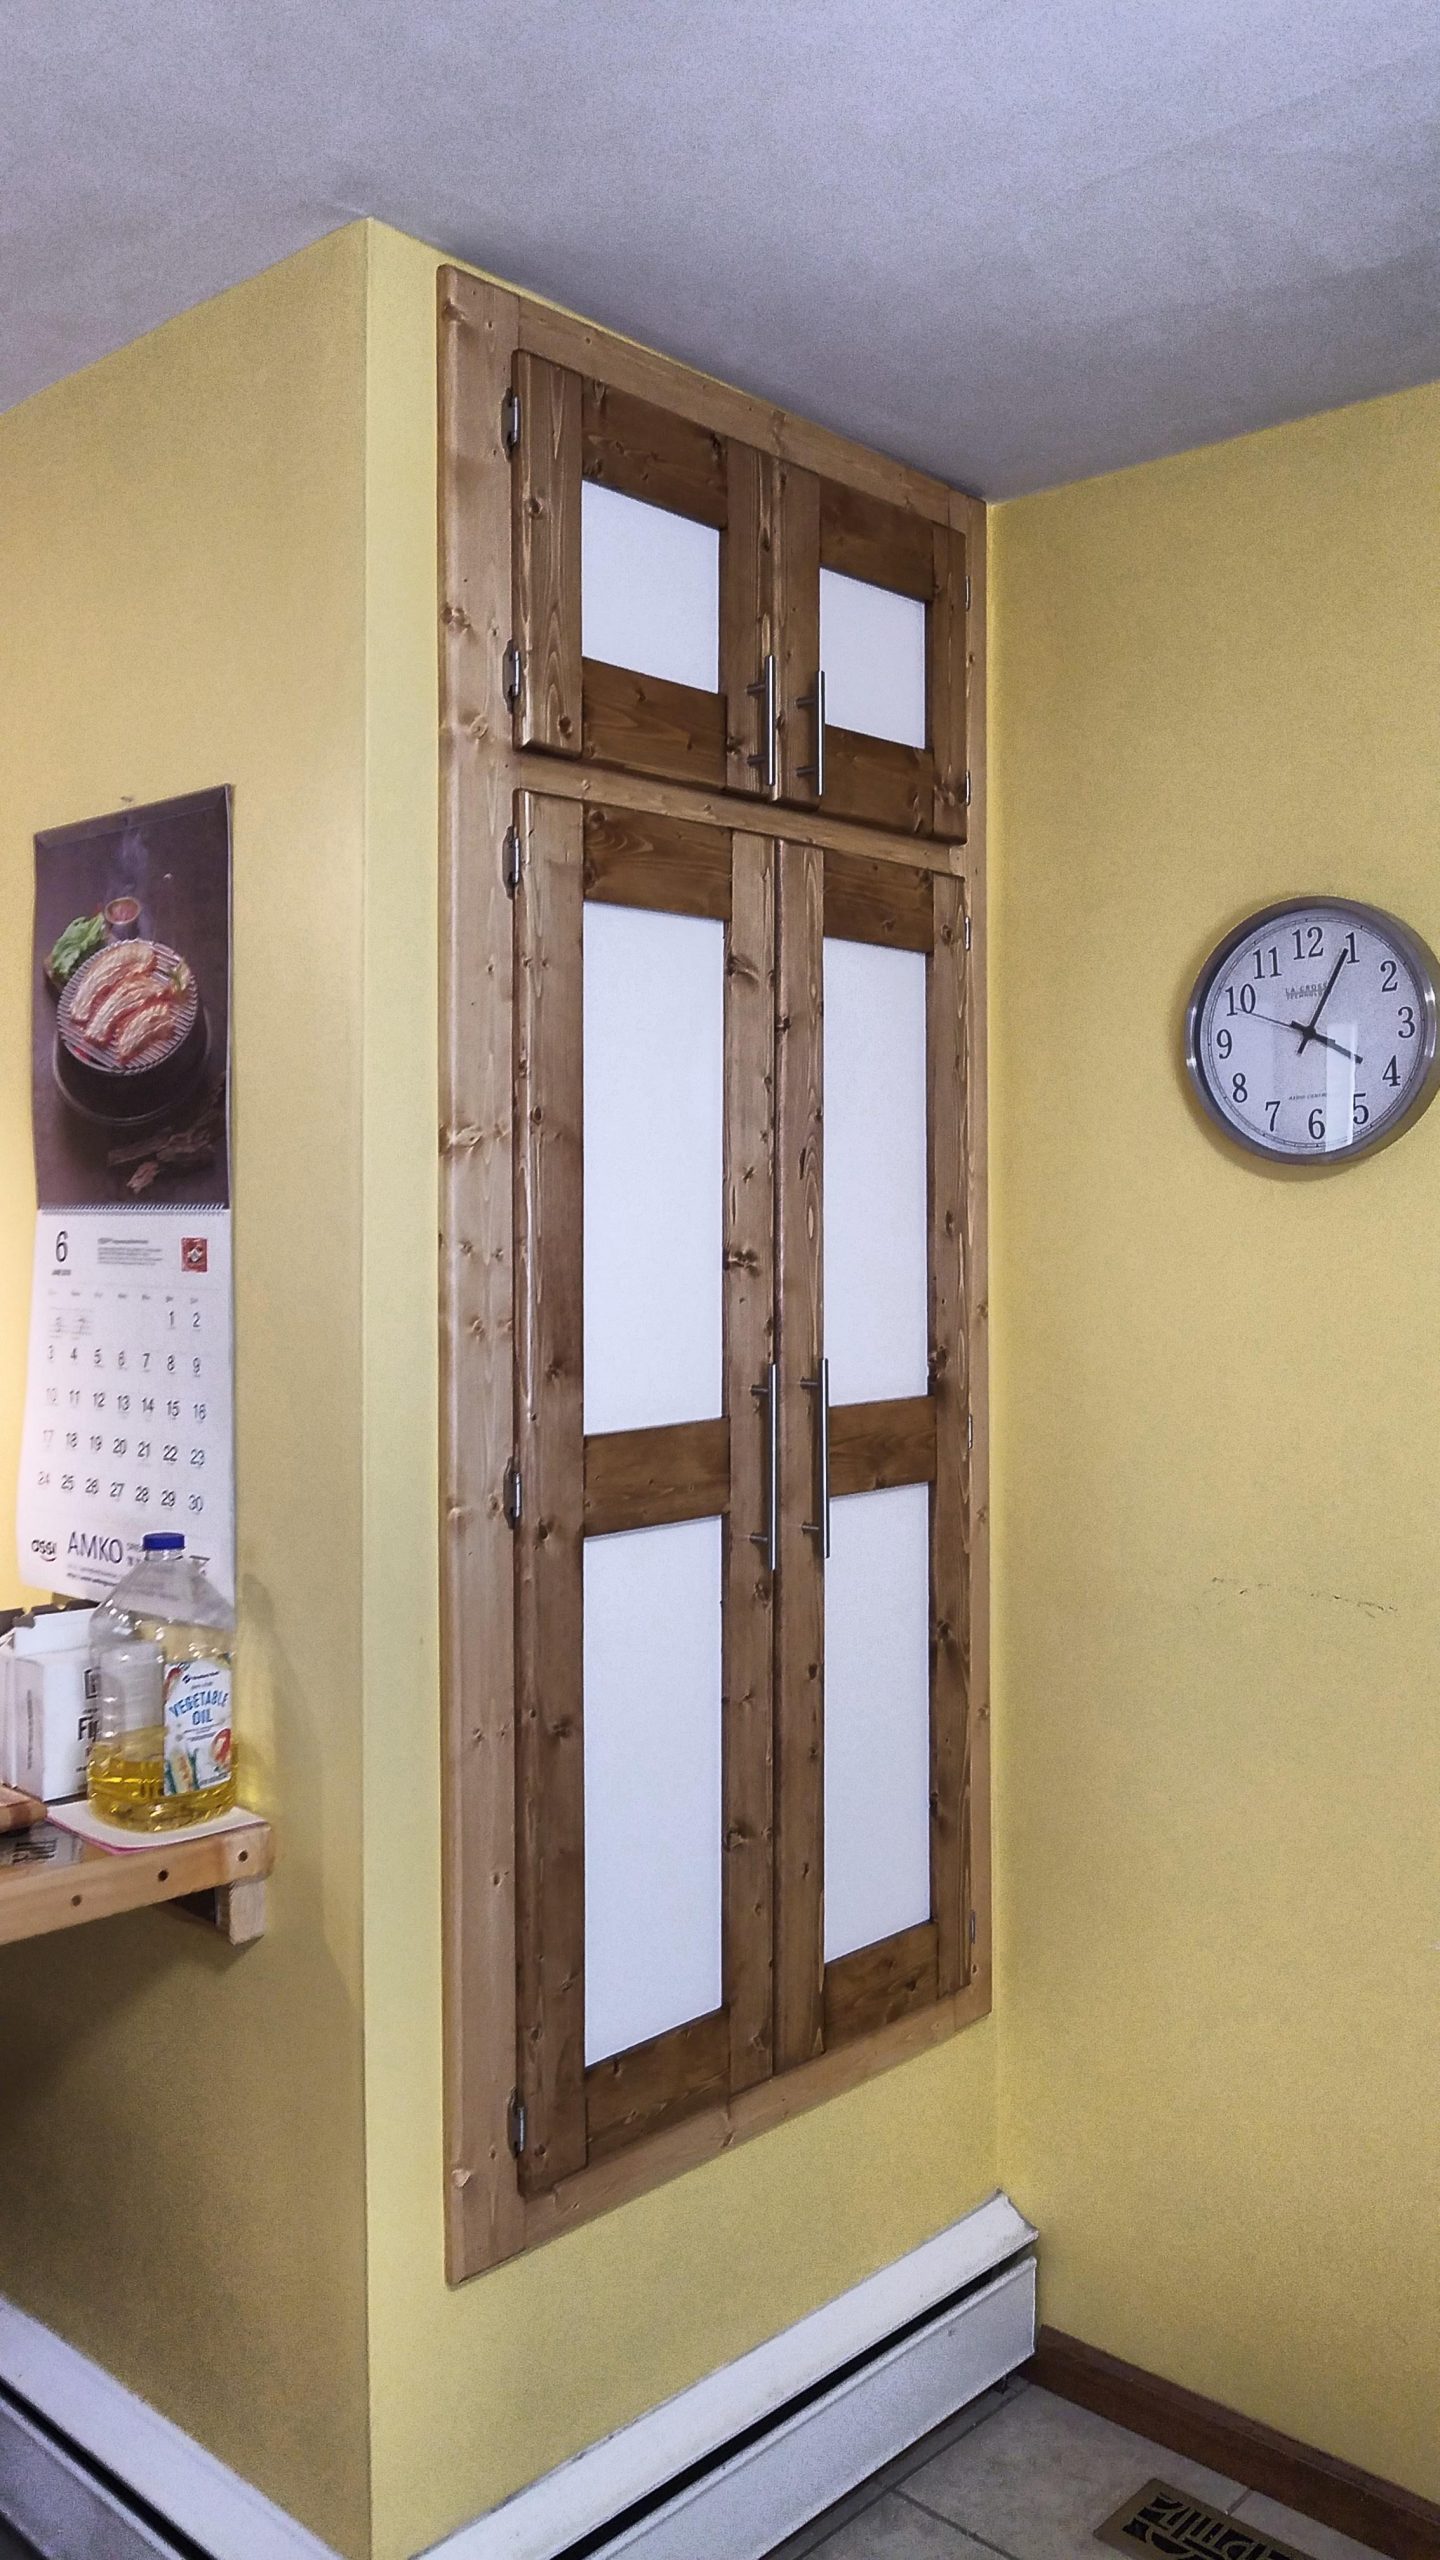
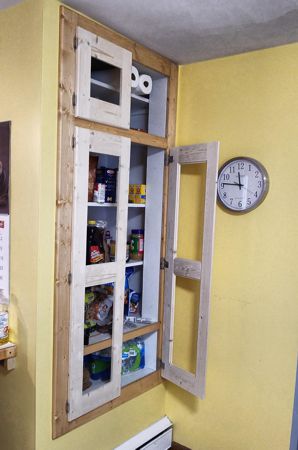
I decided to stain the doors a little bit darker than the frame to both make them stand out a bit, and to make them appear to be a bit more antiqued looking. That and I wanted a nice contrast between the doors and the panel inserts.
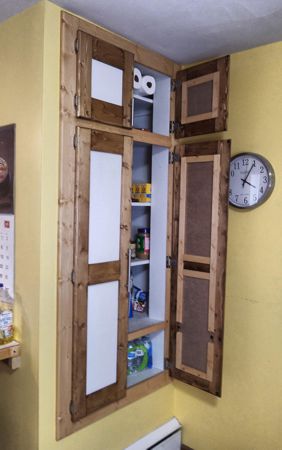
I debated making the center panels wood, or plexiglass like the doors I’ve been making, but in the end I wanted to make them functional as well as good looking. So I decided to install dry erase board panels so I can use them to to add items to my shopping list or write down notes of something I wanted to look into later.