Sometimes I like to try new things. And like several million people during the pandemic I started playing around with bread making or at least a lazy approach to bread making. The biggest requirement is to be able to make bread from scratch with the least amount of work. In this case I was playing with no knead yeast bread, also called Artisan No Knead Bread. After trying a few different recipes I started to make some adjustments and came up with a version that I really like.
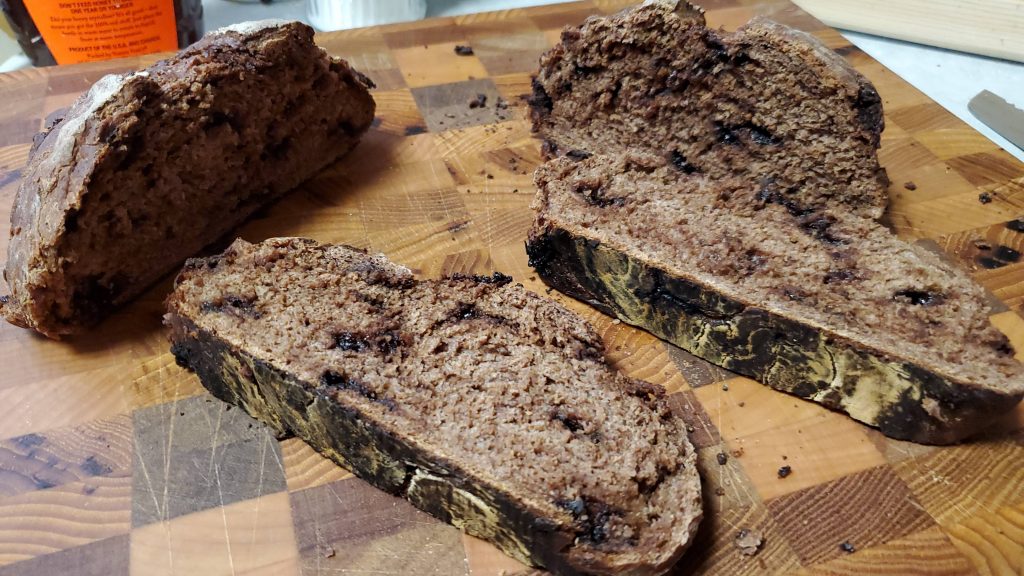
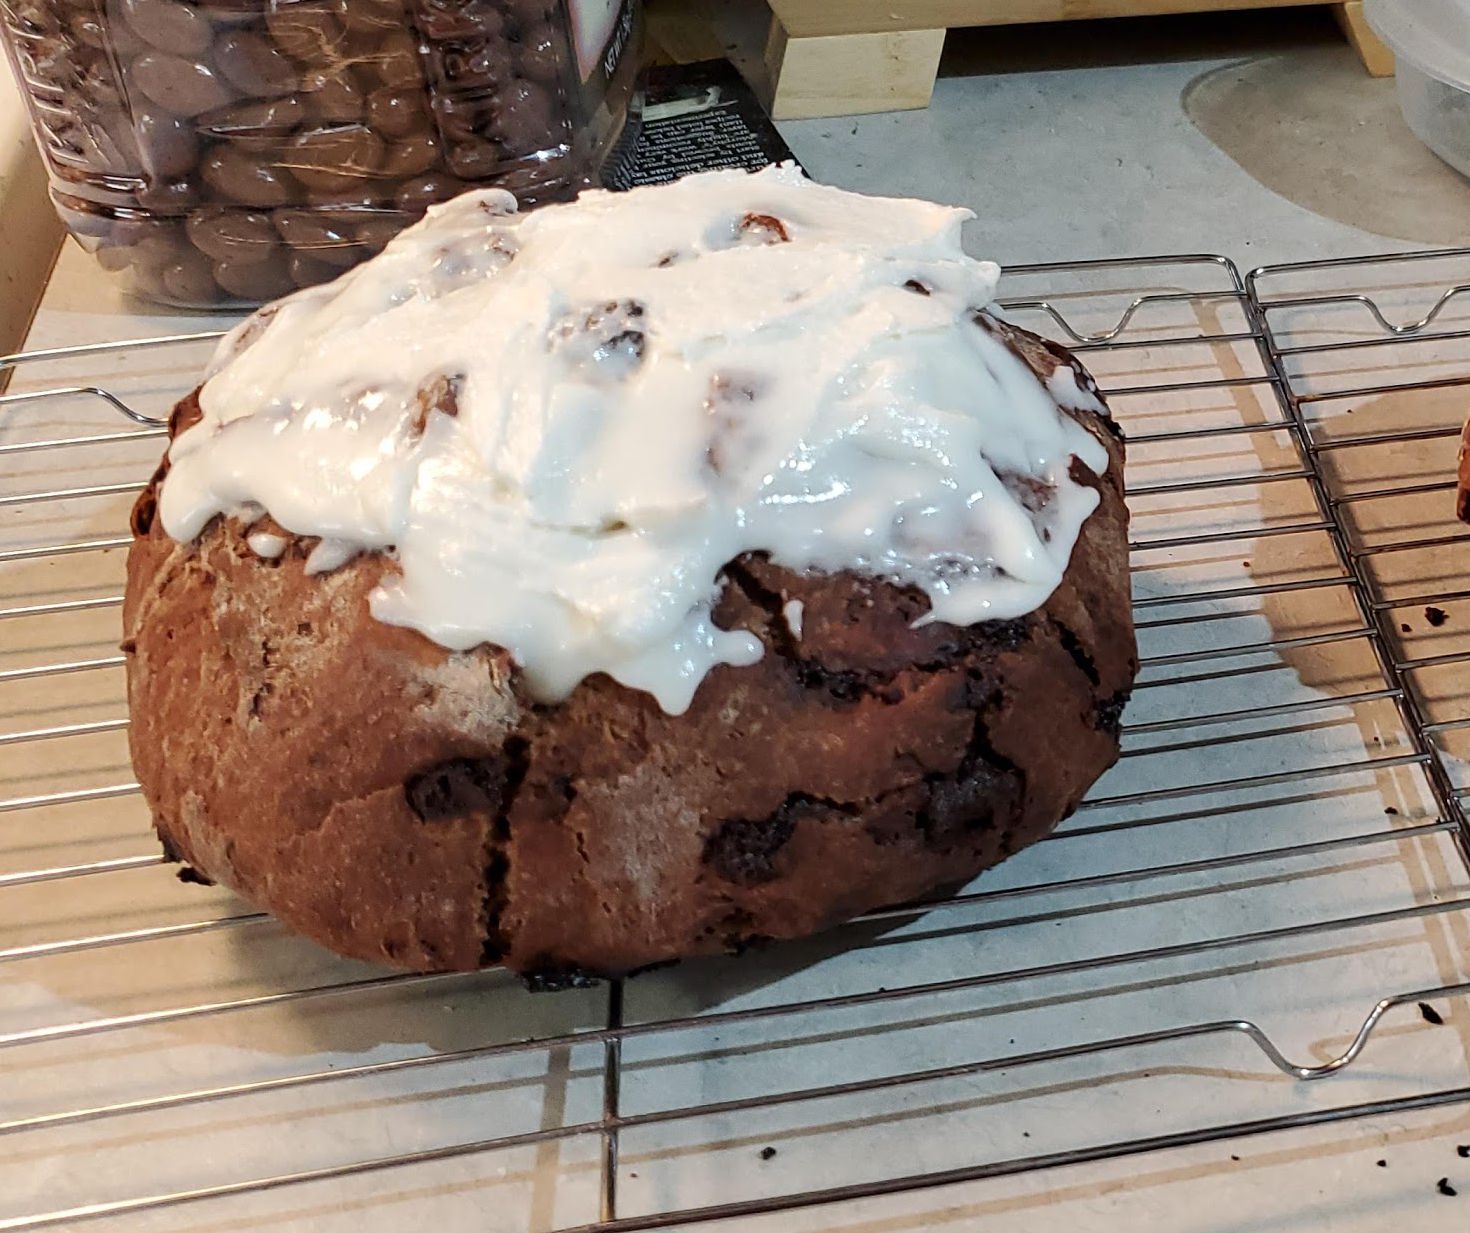
The recipe that I came up with makes a soft and moist chocolate loaf that has a nice crisp crust. It tastes good with butter, icing, or ice cream, and best of all it is easily to make and is repeatable.
Jump to RecipeThis takes about 10 minutes of prep-time, 3 hours first rise, 5 minutes second working, 30 minutes preheat/second rise, 30 minutes baking time, and 10 – 12 minutes browning time. Cooking temp is to 450 degrees F the whole time.
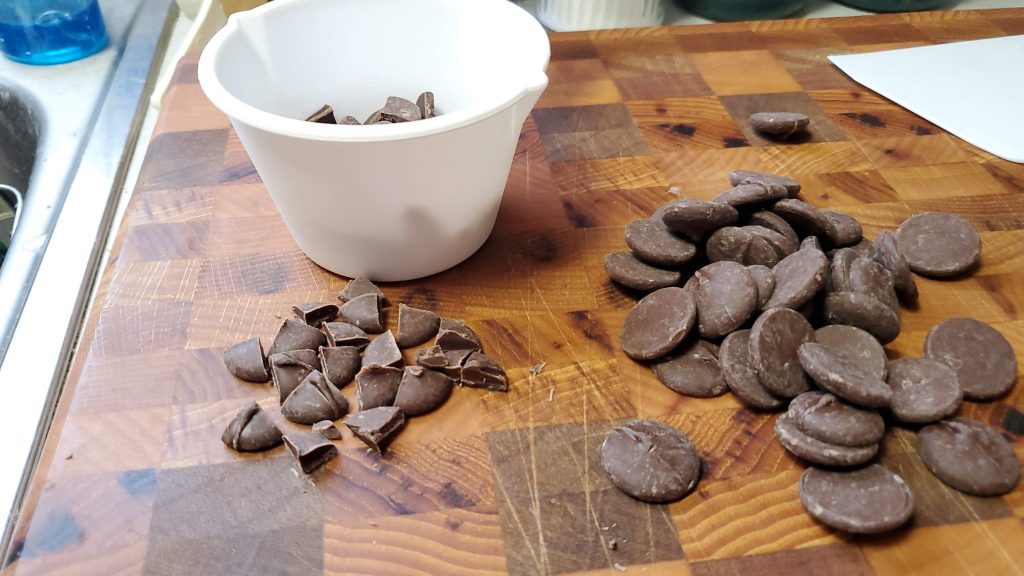
In this case I purchased some chocolate chunks but wanted to use smaller pieces than what they come in, so I quartered them all down.
Getting Started:
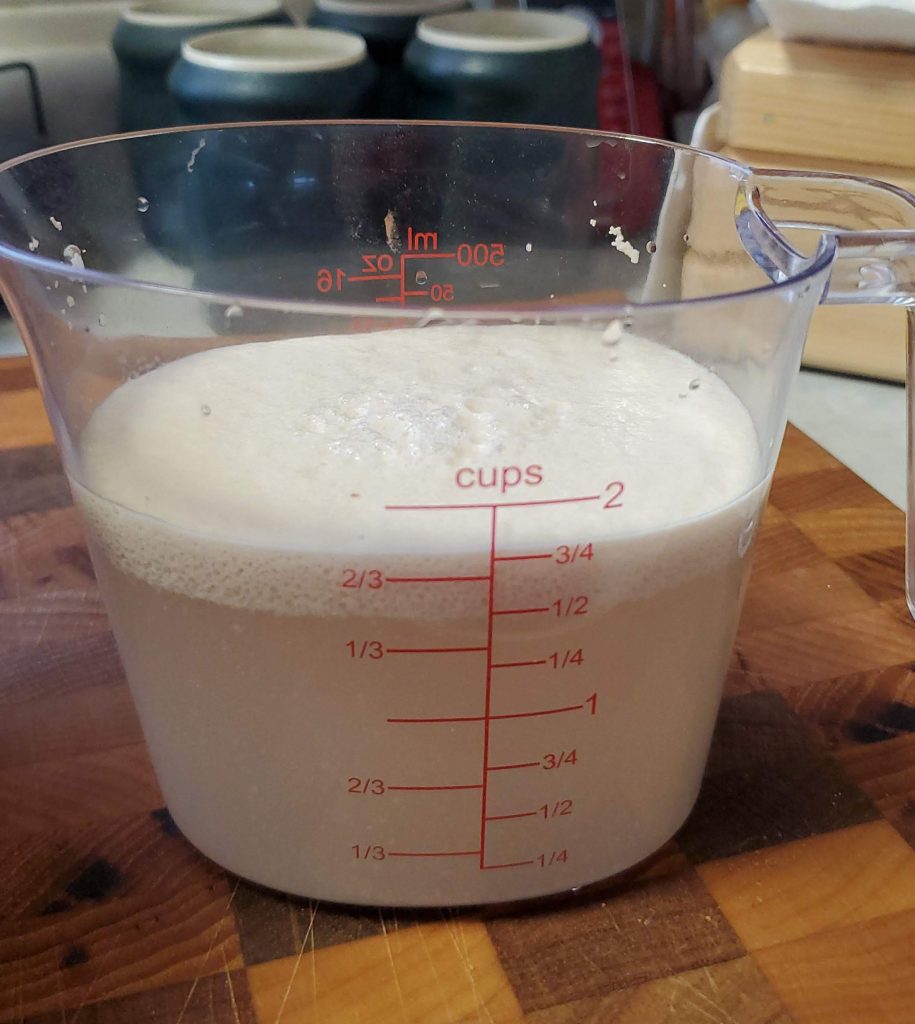
Add the 2 tsp of yeast and 1 Tbs of sugar to the warm water and mix very well. Then let it sit for at least five minutes.
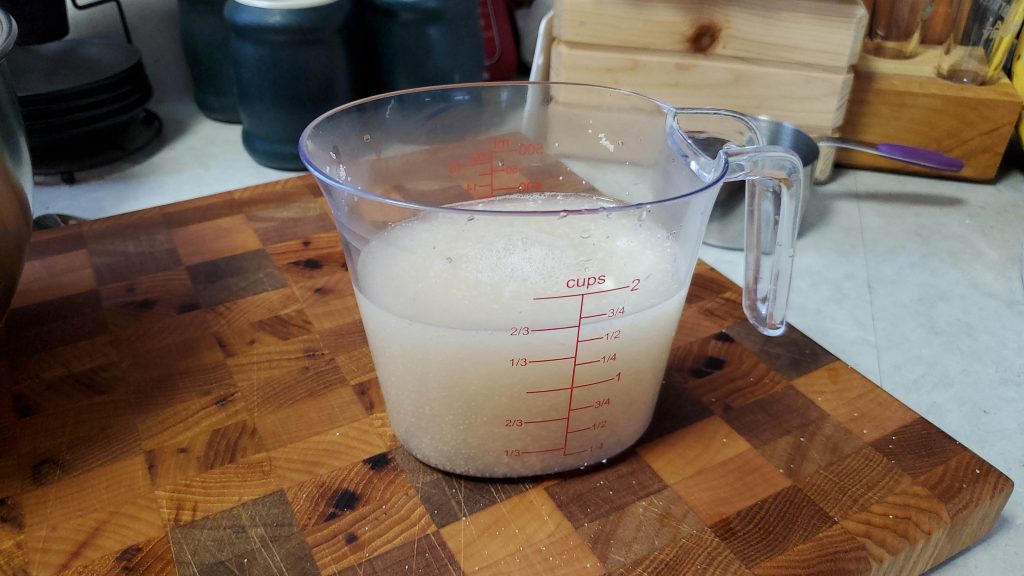
During this time the yeast will really activate and will start to rise while it makes a hearty meal out of the sugar in the warm water.
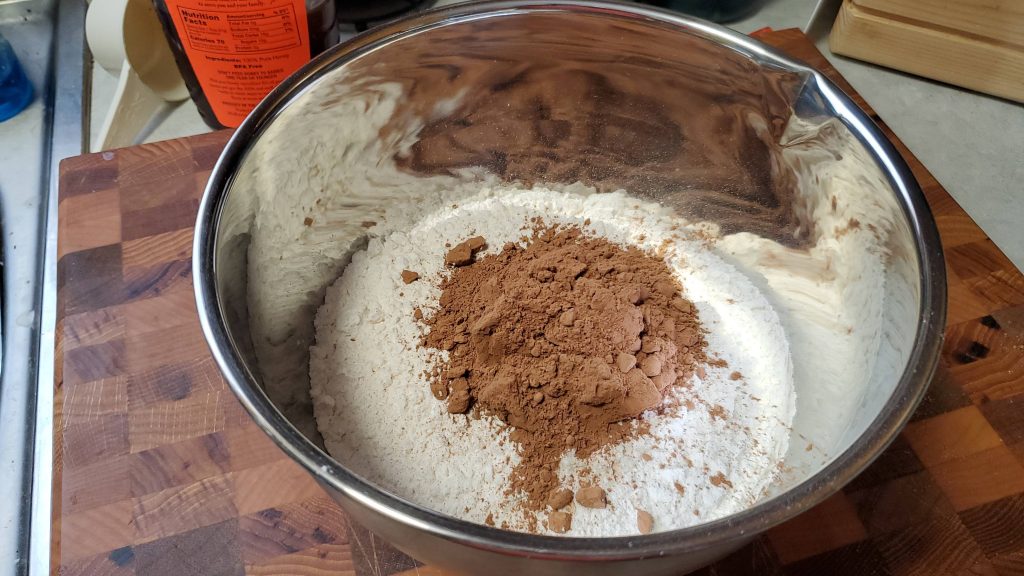
While the yeast is doing its thing, combine and mix the flour, salt, remaining sugar, and the cocoa powder in a good sized bowl, so after you add in the yeast and water mixture it will give the dough room to rise and expand.
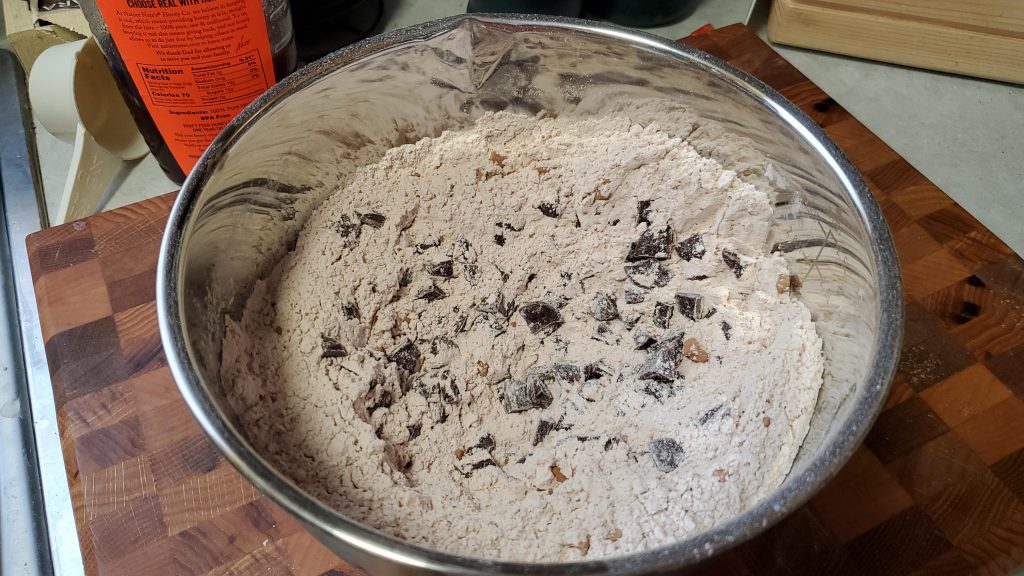
After that add the chocolate bits/chips and mix well so they are fairly well distributed throughout the flour mix.
Once you are done with that, you just need to wait for the yeast mixture to finish fully activating. It should have a very nice rise sitting on top of the water.
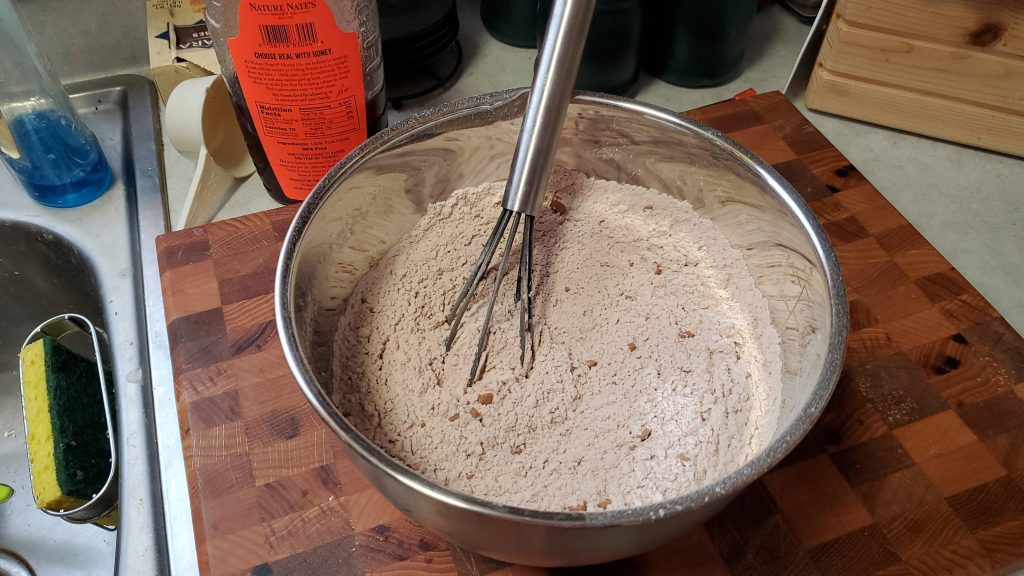
Once that is done it’s time to start mixing the dough. It can either be mixed using the handle of a wooden spoon or a dough whisk. Either one will work and it will not have any impact on this final dough.

I try to mix the yeast in using a third at a time to make sure there is enough to bring in all of the flour so there isn’t any left at the bottom of the bowl. Do not be too worried about the dough around the side of the bowl, because as it rises it will bring it all together.
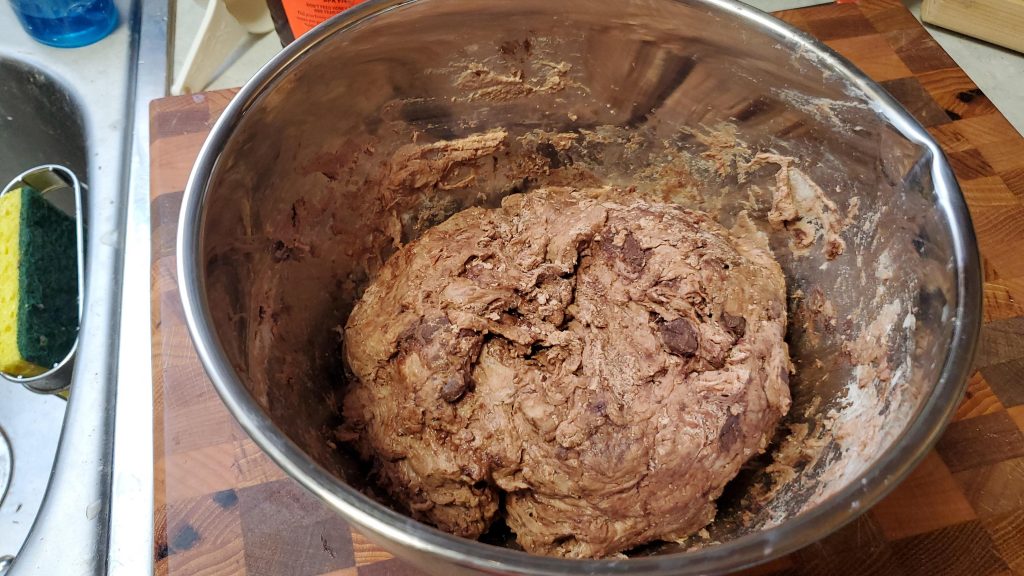
When the mixing is done you will have a small ball of sticky, damp dough. It doesn’t mater what it looks like, so do not spend too much time shaping it. Remember this is no kneed dough and this is pretty much all of the real dough work you will need to do.
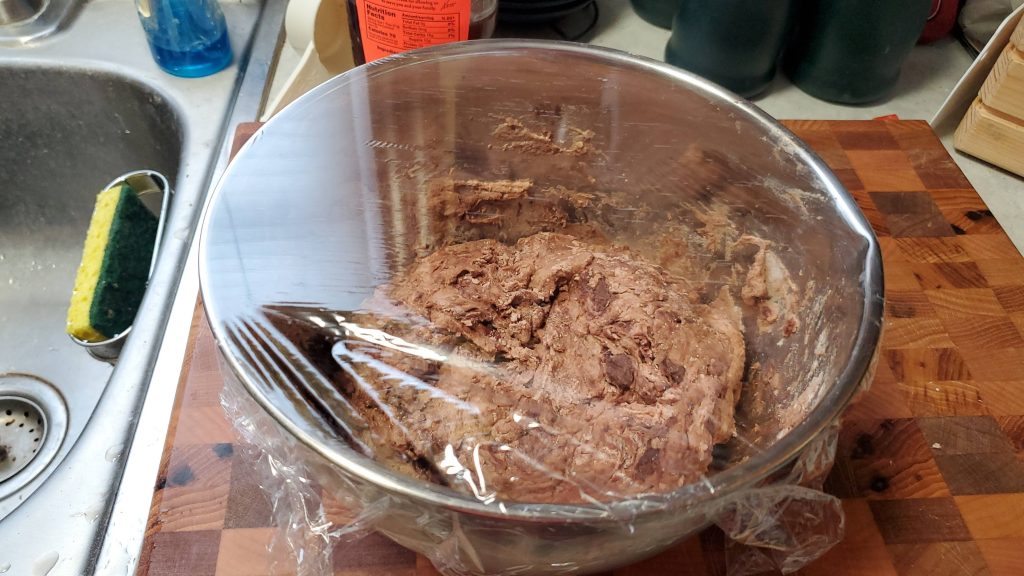
After that, wrap it with some cling wrap and set a timer for at least three hours. (Note: If you used the 1 tsp of yeast you can let it rise 12 to 14 hours; either over night or all day long while you are at work)
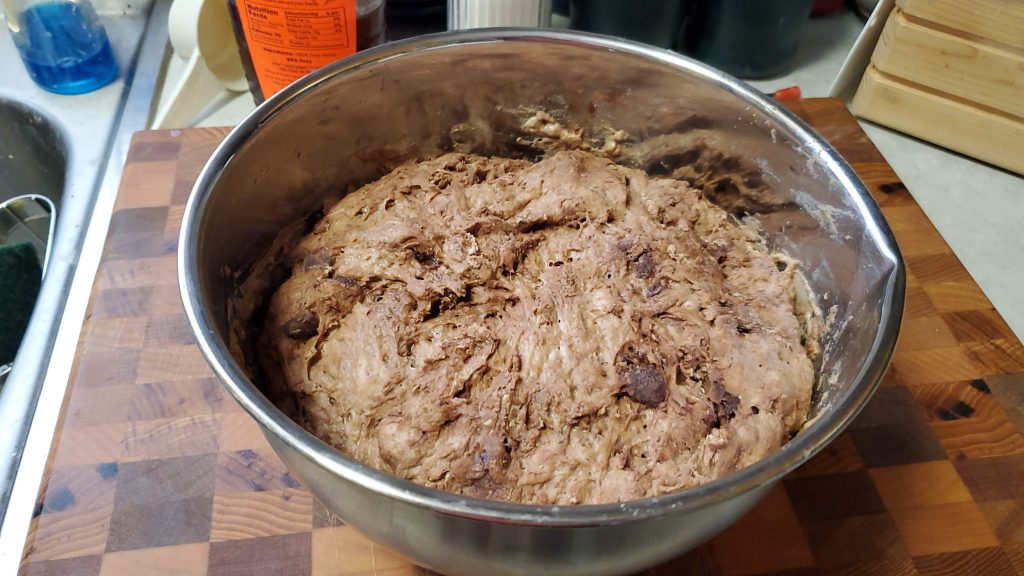
After three hours, the dough will have risen to at least double in size and it will be rich in gluten. For the slow, long rise variation it will be even bigger and collapse either before or while you take it out of the bowl.
Use a bowl scrapper to get it out of the bowl and on a well floured surface. Turn it over a couple of times to add some flour which will be needed to help you handle it, and will also feed yeast during the next small rise. Also make sure you lightly flour your hands before you start to handle the dough.
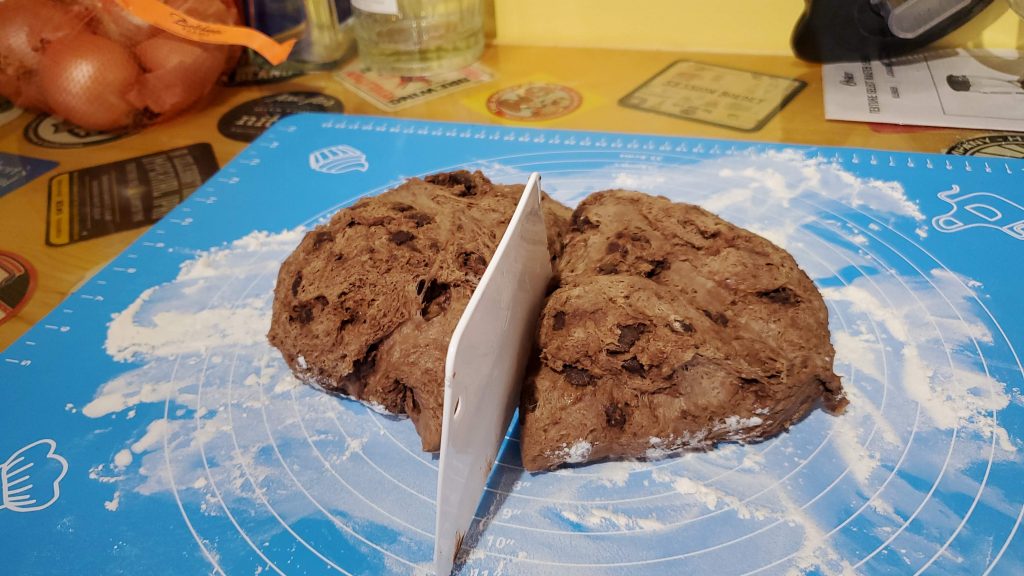
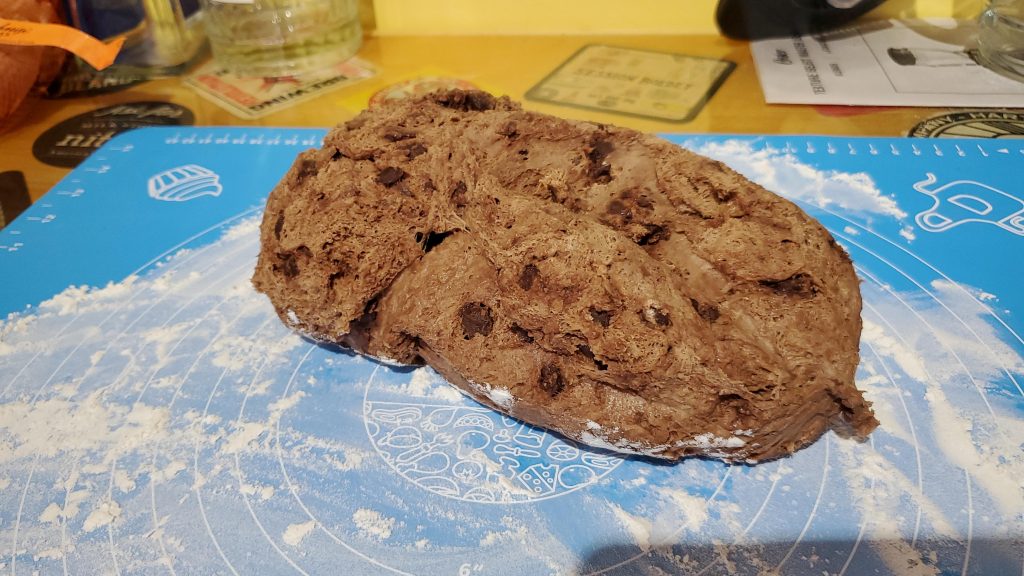
At this point you can decide to either make one big loaf, or you can separate in to two smaller loafs like I did here.
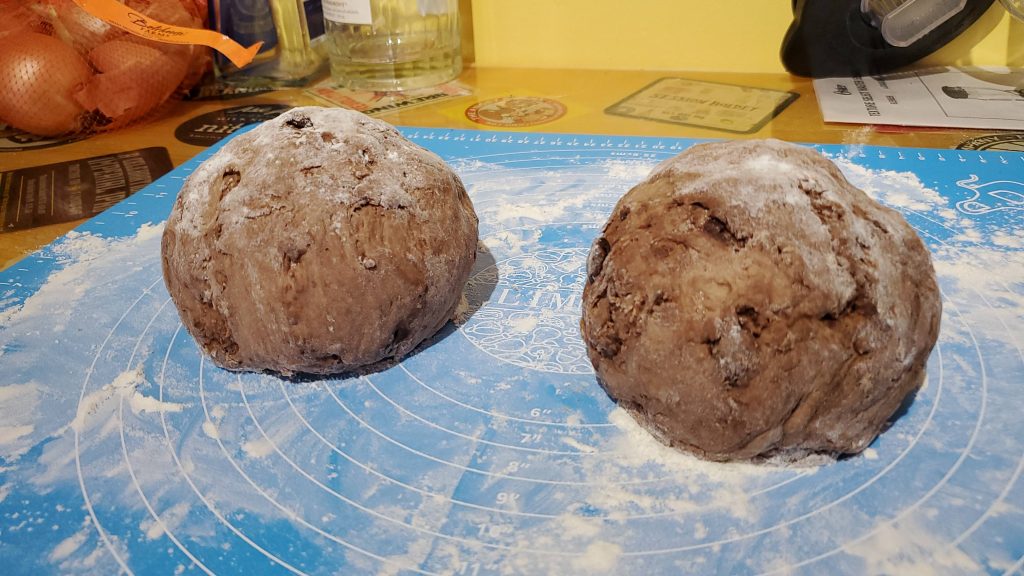
No matter which way you decided to go, you need to work the dough in the same way. Fold the edges under all the way around, and keep pushing it under until the top has a slight stretch to it. Try not to rip it while you do it, but no matter what, you do not need to knead the dough.
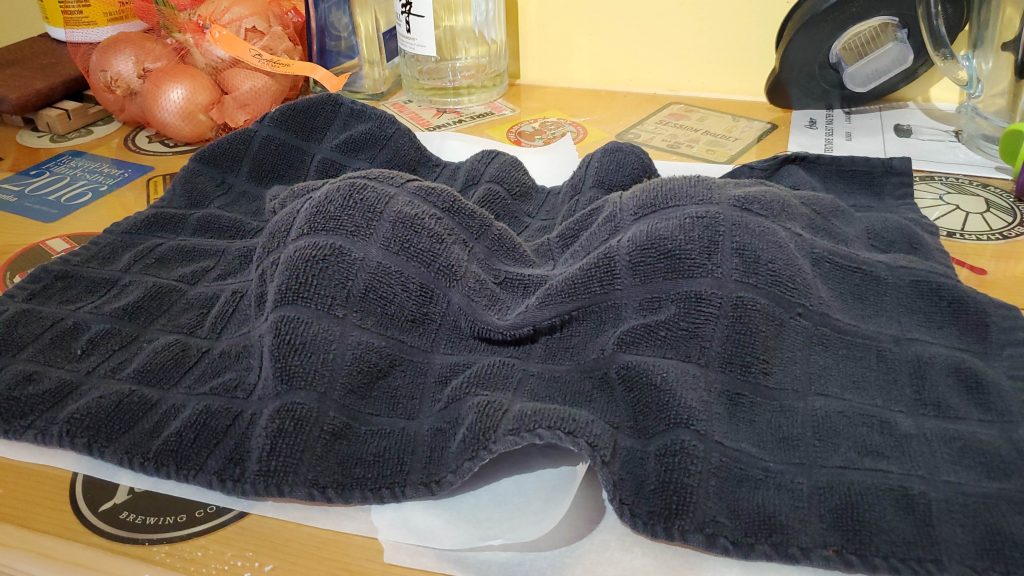
At this stage you need to put it on some non-waxed parchment paper, cover it again and let it rest and rise while you preheat the oven. Once you are at this stage, stick your dutch oven/covered pot/cast iron bread pot in the oven and turn it on to preheat it for 30 minutes to 450 degrees F.
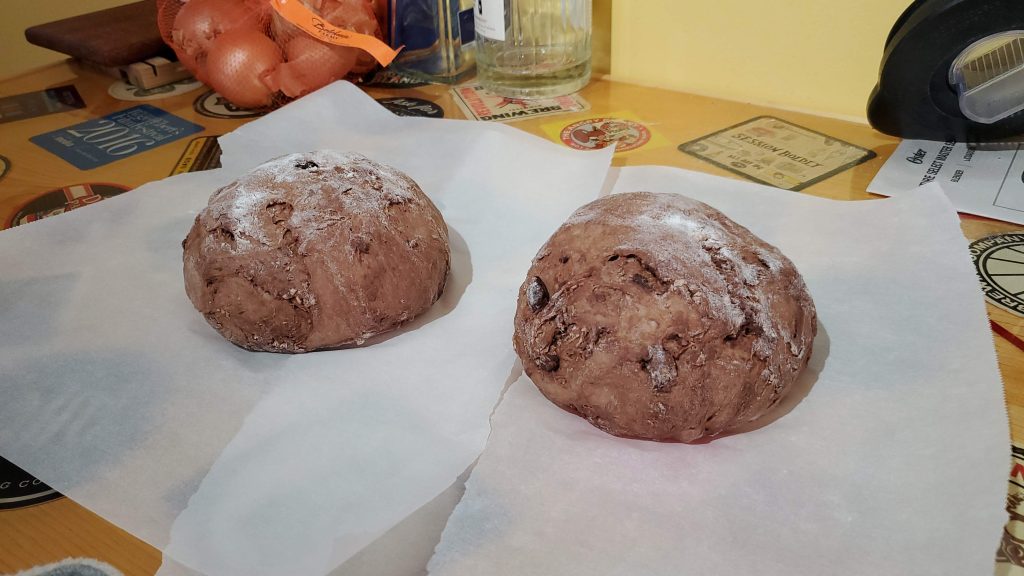
After the 30 minutes the oven and pot is ready, then you can uncover the bread. It will normally rise during the 30 minutes so it increases about 10 – 20%, and then it is almost ready to start baking.
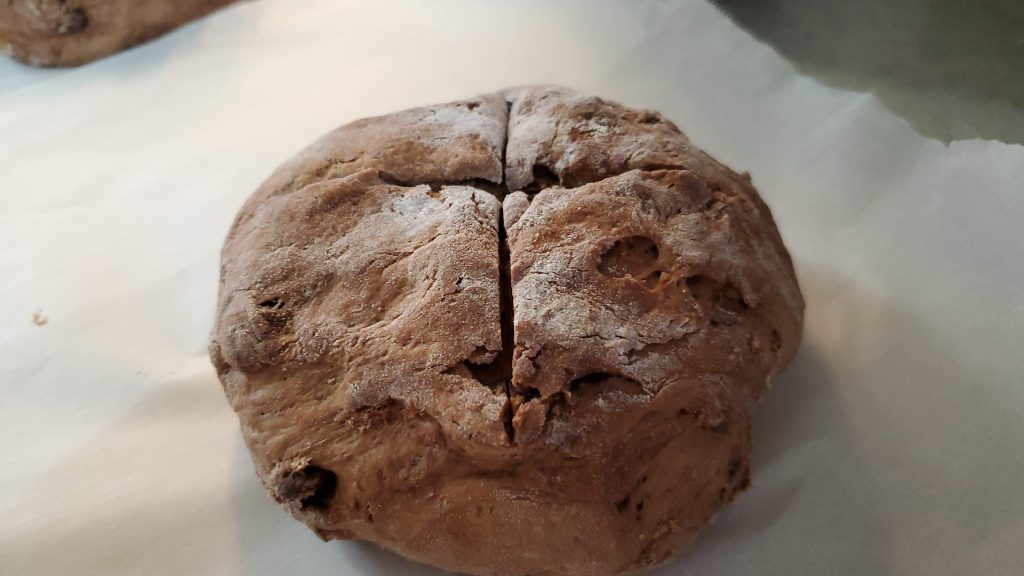
At this point with a really sharp paring knife I cut a nice cross in the top of the dough so it gives the bread a direction to grow during the baking process.
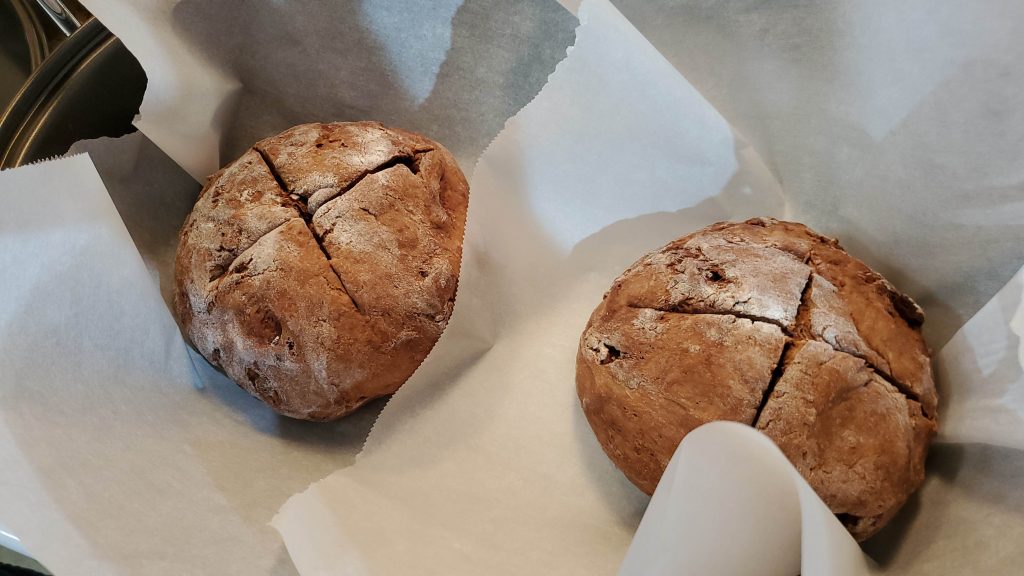
Then leaving the dough on the parchment paper you add the loaf, or loaves, into the pot and cover it and put it into the oven for 30 minutes. The lid on during this bake traps the moisture and the steam it creates gives it a really crisp crust.
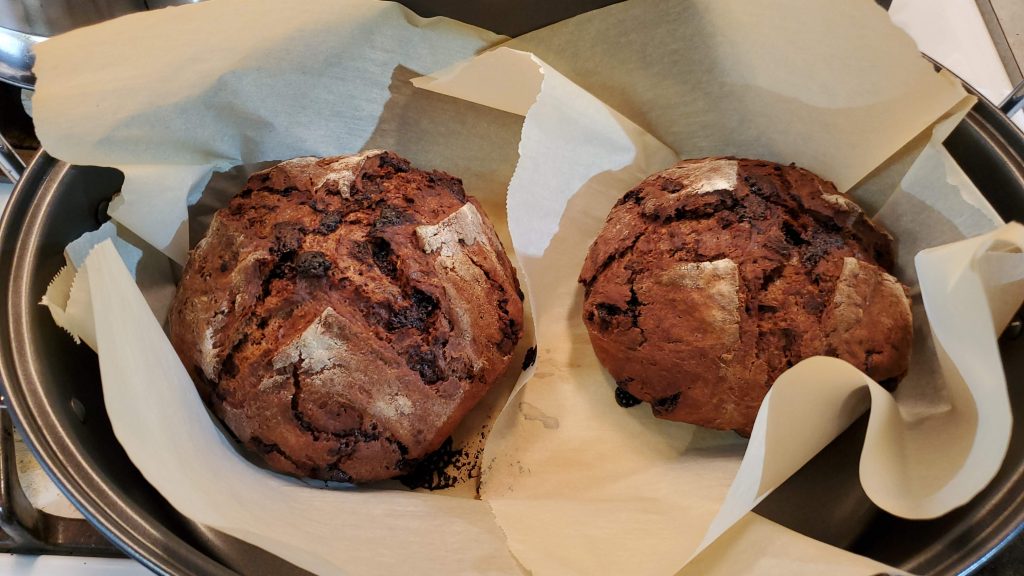
After the 30 minutes baking time, open the oven and remove the lid from the pot and let it bake for another 10 – 15 minutes. (10 minutes for the two small loaves, and 15 minutes for one big loaf) This is to brown the bread and complete the baking process as the bread is exposed directly to the heat in the oven.

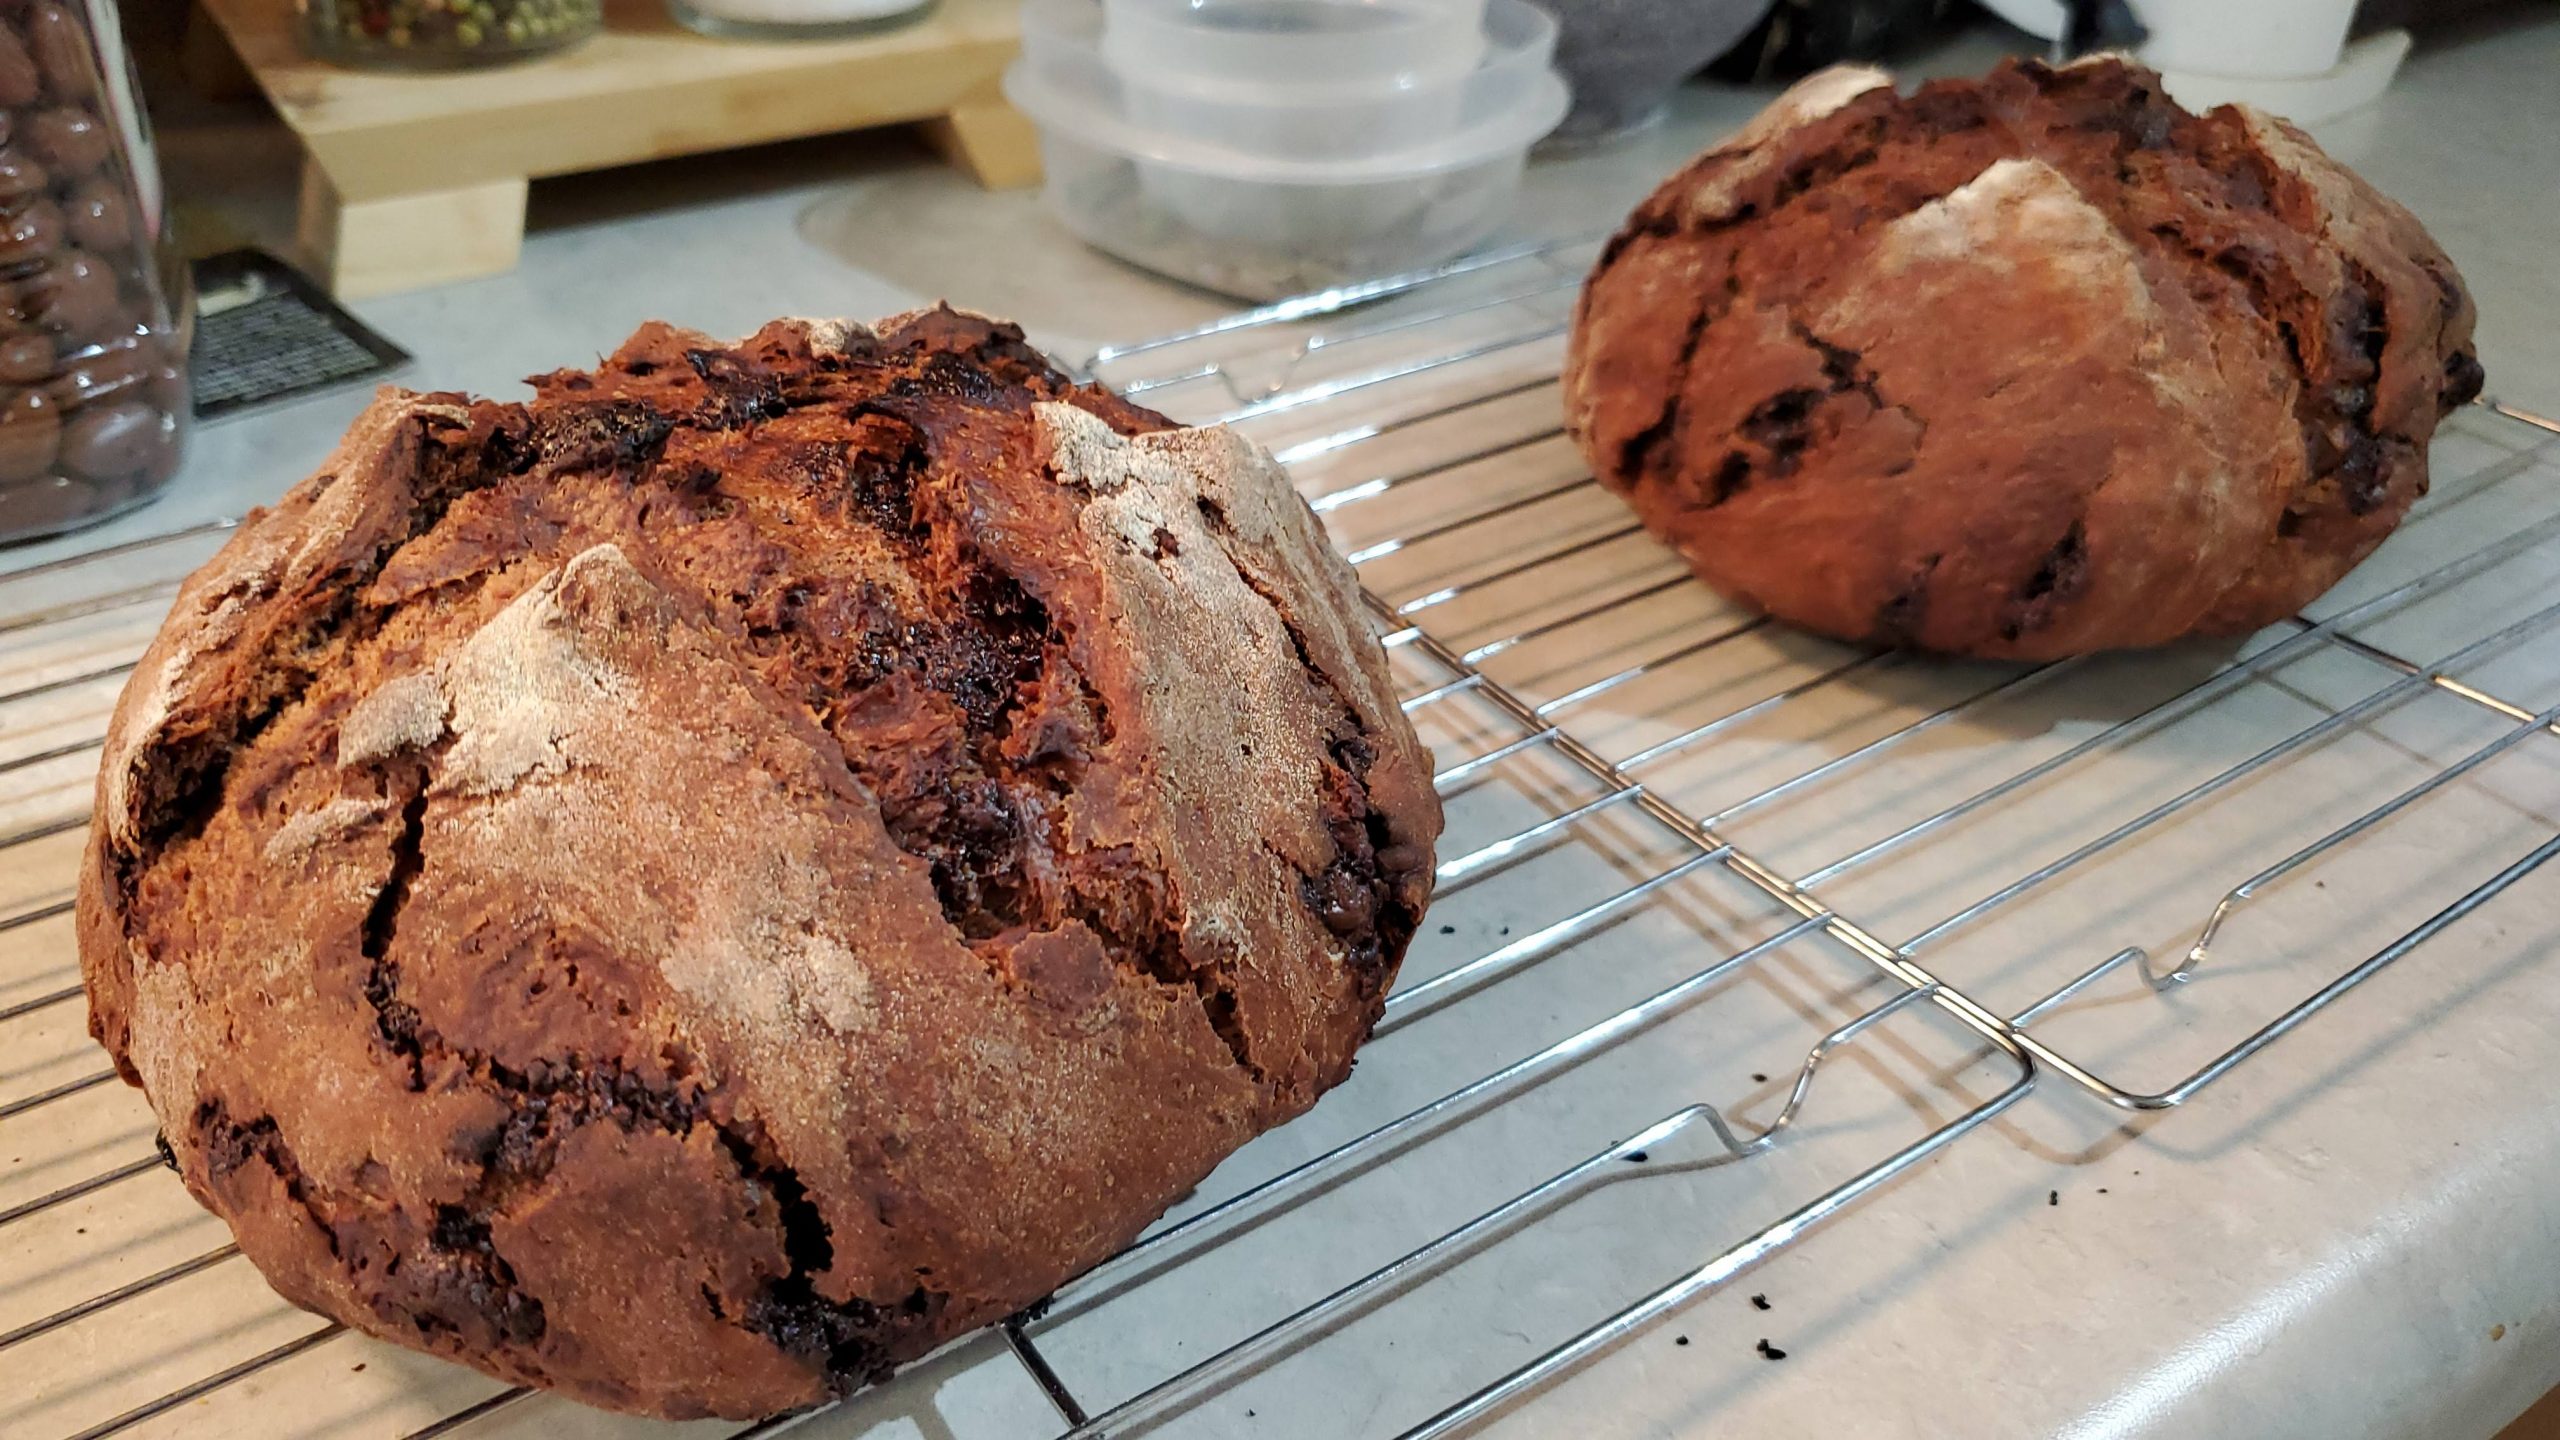
After you the second bake, you take the bread out of the oven and you need to let it stand from 10 – 30 minutes so it is cool enough to slice.
No Knead Chocolate Bread
Equipment
- Dutch Oven
- Oven
Ingredients
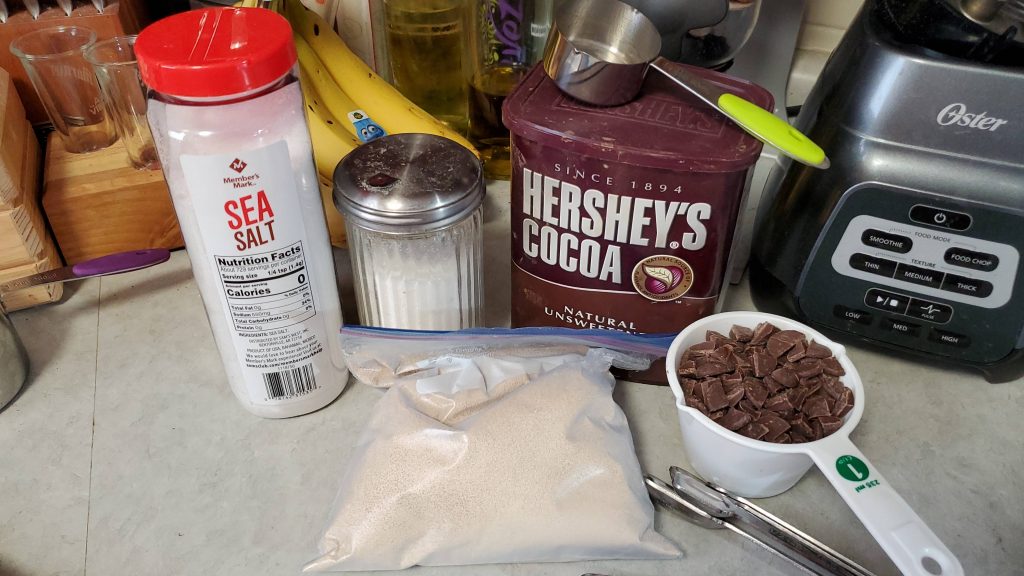
- 2¾ Cups General Flour
- 1½ Cups Warm Water
- ¼ Cup Cocoa Powder Unsweetened
- 1 Cup Chocolate Bits or Chips I used dark chocolate
- 2 Tbsp White Sugar
- 2 tsp Coarse Sea Salt
- 2 tsp Yeast Rapid or Traditional Works Fine
Instructions
- Add the 2 tsp of yeast and 1 Tbs of sugar to the warm water and mix very well. Then let it sit for at least five minutes.
- Combine and mix the flour, salt, remaining sugar and the cocoa powder in a good sized bowl
- Add the chocolate bits/chips and mix well so they are fairly well distributed throughout the flour mix
- Add in the yeast, sugar, and water
- Mix the yeast in using a third at a time to make sure there is enough to bring in all of the flour so there isn’t any left at the bottom of the bowl. Do not be to worried about the dough around the side of the bowl, because as it rises it will bring it all together.When the mixing is done you will have a small ball of sticky, damp dough. It doesn’t mater what it looks like, so do not spend too much time shaping it. Remember this is no kneed dough and this is pretty much all of the real dough work you will need to do.
- After that, wrap it with some cling wrap and set a timer for at least three hours.
- After three hours, the dough will have risen at least double in size and it will be rich in gluten.
- At this point you can decide to either make one big loaf, or you can separate in to two smaller loafs like I did here.No matter which way you decided to go, you need to work the dough in the same way. Fold the edges under all the way around, and keep pushing it under until the top has a slight stretch to it. Try not to rip it while you do it, but no matter what, you do not need to knead the dough.
- Put it on some non-waxed parchment paper, cover it again and let it rest and rise while you preheat the oven.
- Stick your dutch oven/covered pot/cast iron bread pot in the oven and turn it on to preheat it for 30 minutes to 450 degrees F
- After the oven preheats with a really sharp paring knife. I cut a nice cross in the top of the dough so it gives the bread a direction to grow during the baking process.
- Place the bread still on the parchment paper in the ducth oven and put the lid back on, and place it in the oven
- Bake the bread for 30 minutes
- After the 30 minutes baking time, open the oven and remove the lid from the pot and let it bake for another 10 – 15 minutes.
- After second bake take the bread out and off of the parchment paper and let it rest on a cooling rack for 15 – 30 minutes before slicing.
If you want to make some icing for the bread I recommend the following.
Simple Butter Cream Icing
Equipment
- Hand Mixer
- Mixing Bowl
Ingredients
- 2 Cups Powdered Sugar
- ½ Cup Butter
- 1 Tbsp Milk
Instructions
- Soften the butter until you are able to turn it into almost a creamy paste
- Add the milk and mix well
- Add the two cups of powdered sugar into a small mixing bowl and whip in the butter and milk for 1 – 3 minutes
- If the icing appears too dry add some a bit more milk
Notes

I’m sure it would look better if you piped it on, but either way the icing will melt nicely onto the warm bread and add an additional layer to it.