A few months back I received a couple of boxes of hardwood remnants. A collection of hardwood that were considered too small to be of any use to many people. That is assuming you are not able to look outside the box.

I started with sizing the scraps to be of similar widths and similar lengths so it would be less work to level the final board, or boards, after they were all glued together.

After pulling the glued piece out of the clamps, and a couple of passes through the planner, it was time to cut it into cross grain strips of equal widths. This width will become the height of the future boards.

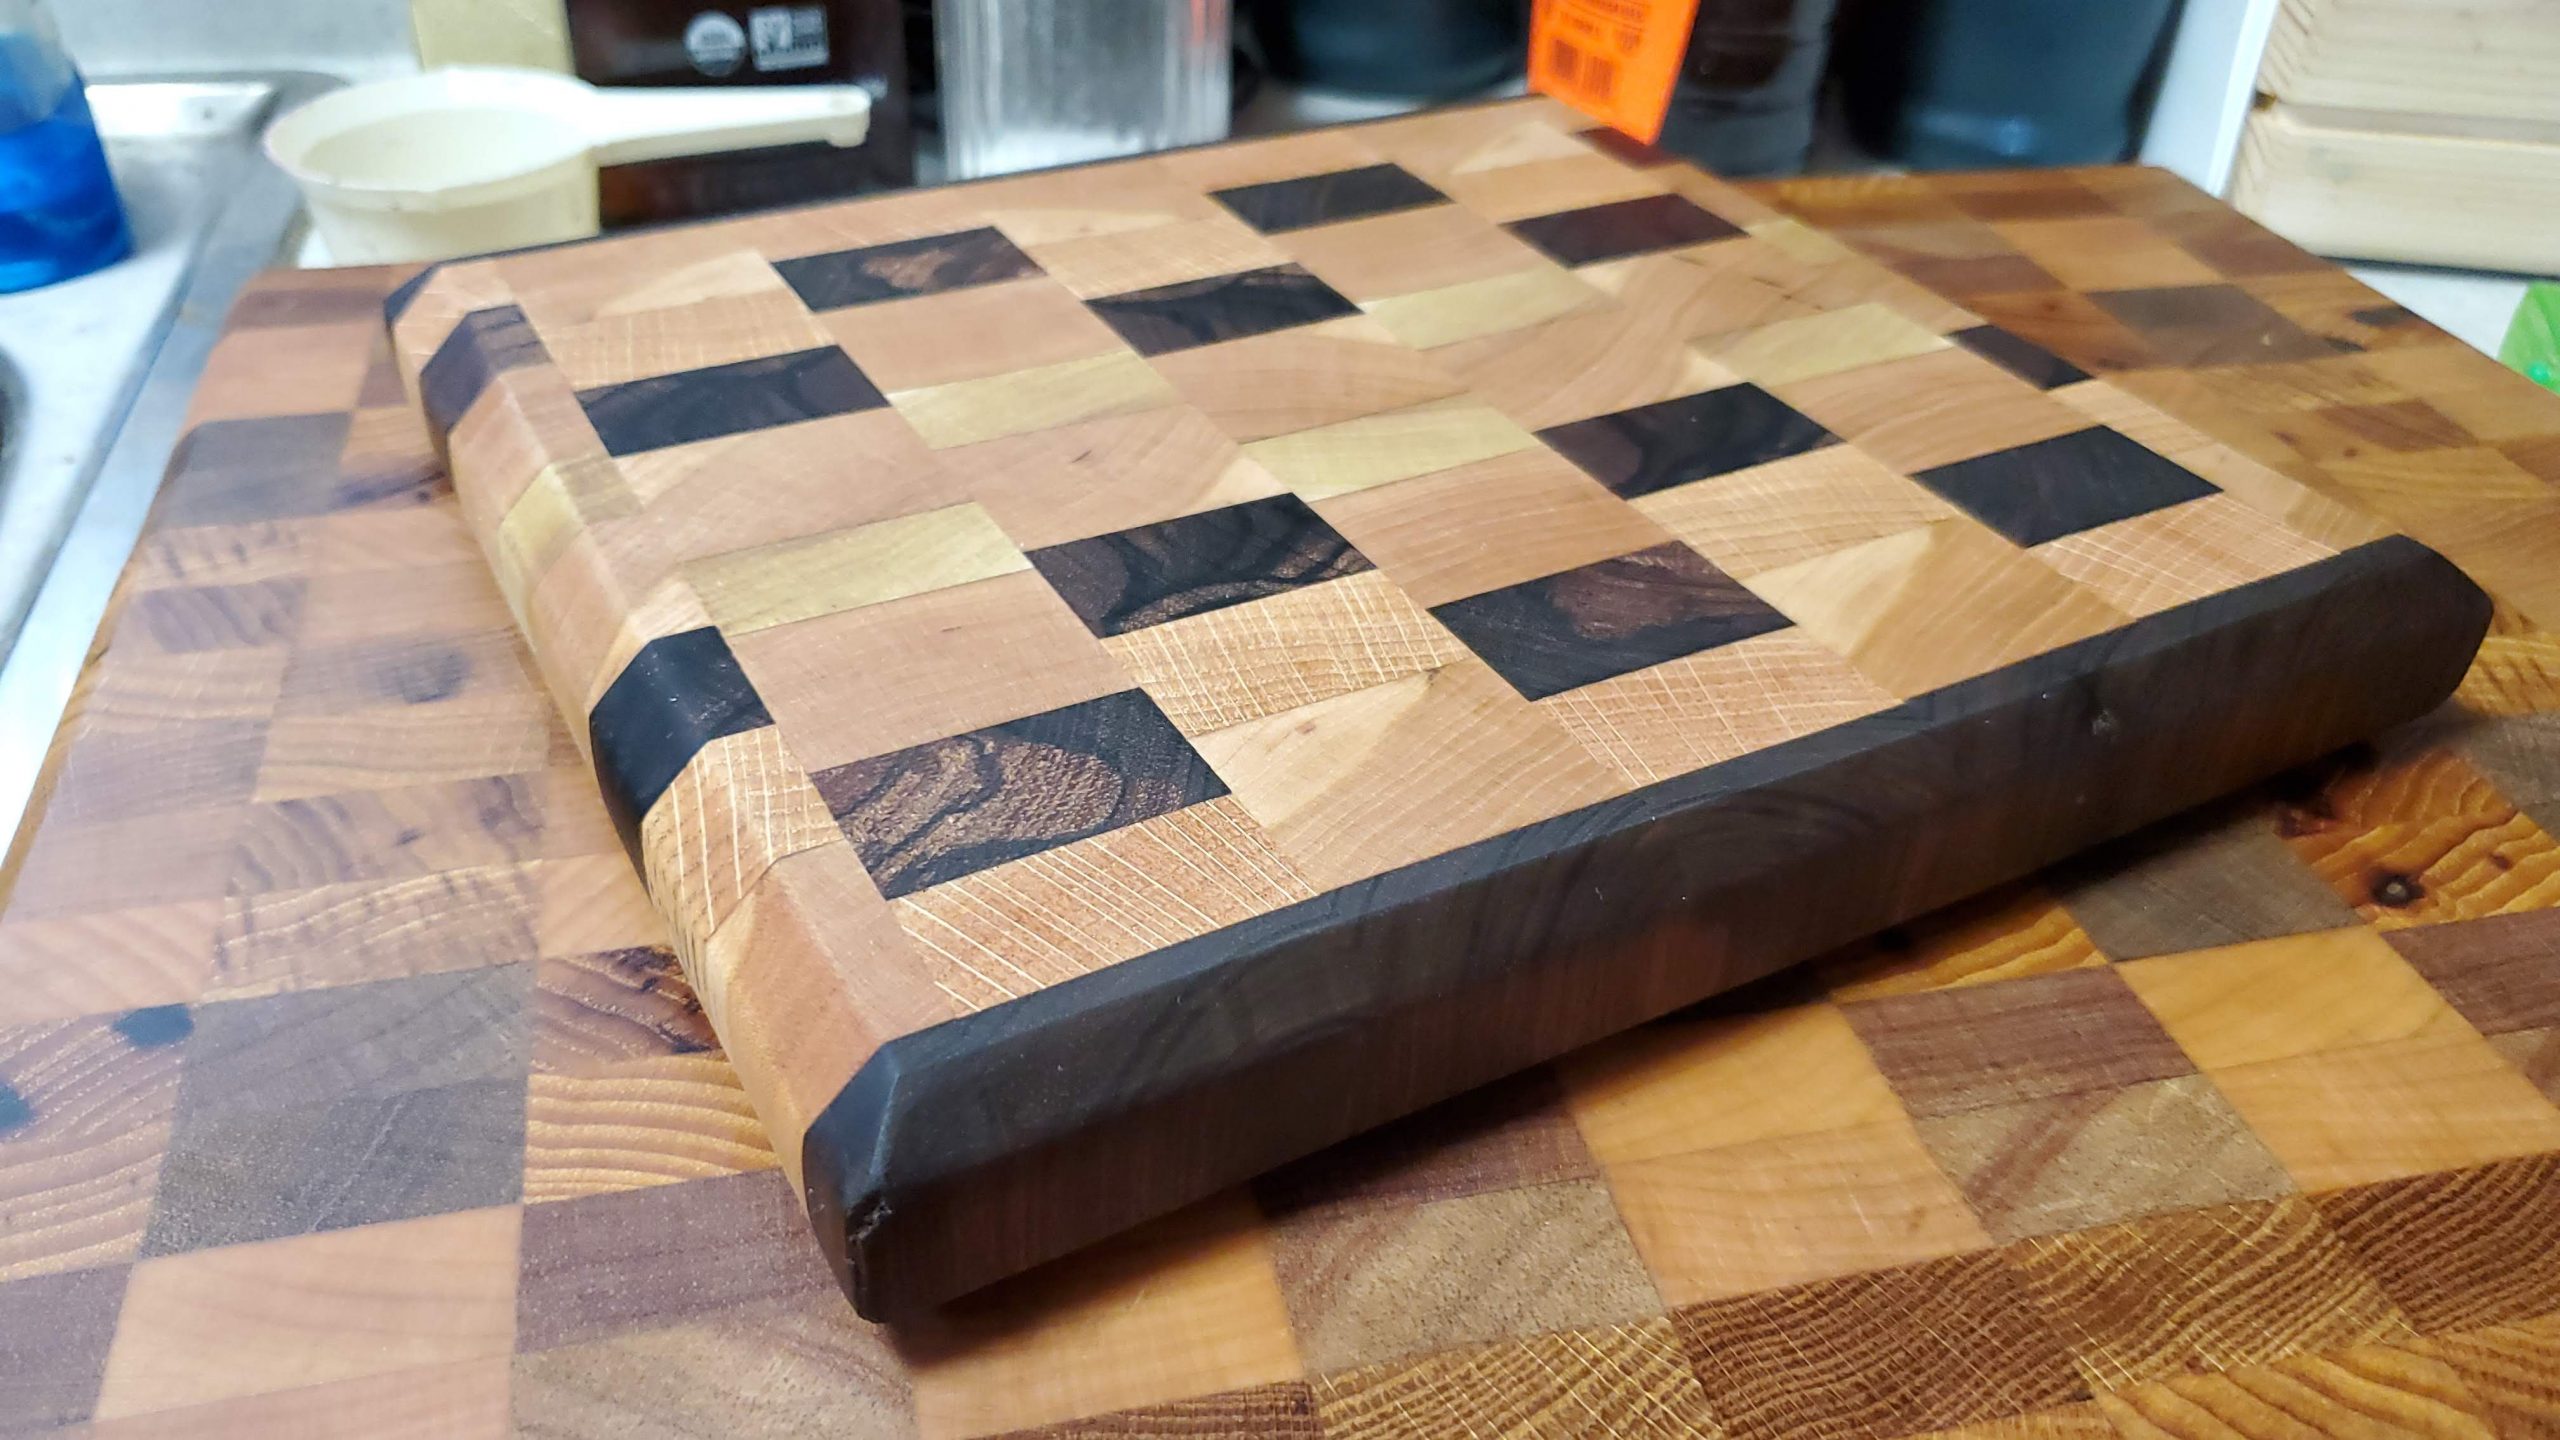
After that, it was time to flip the boards up, and rotate every other one to give the final board a very unique look after it was glued up.
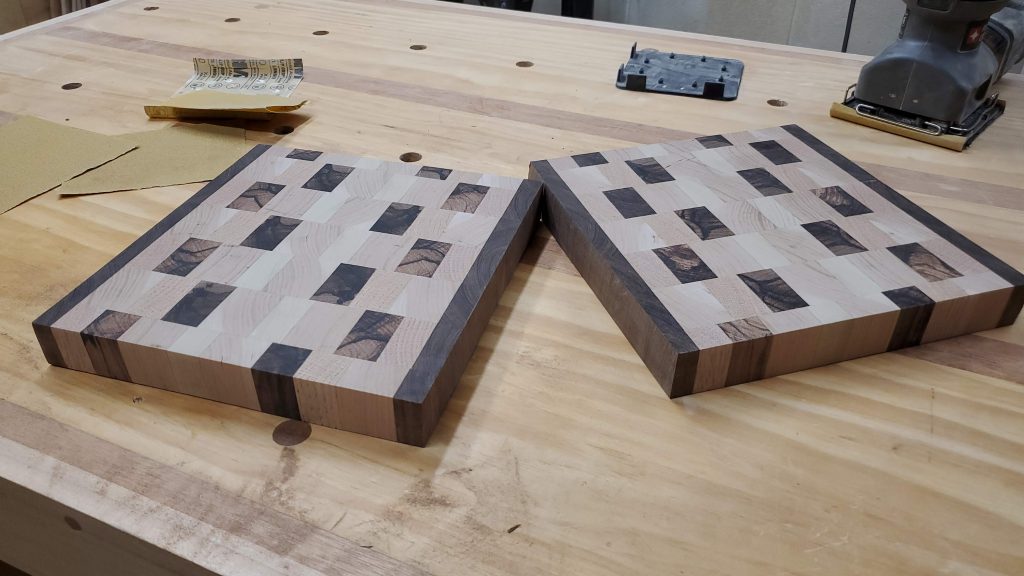
Once the glue dried, and new slab was ran through the planner and a little, bit of sanding I cut it into exactly the same sized boards.

Then a few passes through the router table and I added a nice camfer along the top and bottom edges of the boards. Then it was time for a couple of sanding runs.

Then it was time for a nice mineral oil bath for the two boards. Oddly enough, the oil bath is one of the my favorite parts of making cutting boards. It really brings out the grain, and adds to the overall beauty of the boards.
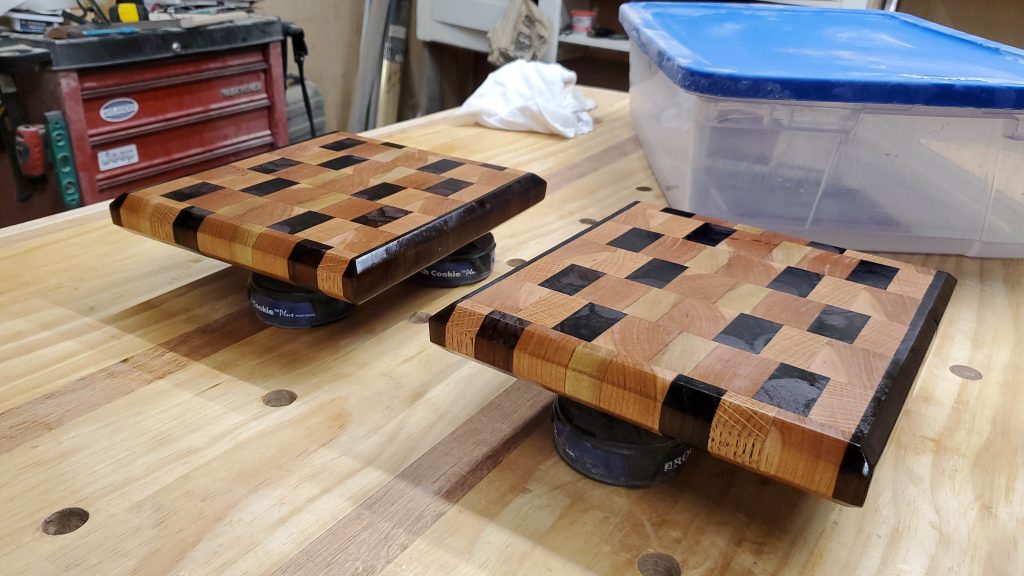
About an hour and a half later it was time to get the boards out of the oil, and let them rest. In about 4 hours they will be ready to go. In this case I will add a layer of cutting board wax on them and them put them into use.