When I was building my Smart Lamp project a little bit ago the original set of speakers I used failed a few days after I finished building the lamp. The manufacturer of the speakers heard about the issue I had, and sent me out a replacement set of speakers. Since I no longer needed the speakers for that project, I decided to use the replacement speakers in a new project I designed which is an amplified speaker dock for a first gen Alexa dot that I have in my house that I will now refer to as my Alexa Jambox.
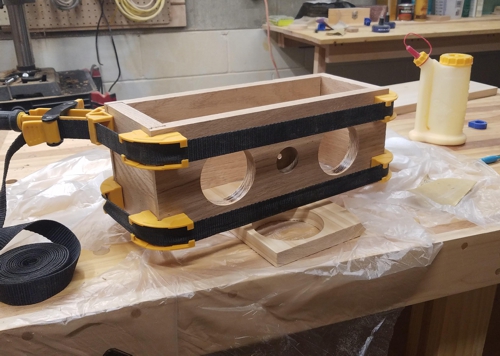
Since I was building an amplified speaker, the whole design needed to start with a box. But a box that did more than just hold a pair of speakers, a powered stereo amplifier card, a power switch, a control knob, two power transformers, and a power distribution box. This and enough space to allow the speakers to function correctly, and room to embed the Echo Dot and all of it’s connector cables.
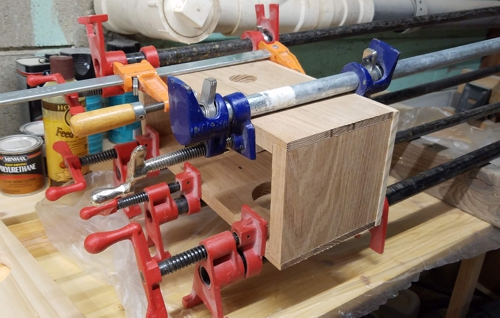
The next step was to start forming the rest of the box. Since I wanted to make sure that the inside of the box was accessible down the road in case there was ever a need to replace any of the hardware in the box, I only glued the top into place. The bottom will be held in place with screws and no glue.
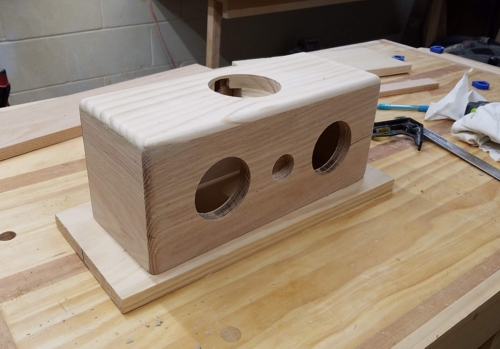
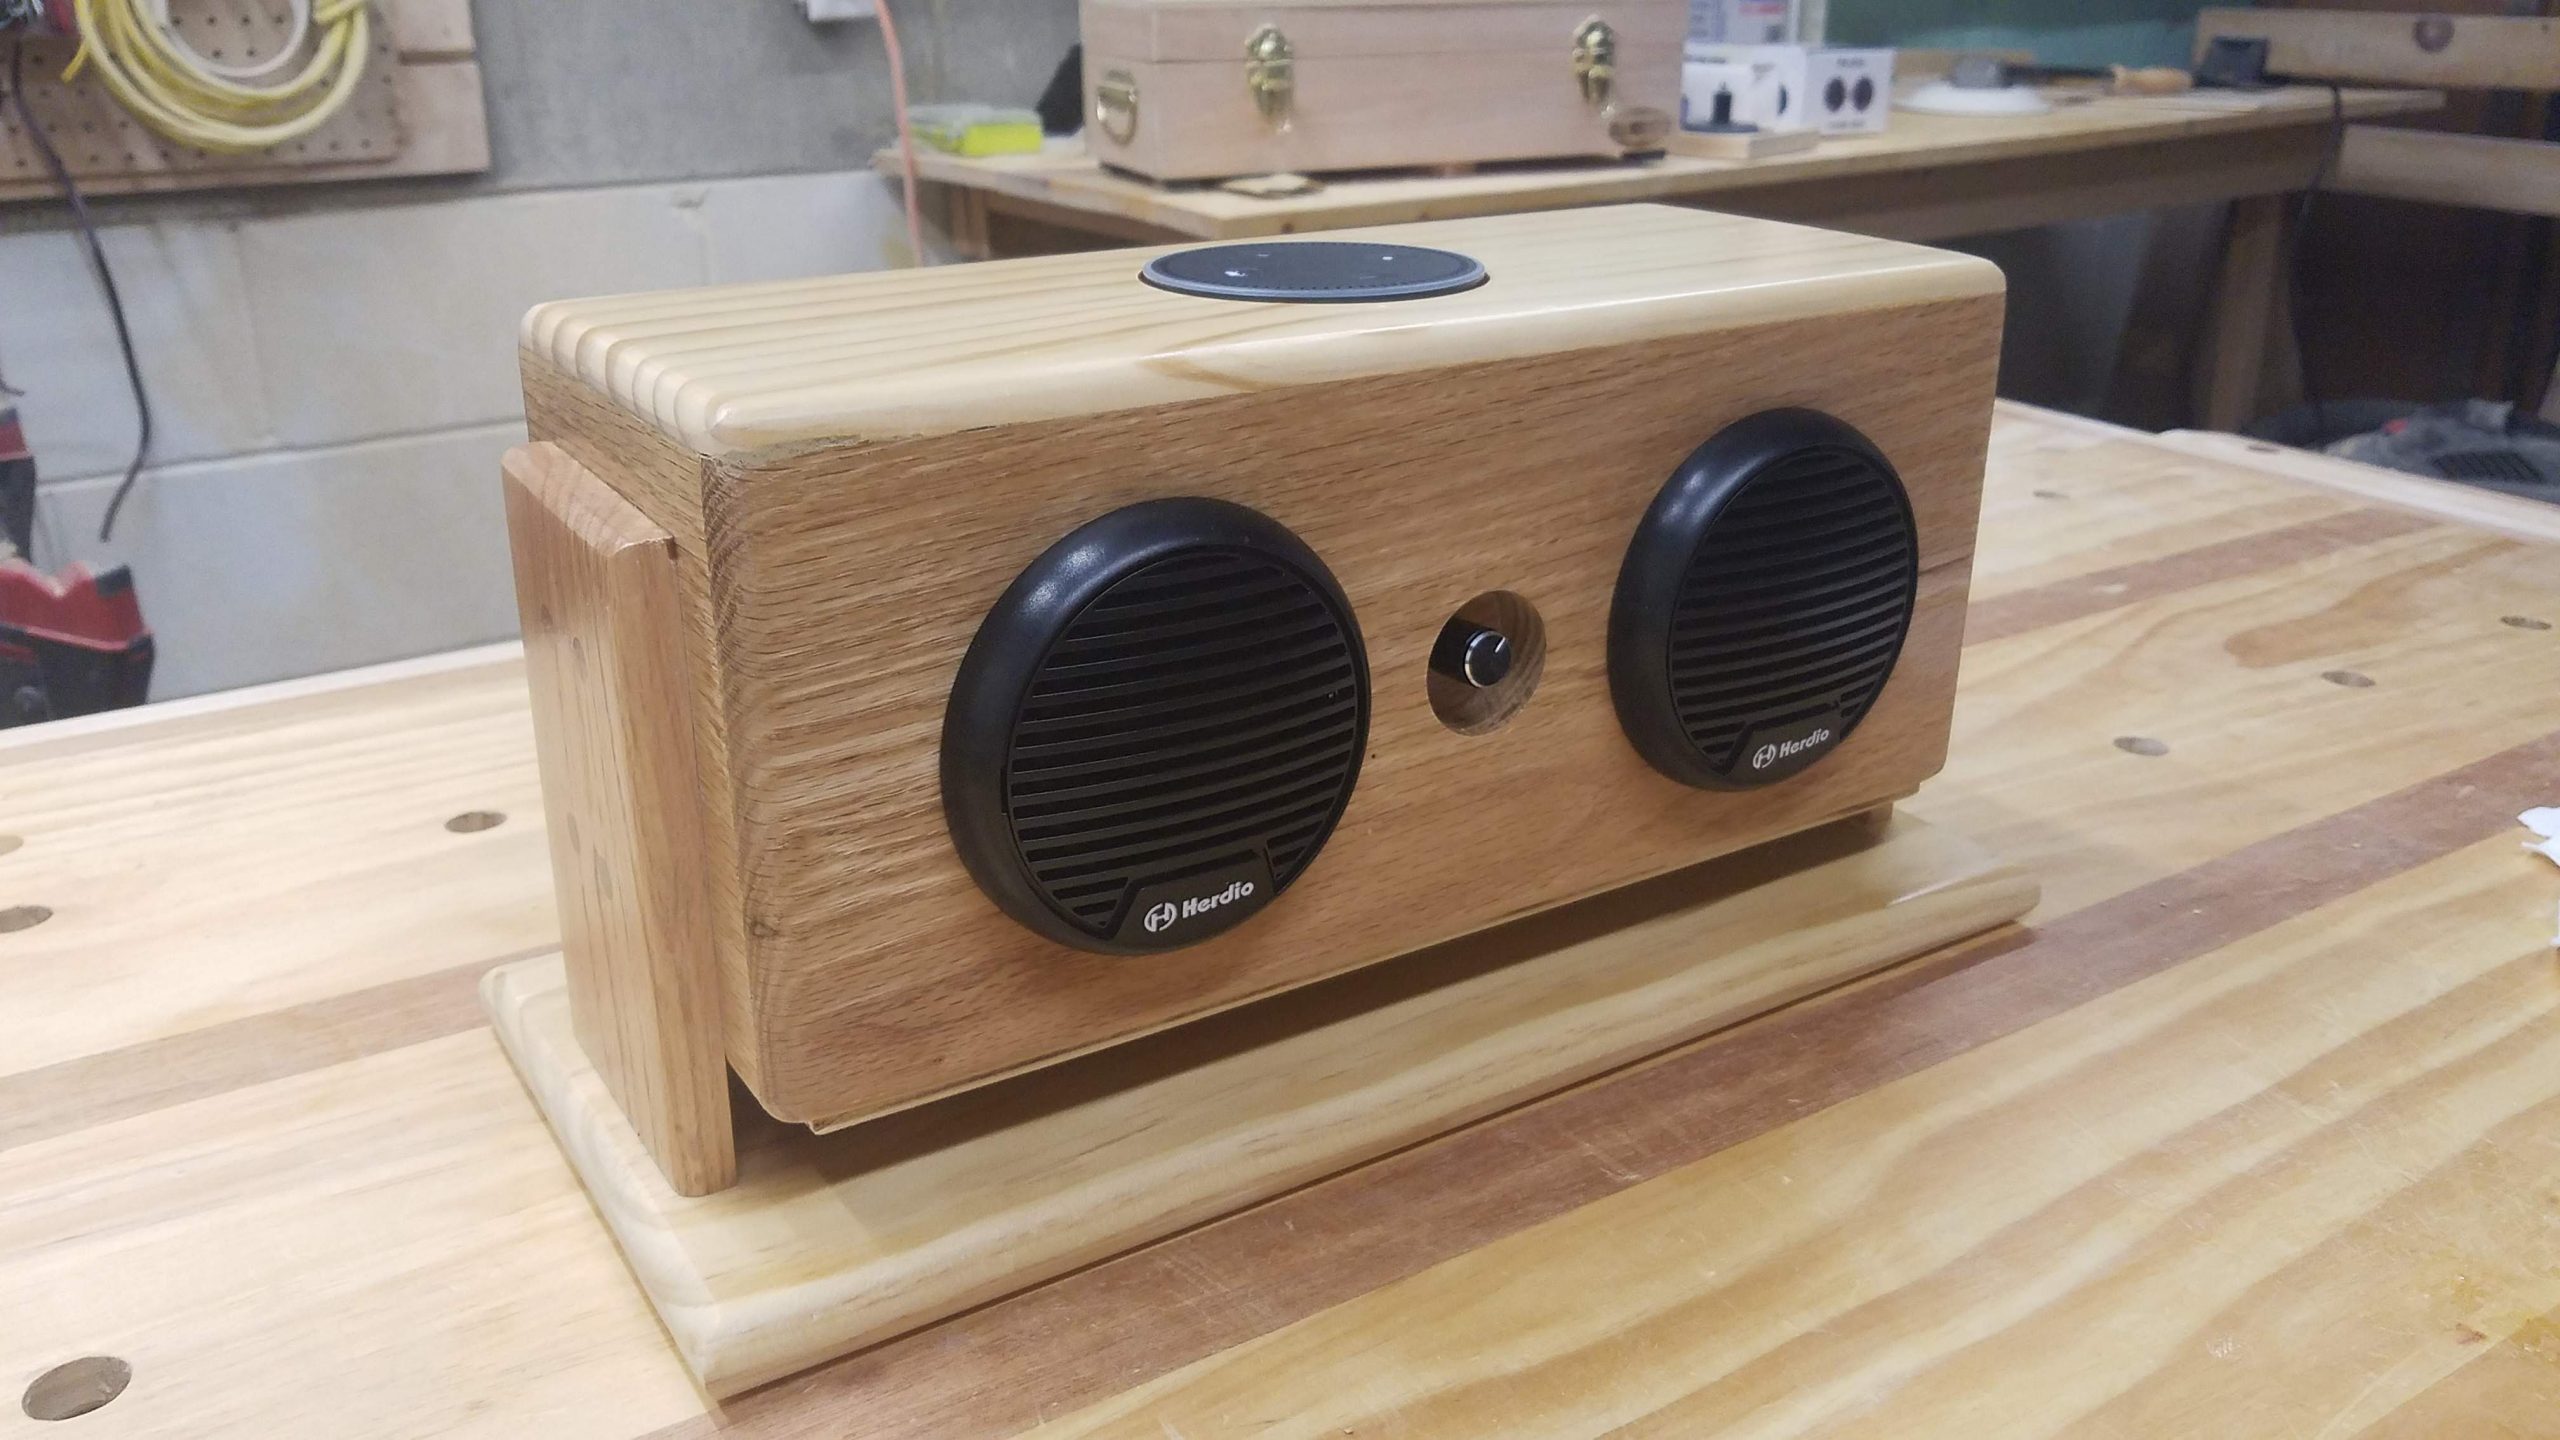
Originally I planned to make a simple box enclosure and during my drive time to and from work, I came with a change to the design. This included rounding over the edges of the box, insetting all of the controls, mounting the Echo Dot so it would be flush with the top of the box instead of just resting in a slight inset. I also decided that I wanted to give the box a bit of a unique design look. Somewhat retro, but with modern clean lines.

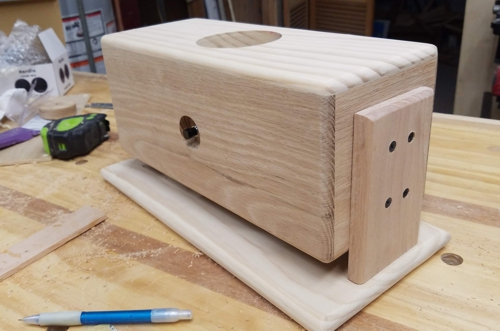
I decided that I would hardware a test fit, and a quick look at what the final design would look like. Not too shabby for something that was brought to life because I had some spare parts laying around, and some spare wood. In fact the only thing I actually bought to make this design was a extension cord that I wanted to use to connect all of the power supplies so the that everything in the box could be controlled using a single power cord, and a single power switch.
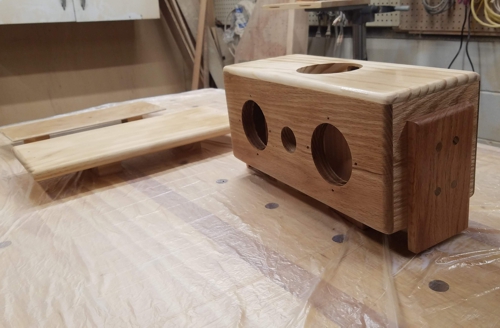
Once the design was completed, it was time to start applying some polyurethane finish to the Jambox. Sometimes a design and the final item is much greater than the sum of all the parts that go into it, in this case several small pieces of wood, some replacement speakers, an extra amplifier card, an Echo Dot I already owned, a little bit of glue, a few screws, and a little time in wood clamps and passes through a router table and we have a one of a kind item.
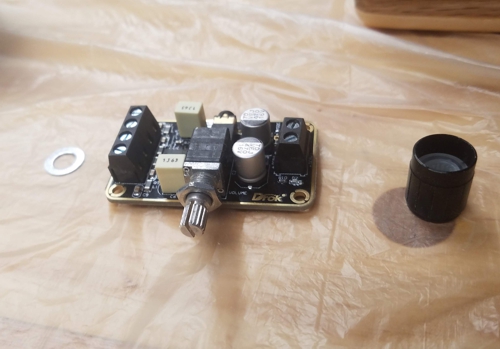

After the finish was dry it was time to start assembling the parts in the final design. This included trimming wires, locking things into place, and finally making sure the amplifier was wired correctly so that it would drive the speakers correctly.
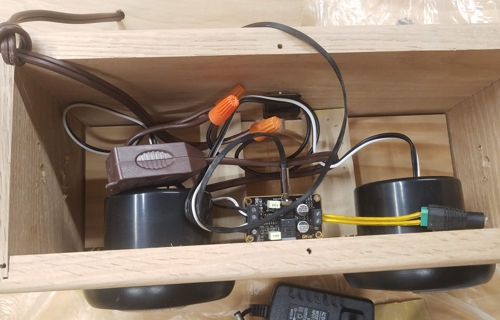
After that it was just putting the bottom on, and mounting it back on the base. The final outcome was something that turned a simple Echo Dot into an amazing amplified speaker box, driven by an small simple Echo Dot. In the fall this little guy is going to spend time outside next to my fire pit, and maybe some time out in the garage. It’s compact, somewhat portable, and the sound is quite nice for a bunch of odd parts and wires.