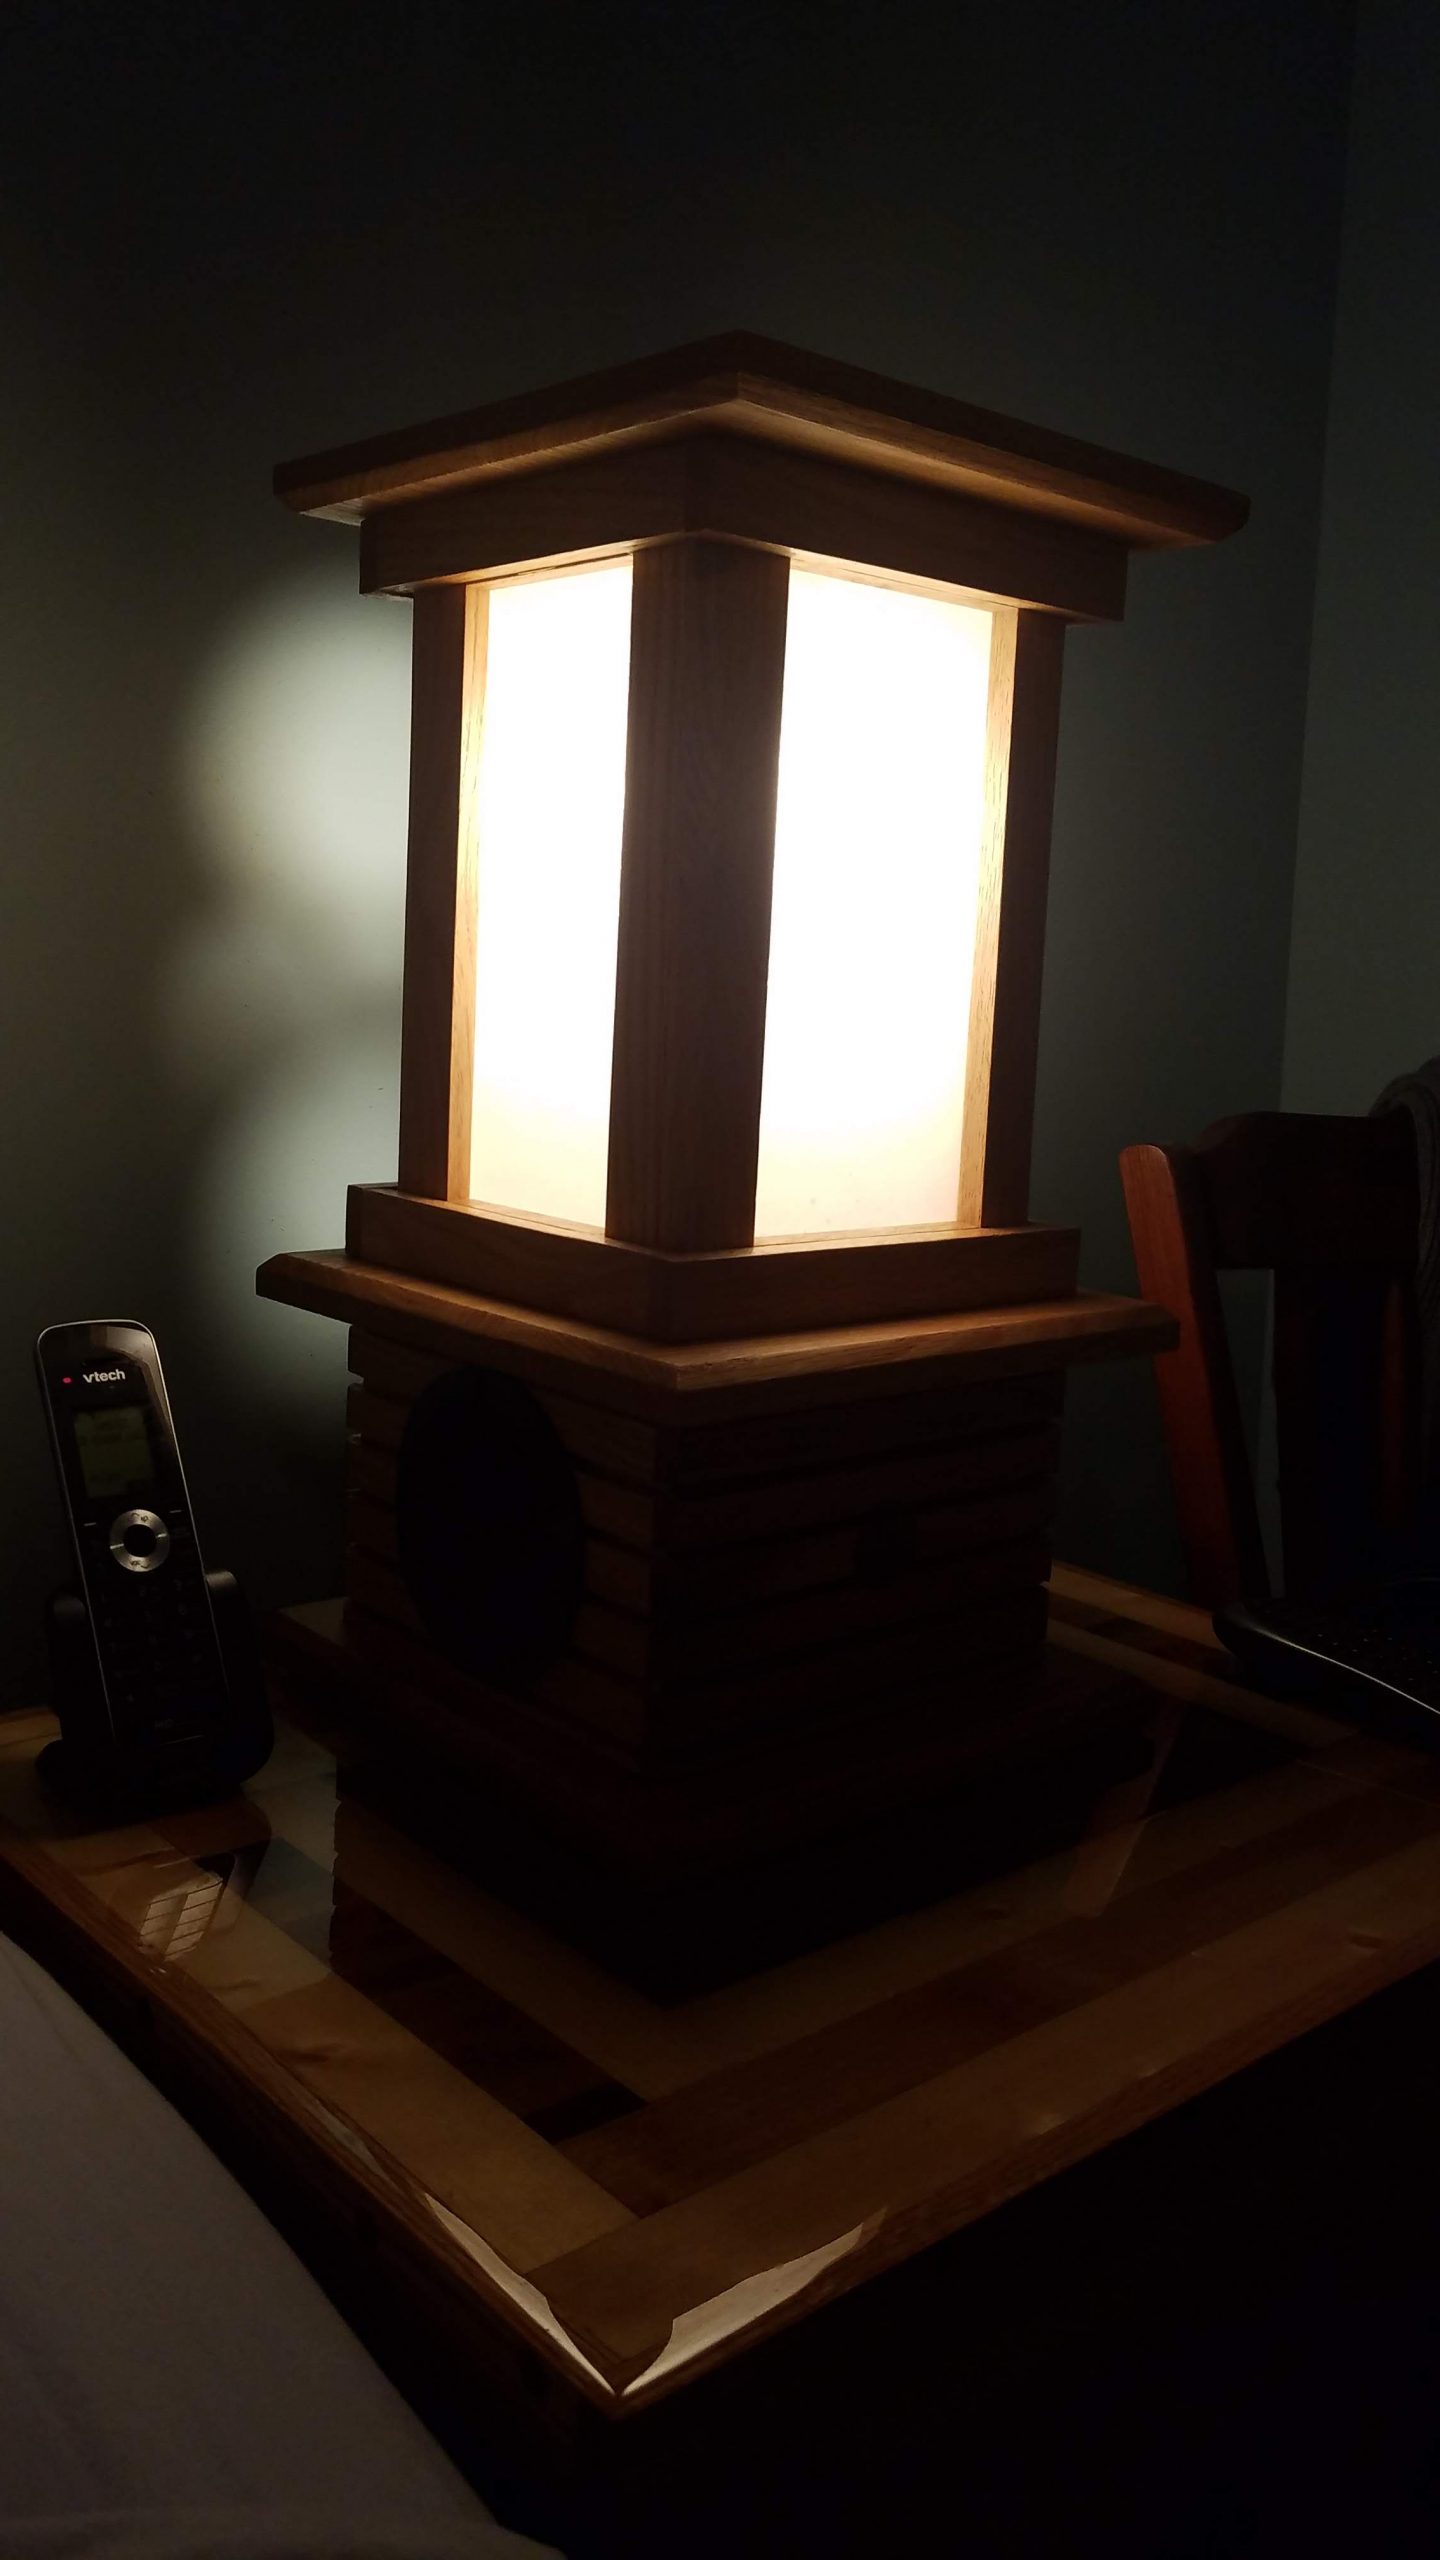
Sometimes I get an idea to build something for no other reason than to see if I can, and to see if my idea will actually work. In this it was to build a new decorative lamp for my bedroom, and to have something that can do a whole lot more than just illuminate the room. So why not make a cool looking little version of an Alexa that can also fill the room with full range sound.
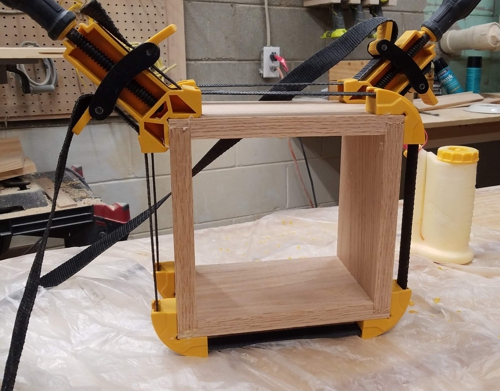
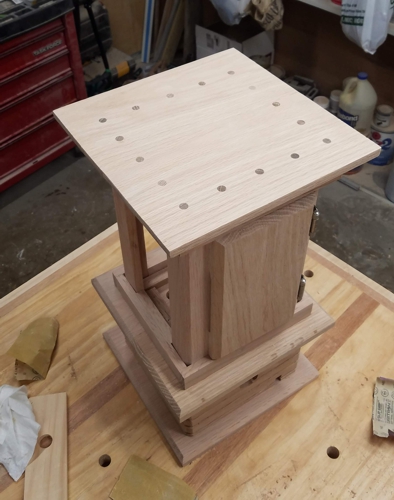
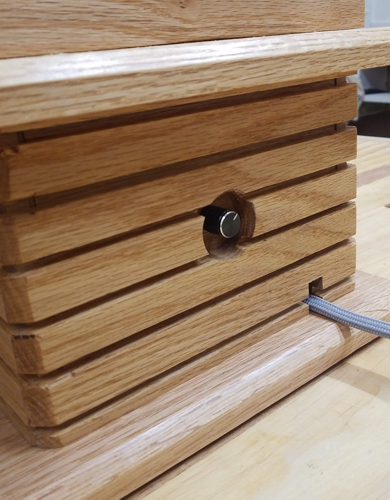
Where do you start with this? In the most simplest place. You build a box. I had to make sure the box was big enough to hold hold the speakers, an amplifier, all of the wiring, a smart switch, a manual switch, and a volume control knob. Simple.
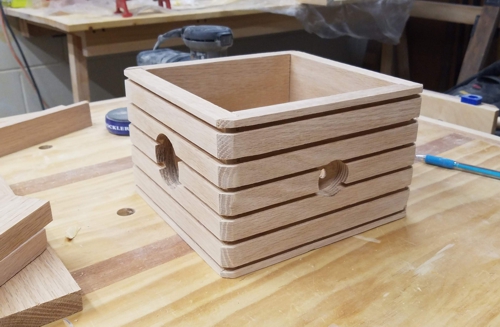
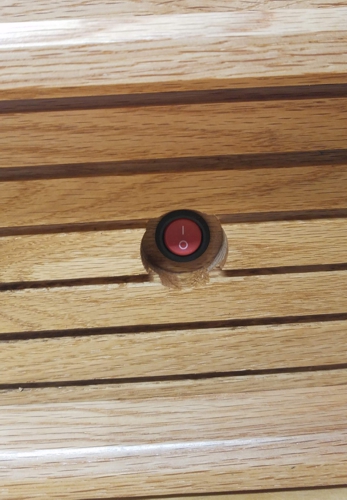
Just because it’s a simple box, doesn’t mean it can’t be dressed up a bit. Including six dado passes on all four sides, a 45 degree bevel on all four corners. Not forgetting all of the drilling for all of the access, the switches and the volume control. Even without sanding its a nice clean look.
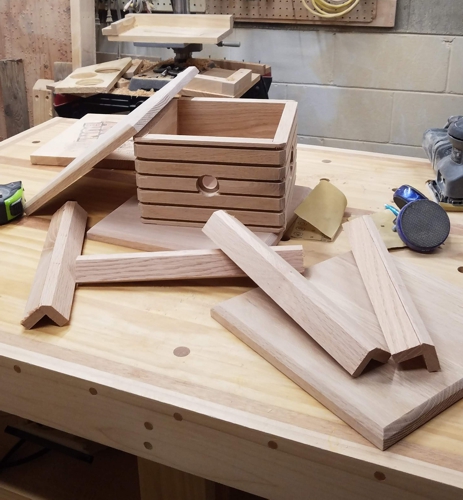
Then it was time to start making the rest of the parts, using similar cuts and bevels on all pieces, to give it a solid design look and feel. and because sometimes you have the table saw blade locked in at 45 degrees and you just don’t want to waste the setup.
Once all of he parts were created it was time to start bringing the lamp together, while leaving the bottom unattached because of the need to install hardware, and have it free to be removed down the road in case there is ever a need to make repairs, or install upgrades.
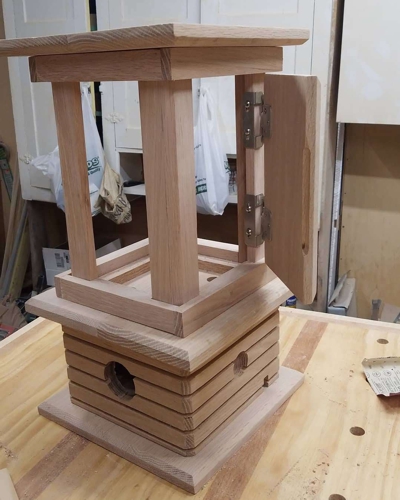
I also made sure to include a door because sometimes you might need to change a light bulb every once in awhile, because the just are not designed to last forever. I also added the a door for another reason, that will be mentioned a bit later.
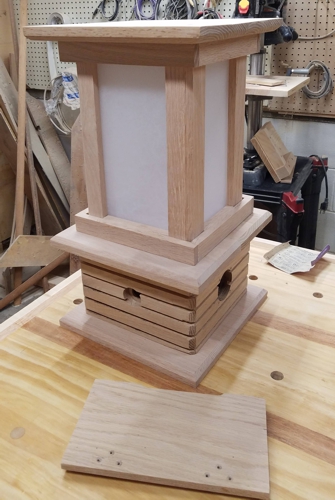
Then it was time to cut the plexiglass panels for the lamp top, and treat them all with rice paper, and of course make sure that they test fit correctly. I also needed to make room for the wiring for the light socket and the door hinges.
Then it was time to start applying the finish. In this case I decided to use some semi-gloss wipe on polyurethane since I don’t want to the surface to be overly reflective since there will be a light in it.
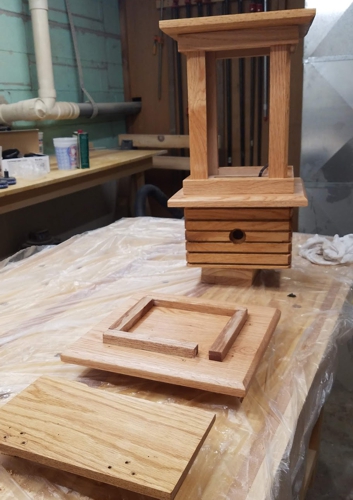
Once the finish was dry, it was time to start installing the hardware and bring the lamp together. All of the hardware fit perfectly, and it looked pretty good if I don’t say so myself. Maybe not for mass production, but for my use, they turned out great.
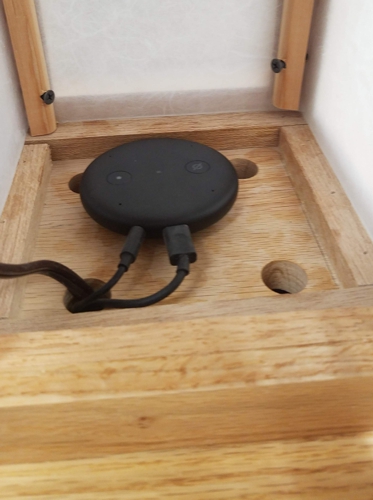
After it was all together, it was time to add the final element, and Alexa Input. Another reason that I made sure that the lamp had a door for a back access. The whole thing works like way I expected it to and pairs well with all of my other Echo and Alexa units in my house… but no one else has one of these.