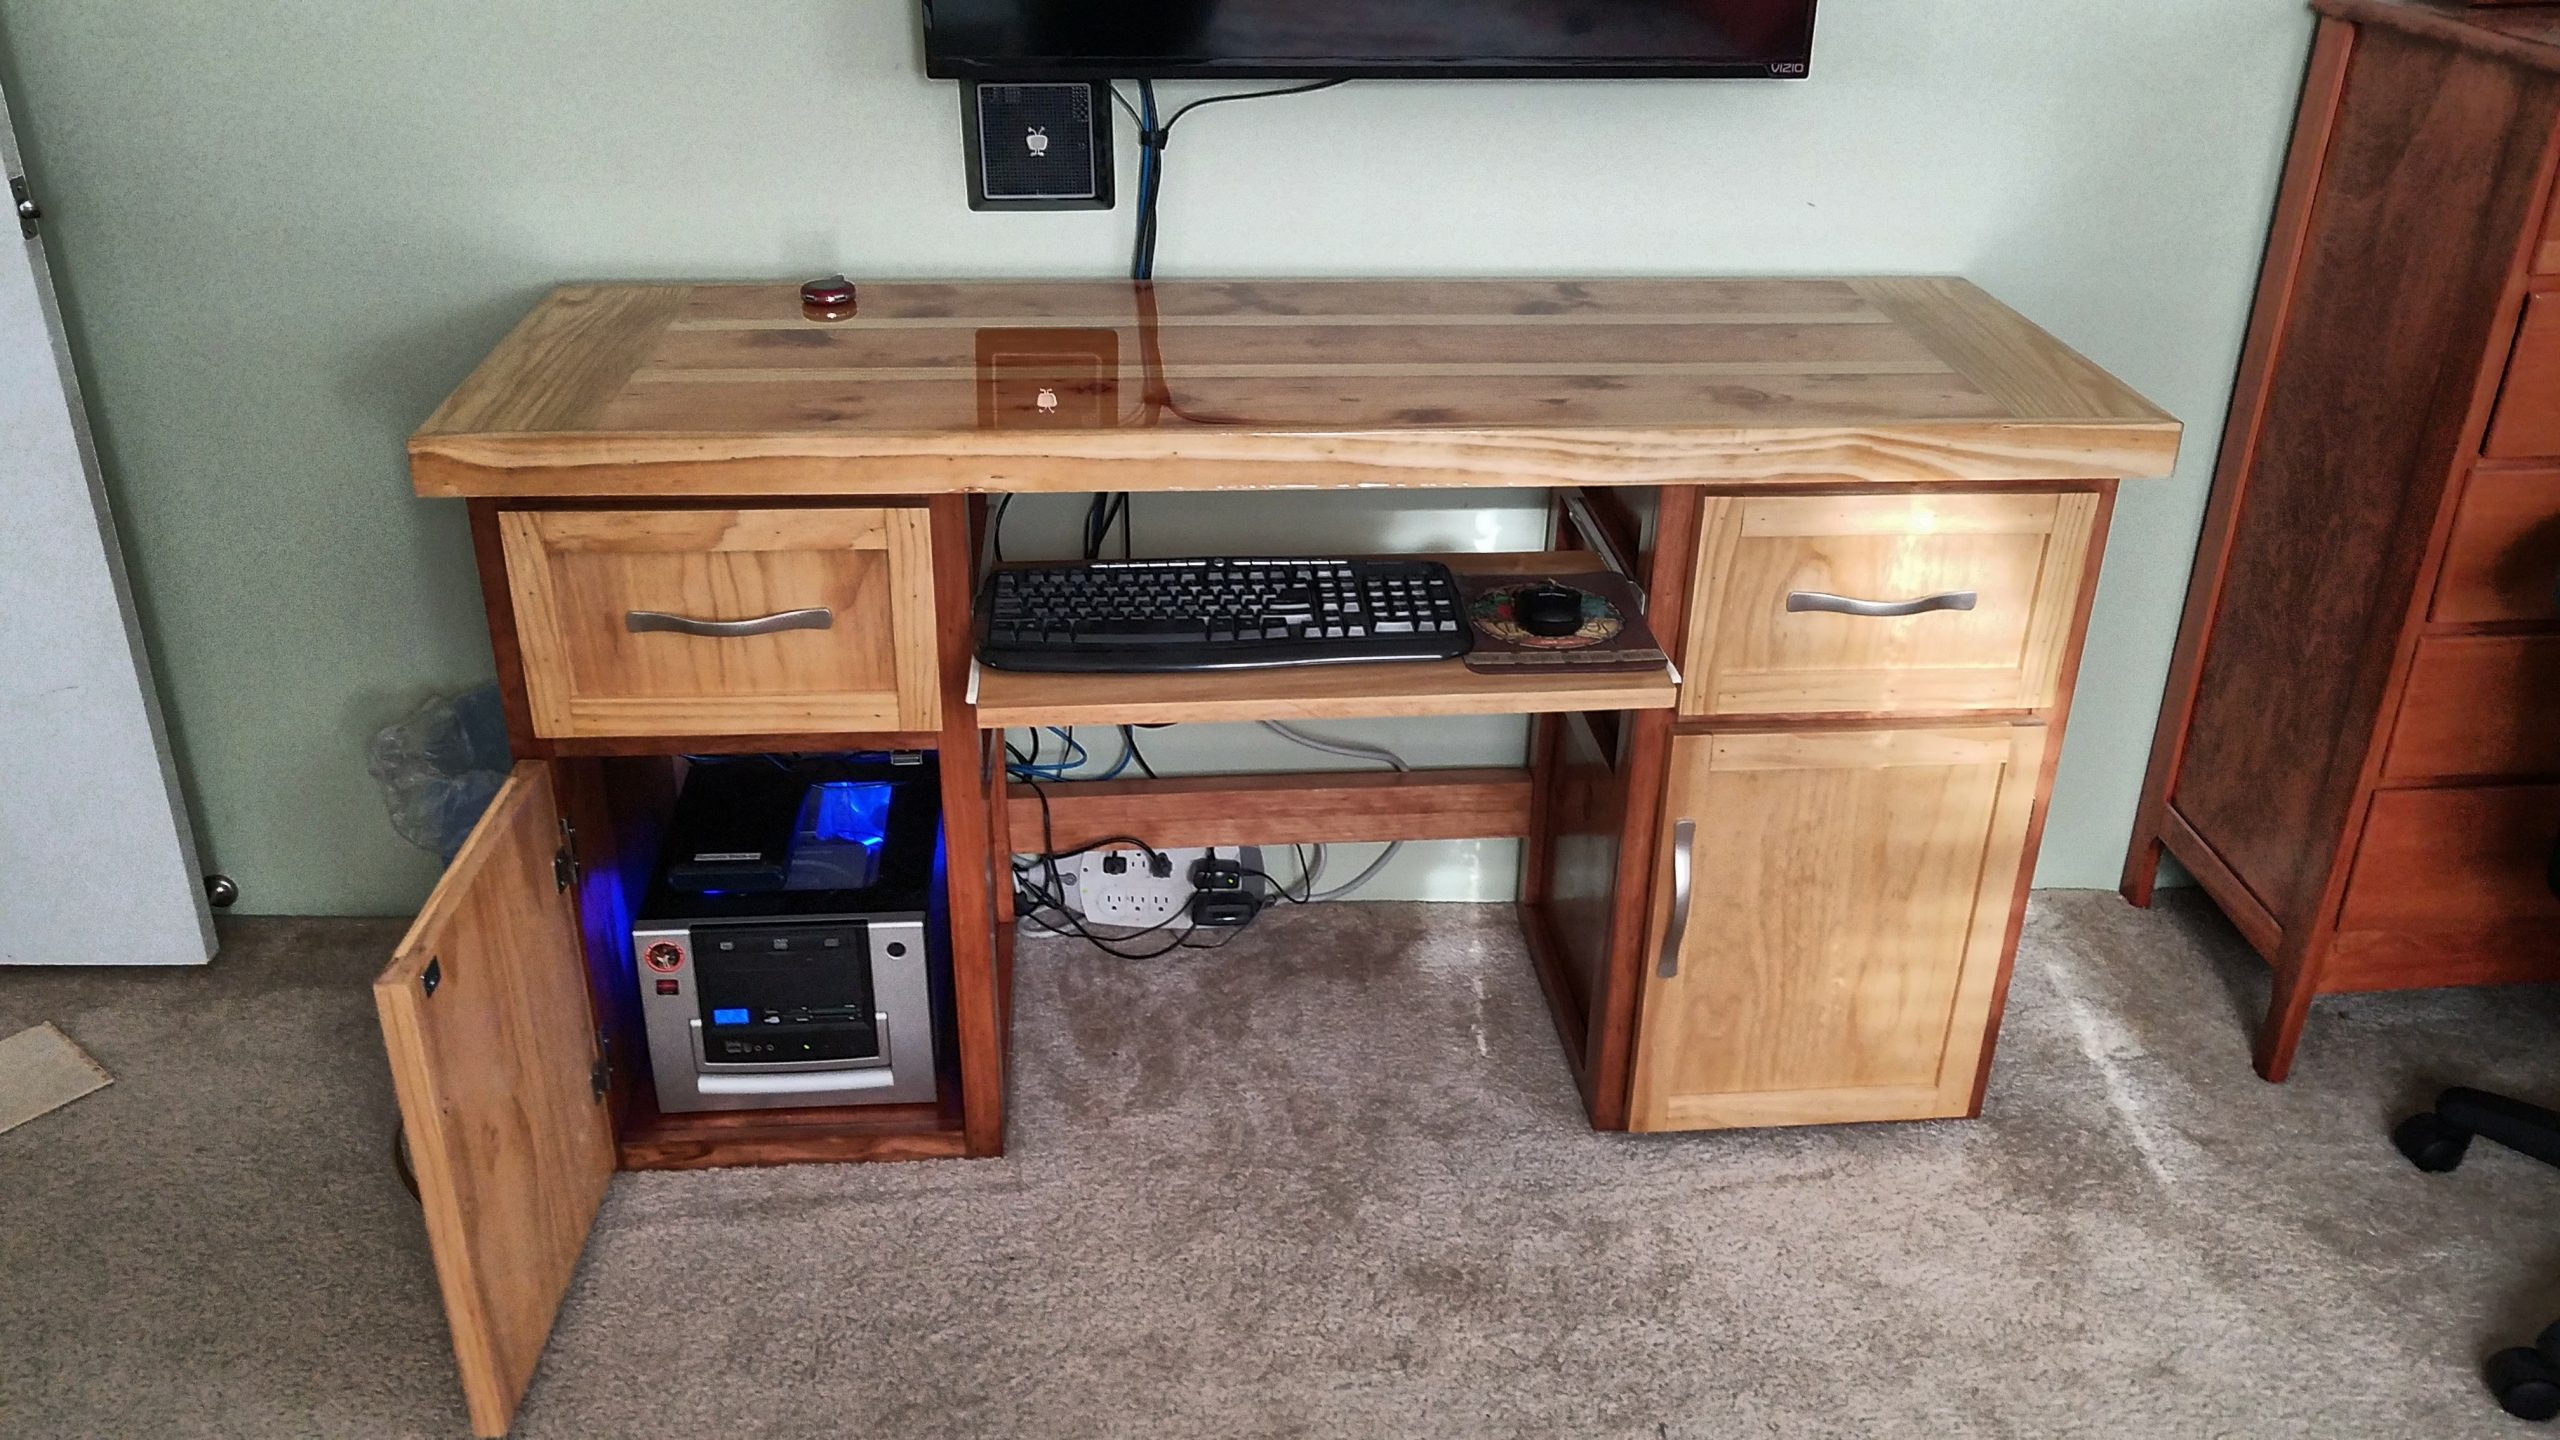
Occasionally you need to create a new piece of furniture for your home, that would be what my desk project was. I needed to upgrade the desk that is in my guest bedroom to replace one that was probably 5 years beyond needing replaced.
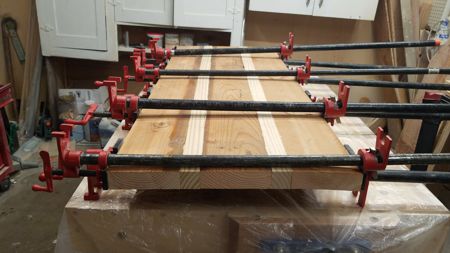
So the first step was to glue together some old Douglas Fir rafters, and some pine remnants to start creating the new desk top; so a lot of clamps and a very liberal quantity of glue.
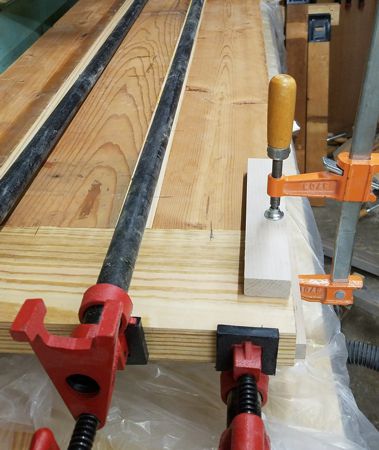
The next was to extend the length of the desk top with some new Douglas Fir grabbed up from the remnants bin at Menards. It was the perfect fit for the project, but not aged and beat up like the other stock.
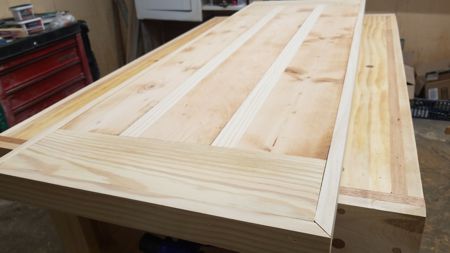
After that it was time to square everything up and wrap out the desk top with some pine stock, and to tack it all into place to finish out the design of the desk top for the new new desk.
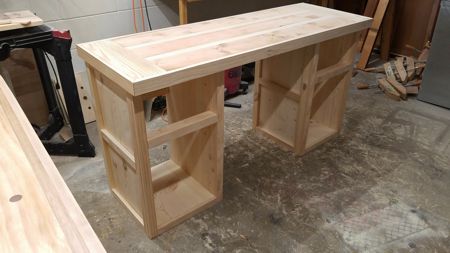
Then it was time to build the two pedestals that the desk top will rest upon and provide the opening for the keyboard tray, and the chair seating location; and of course to make sure it will be a nice level surface when it’s done.
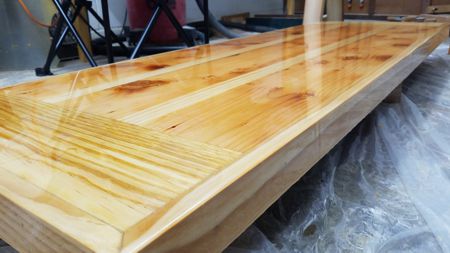
Then it was time to pour the epoxy resin finish for the top. Hopefully this will make the new desk a bit more durable and last a whole lot longer than the old desk. Or else it will at least be shiny and nice looking a lot longer than the old one was.

Then it was time to make the doors and drawers for the pedestals before staining and applying the finish before the final assembly of the desk itself, before installing it in the guest bedroom.