Sometimes after you finish one project it leads to the need to create another project. in this case the room where I placed the new desk I decided it would be a good time to upgrade the night stand in the room.
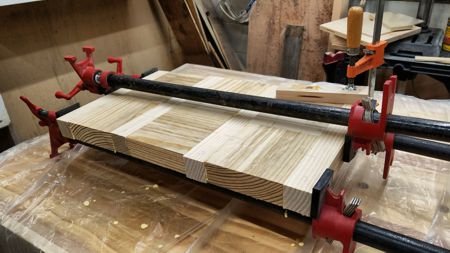
As with almost all of my projects, it starts with some gluing, and some clamps. In this case I still had a few remnants from the desk project to help fashion the new table top.
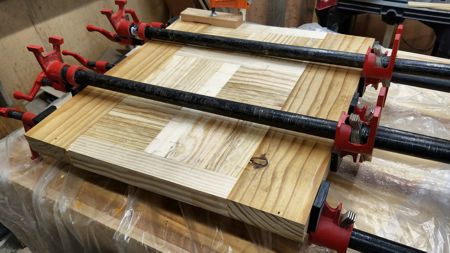
And as like with the desk, I also added some rafter stcraps from the cut-off bin at a hardware store. This time the scraps came from the Home Depot, and again were a perfect fit for what I was trying to build.
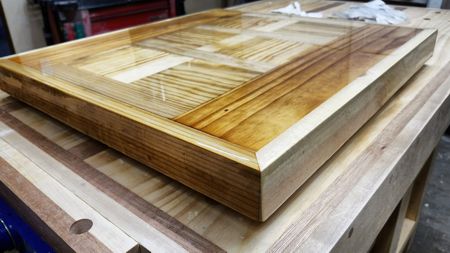
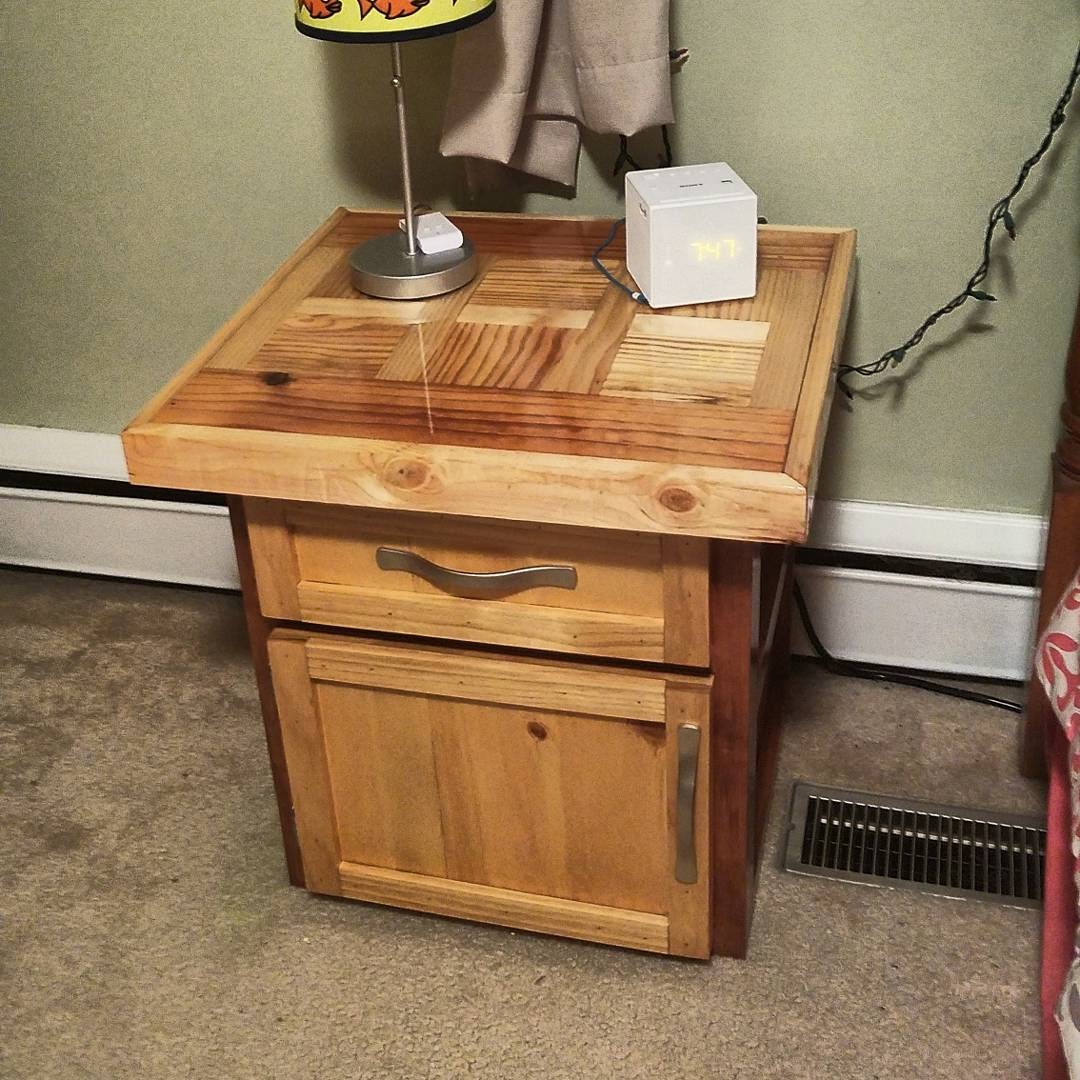
The after wrappong it was some pine slats, I applied the same epoxy resin finsh as I used on the desk to keep it consistent, and because I had some leftover from the desk project.
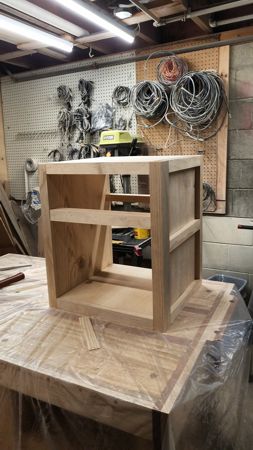
The next step was to build a base for the nightstand in a similar fashin as the desk pedestal, but on a slightly smaller scale. And of course using the same materials as the desk.
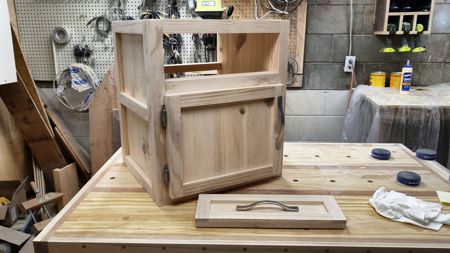
Then it was time to build the doors and the drawers for the nightstand, including the same hardware, and stain and finosh on as the desk. After all was said and done it looked ike everything was made at the same time, or purchased together for the room.