I have a good sized kitchen, but do not really have the space for a permanent full-sized table so I decided it would be worth my time to come up with a folding table design that mounts to my wall. This way I can have a table when I need it, and be able to fold it away when I need more space in the room.
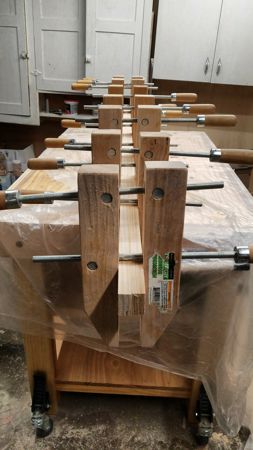
To start with we need to do some gluing. This includes the frame, the surface, the folding legs, and of course the rail to mount the table and the hinges to the wall. Since I knew this table would need to withstand some movement and banging around, I make sure to use a lot of glue, and an extended amount of drying time in the clamps.
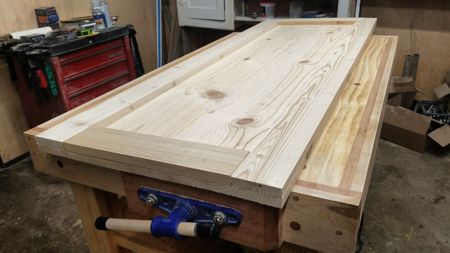
After that it was time to square up the table top, fill the joints and knot holes with some wood putty, and smooth everything down to make sure there were no leak spots where the epoxy resin can slip through when I pour the finish.
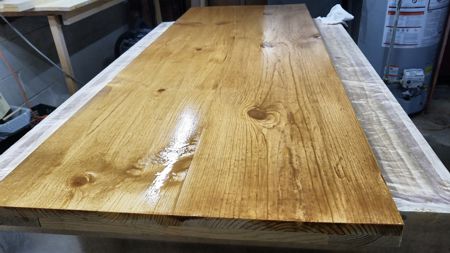
After that I decided to put a little bit of an antique finish on the on the table top panel so that it had a pit of a worn look to it since the final design would have the look of an old bar top, even though all of the wood is new stock.
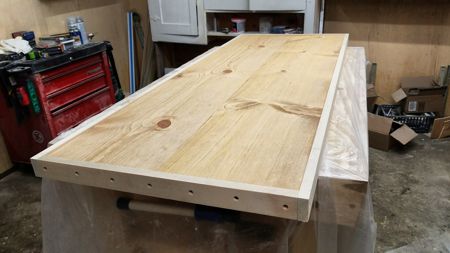
Then it was time to wrap the edge with a nice border with an 1/8″ lip to hold the resin, and to allow me to add some additional design elements to finish out the old bar look and feel.
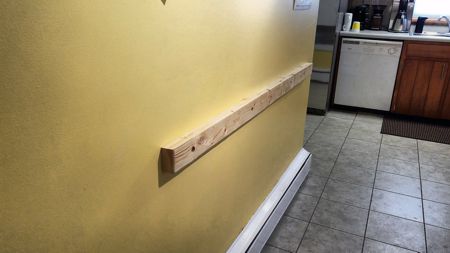
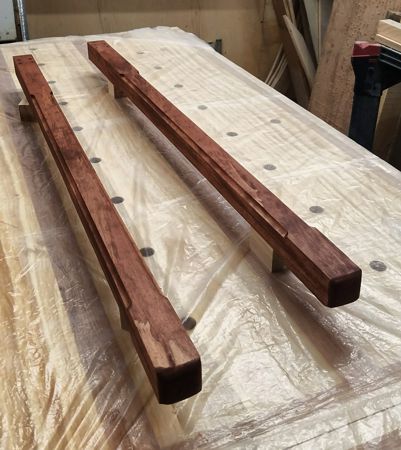
After that I mounted the rail that would hold the table and the hinges to the wall. This was lag mounted directly into the wall studs to make sure it was solid and stable. This thing is not going anywhere.
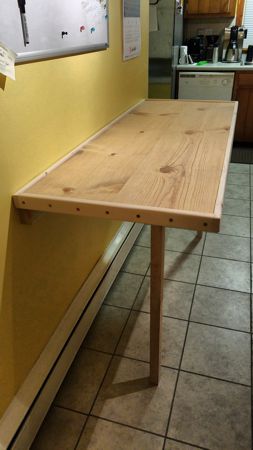
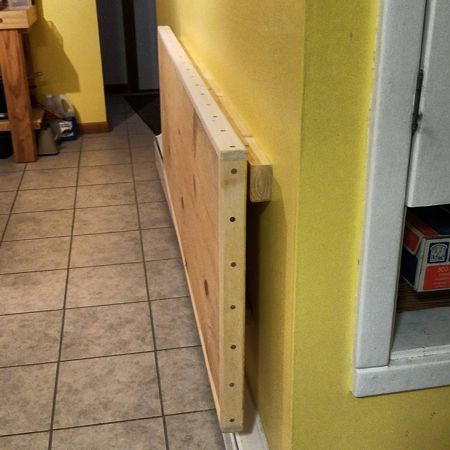
Then was time for a test fit, and a test run of the folding ability of the table top. I had to make sure that the table was able to fold down and not bang into the baseboard radiator, and be high enough for a couple of bar stools that I have that can be used with the table top. After that was done it was time to to tear it all down to move on to the next stage of the process.
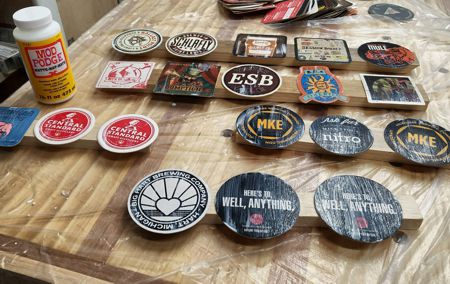
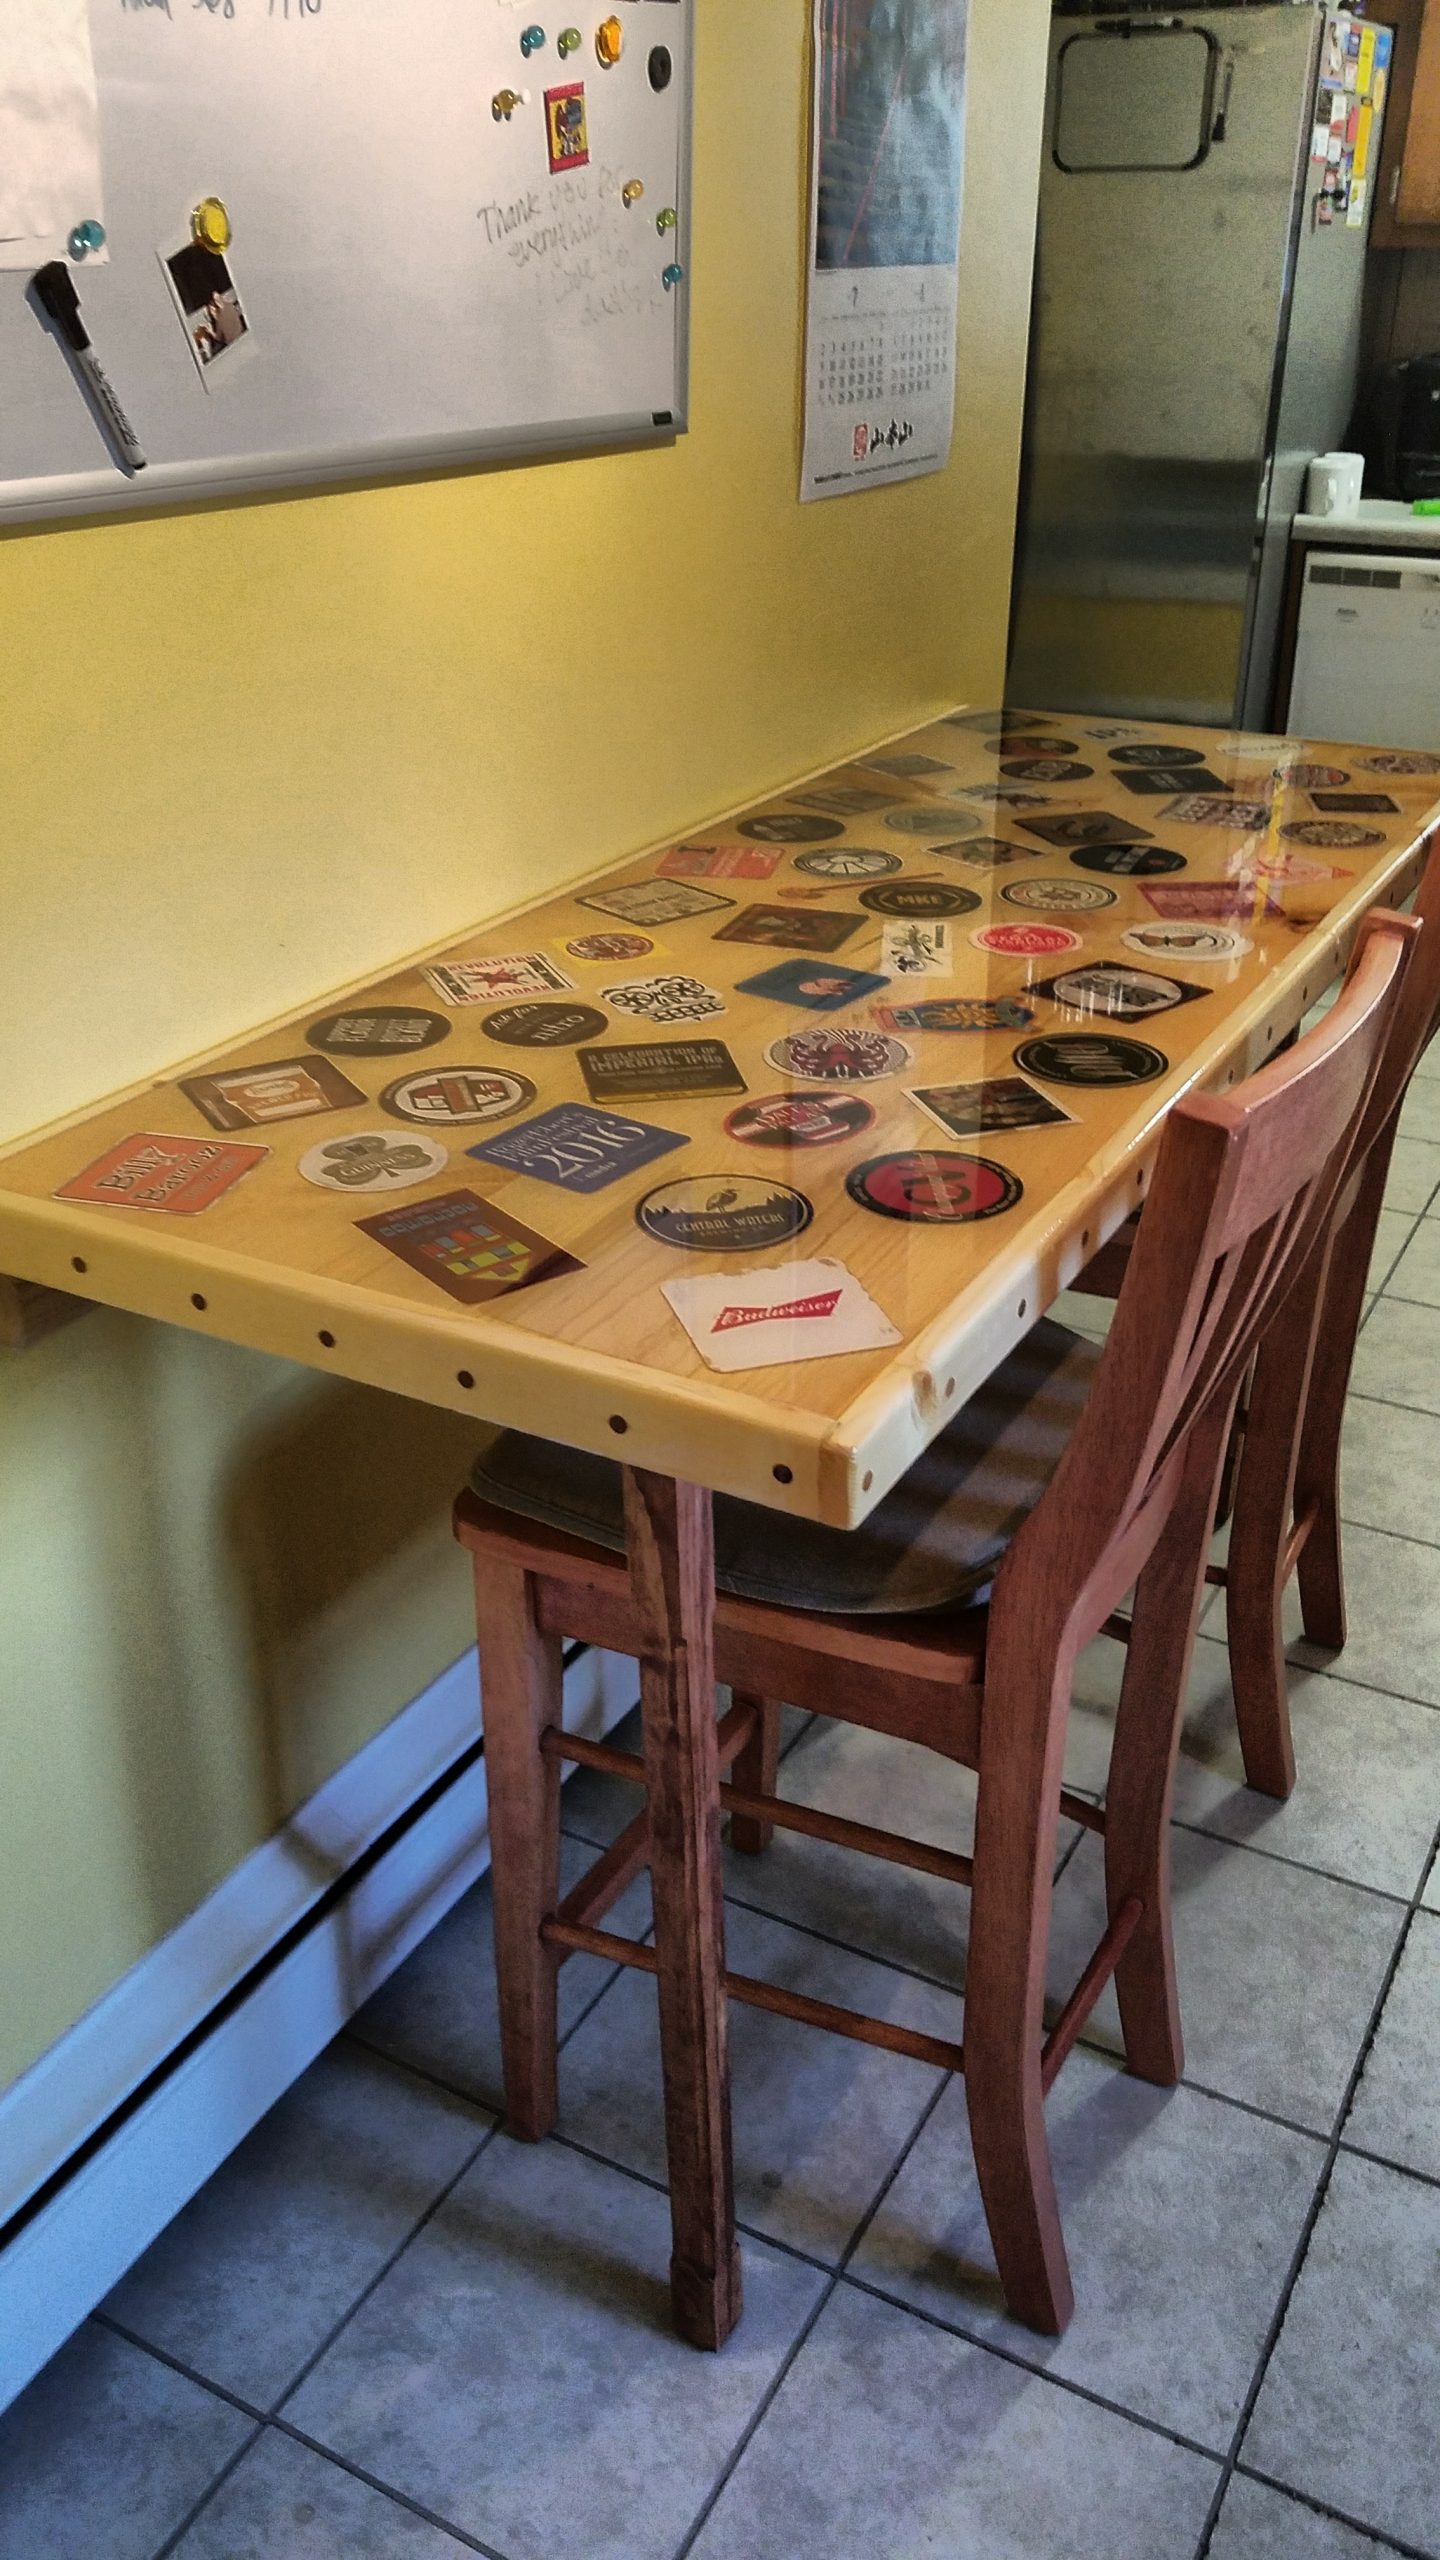
In this case it was to seal up a number of bar coasters that my girlfriend and I have acquired throughout the last few years in our various trips and getaways. I did a few test runs of different coating processes to see which would hold up best to the epoxy resin coating. Left untreated, they tend to soak up the epoxy instead of looking like they are wet under the epoxy. Mod Podge worked the best, and the smell brought back memories of elementary school art projects.
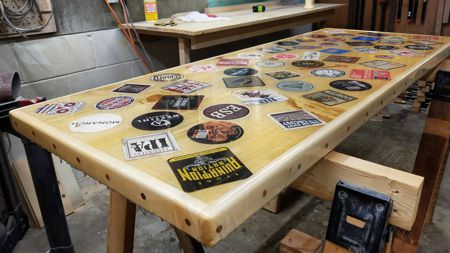
Then it was time to glue them into place, and pour several coats of resin to completely fill the surface pool I created earlier so the coasters were completely coated and the surface was leveled off.
The last things to do was to finish out the folding table legs, and put them back on the table, and then it was time to mount the finished table top into place and start to use it.