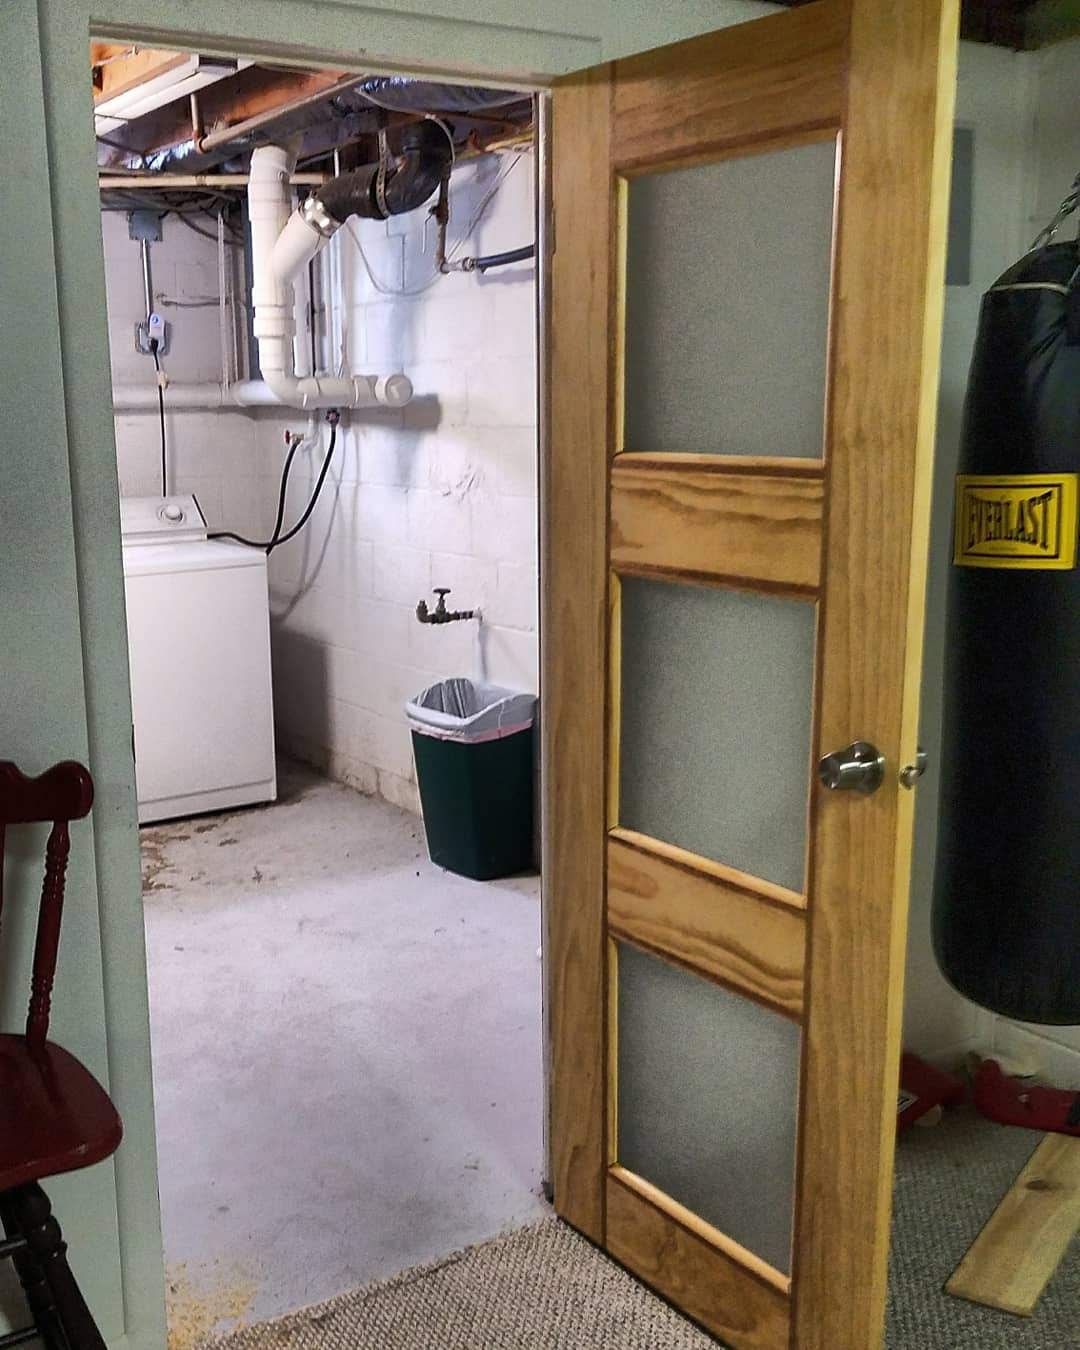
After living in my house for several years I grew tired of the horrible door to my laundry room. It was something cobled together by one of the previous owners made of scrap wood and paneling from the 1970s.

After several different design ideas, I decided it was finally time to put the one I settled on into action.
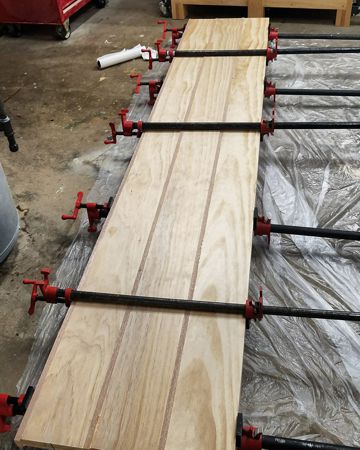
As with almost all of my design projects it starts with some wood and glue in some clamps. In this case it was some mahogany and some pine. Above you can see the pieces being joined together to form the pattern I plan to use.
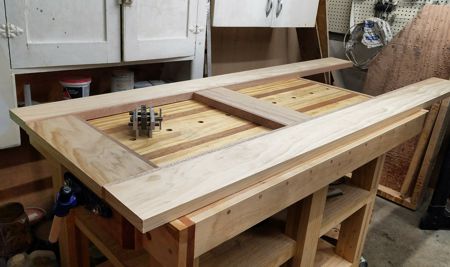
Then it came time to size the different section and test the layout for the door. The workbench really came in handy to do this; and so did my old handy dowel jig to set up the guide holes for the actual way I joined the door together.
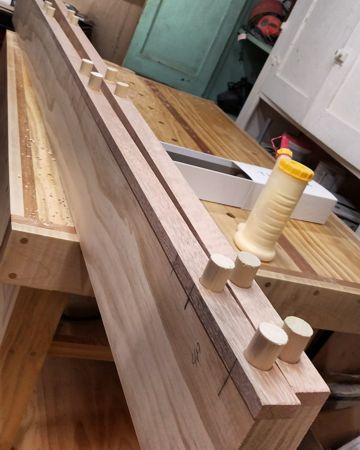
Then it was time to bore the holes for the 3/4″ dowel rods that will be holding the full door together. These should be more than big enough to hold the door together and keep it stable and solid for a number of years.
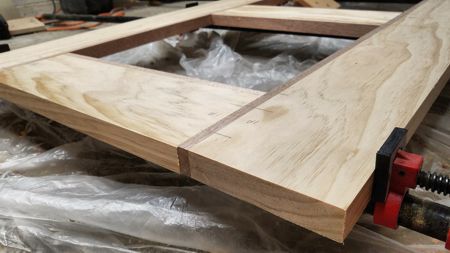
Then it came time to glue it all together, or at least time to glue the main sections of the door together. After a healthy layer of glue and an extended period of time in the clamps.
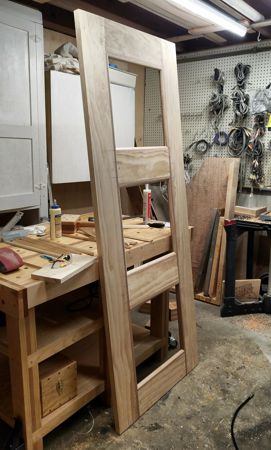
Once the glue was fully dried to was time to take it out of the clamps and test the door’s structure and to do a test fit of the door in it’s final location for the laundry room.
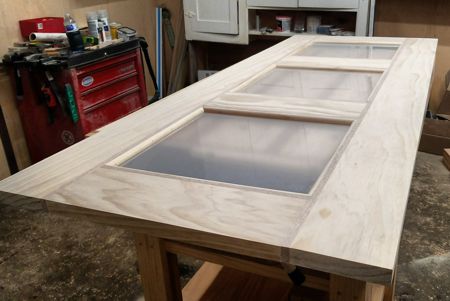
Then it was rough sanding time, and cutting some plexiglass to fit in the panel openings, and apply a layer of opaque film on the window pieces to make them semi-transparent, but to allow defused light through.
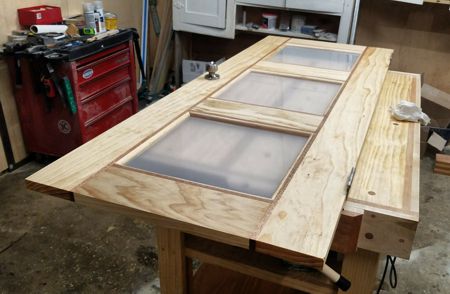
After that it was time to measure and place the door hardware and doorknob, and to make sure everything worked the way it should and the scale was correct for the door and the opening.
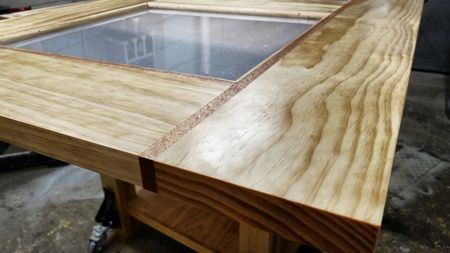
Once it was all tested it was time to put some finish on it. For this project I decided to use a combination of tung oil, orange oil, and bees wax. This gives it a nice antique hand rubbed finish that gives a wonderful warmth to the door.
